Building Approvals – Engaged
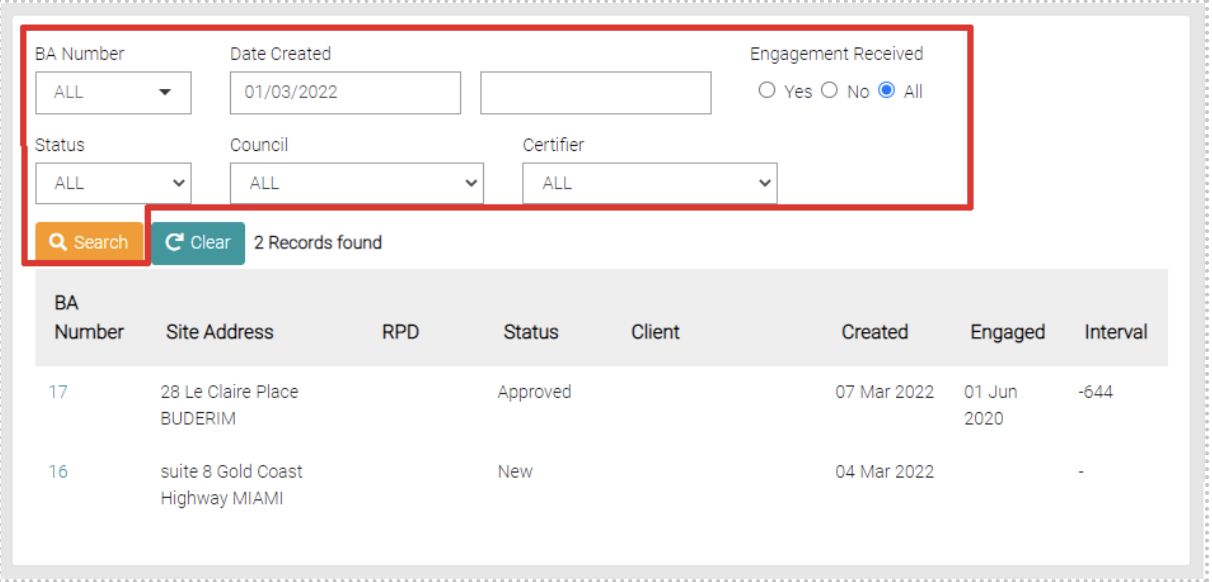
This is where the Building Approval Reports are listed, the Reports show a generalised state of the Job with BA Number, Site Address, RFD, Status, Client, Created, Engaged and Interval (Overlapping time).

Search
Search the Reports by using filters, such filters include the BA Number, Date Created, Engagement, Status, Council and Certifier.
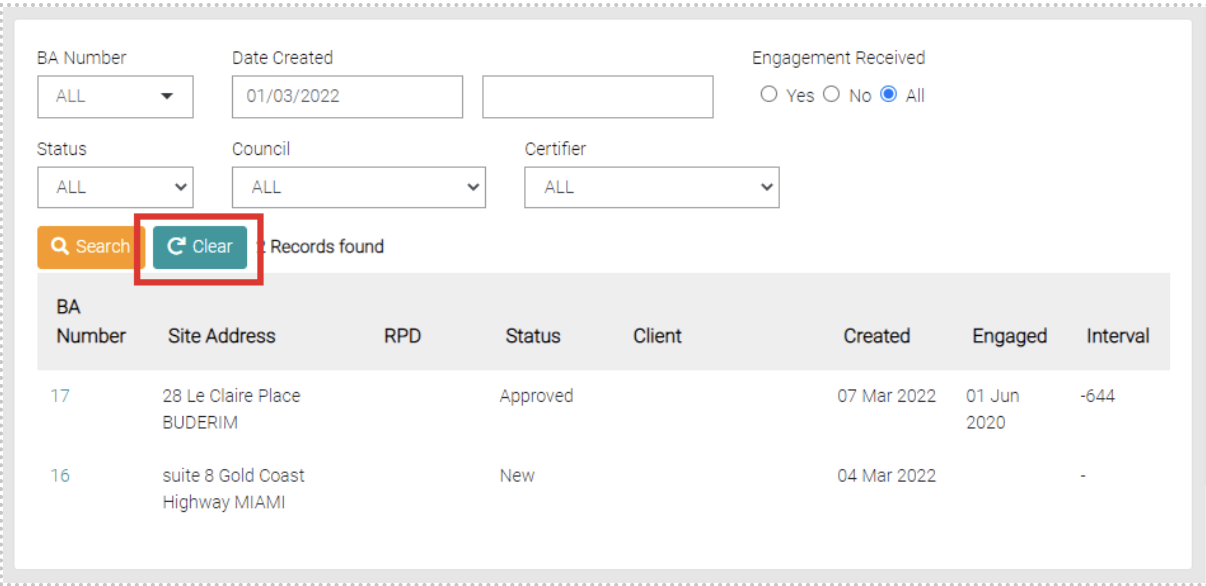
Use the Clear button to remove the filters on the search.
Edit
Use the BA Number of the respective report to edit the report.
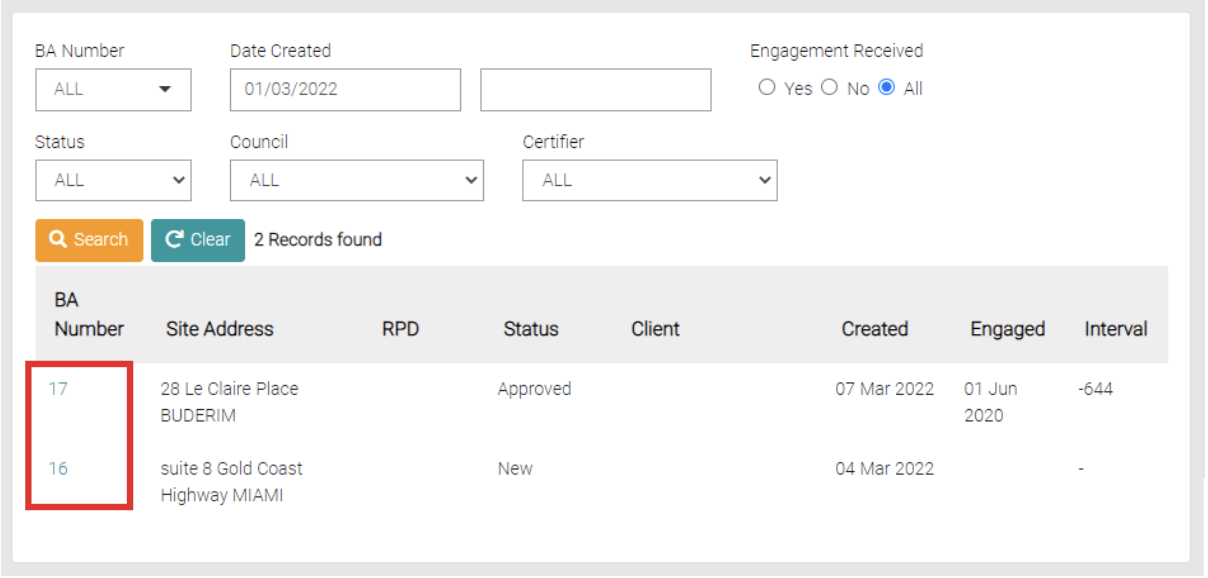
This opens the user to the details page of the Job.
Job Tabs
When looking at the Job there are a variety of tabs that encompass the information related to the Job.

Details
This tab holds the details of the job, this shows the address Project Name, Status, BA Number, QBCC/QLeave Received, Land Ara, Existing use, Levy Amount, Value of Works, Reminder Phone Number/Name/Role. Lapsing Approval Months and Lapsing Approval Notice Months.
All text fields with the * are mandatory to save but as many details are preferred.
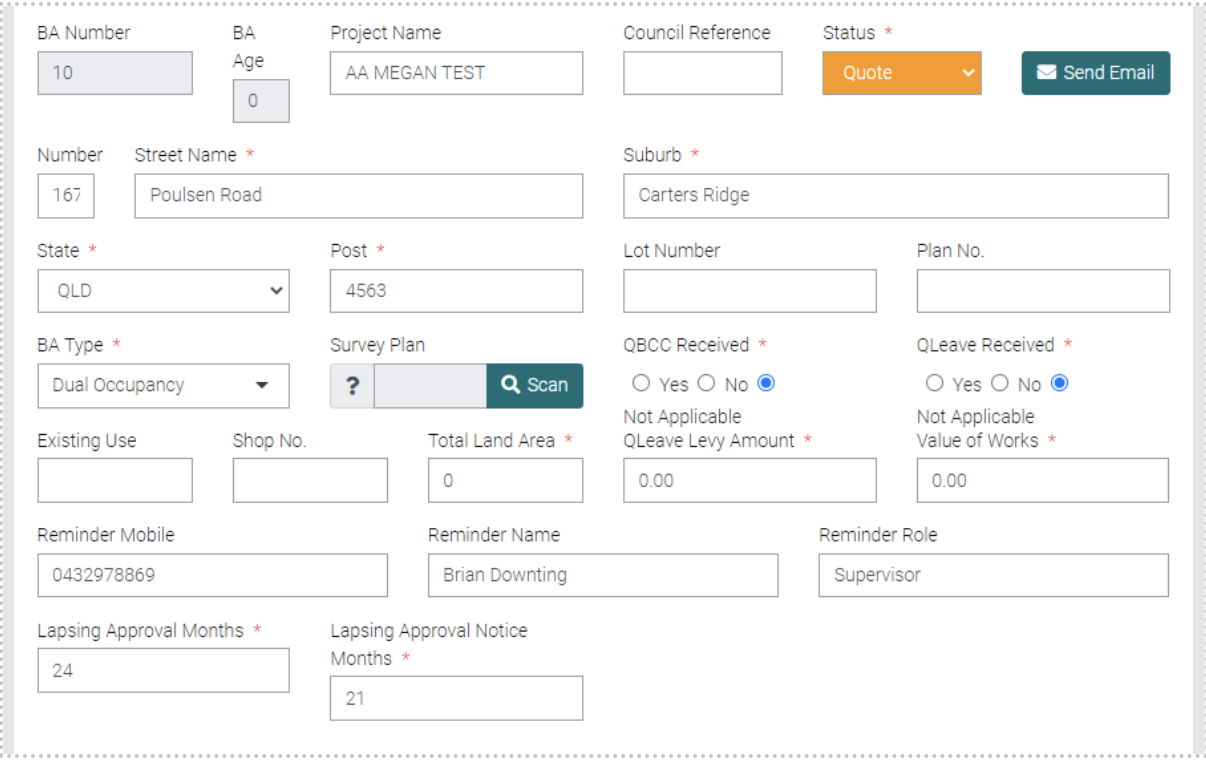
There is also Building Description with mandatory information to fill out. You can save new Building Descriptions with the Green Save Button.

The red trash button will also delete the Building Description.
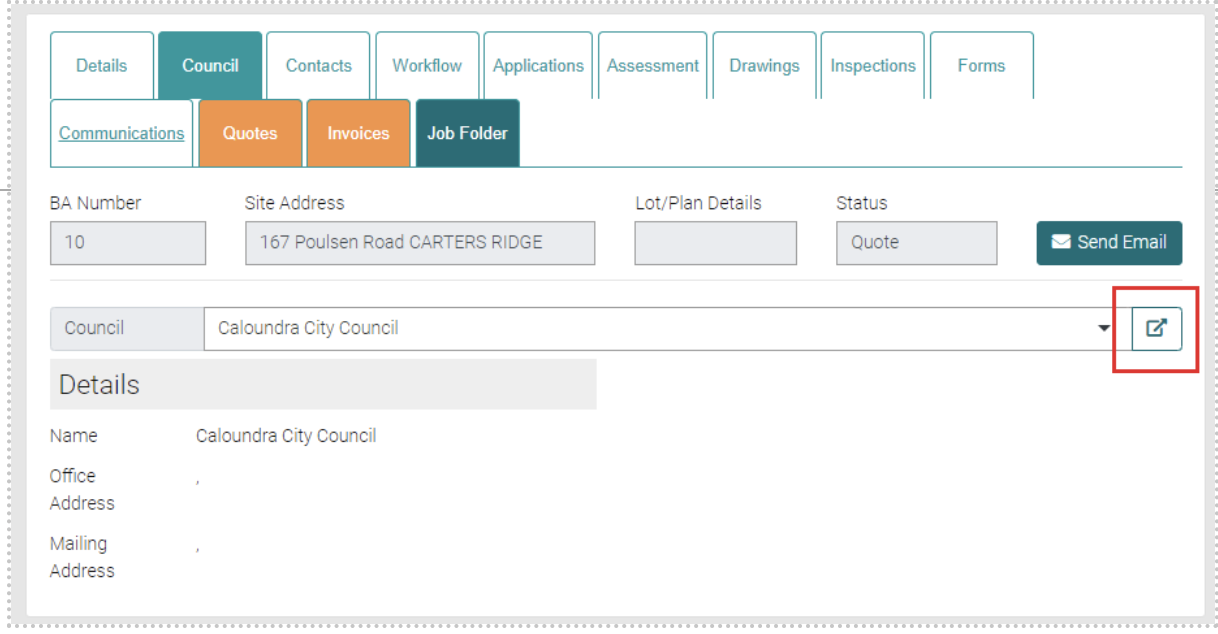
Finally you can add Notes to the Detail page for information also needed.
When all mandatory fields are completed use the Save button or go back to the Jobs page with the Close button.

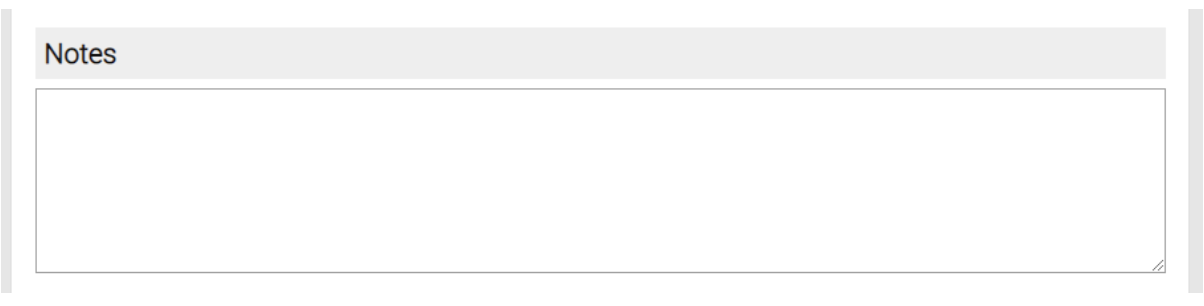
Council
In the Council tab the details for the Council that affects the Job. Using the Drop down menu to change the Council to the correct one.
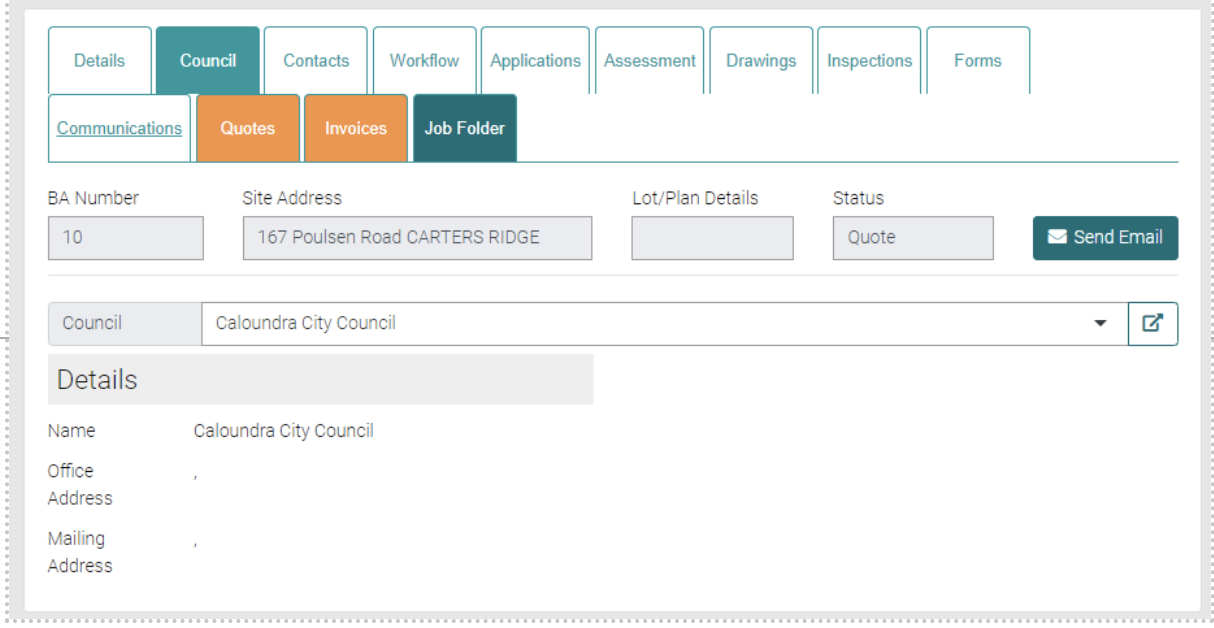
The arrow symbol takes you to the Councils page onto the Council selected in the drop-down menu. Here you can edit the Council’s Information.
Contacts
Contacts are the list of all people related to the Job including the Certifier, Client, Builder and Owner. Each are a drop down menu that allow the change of each contact to a different user.
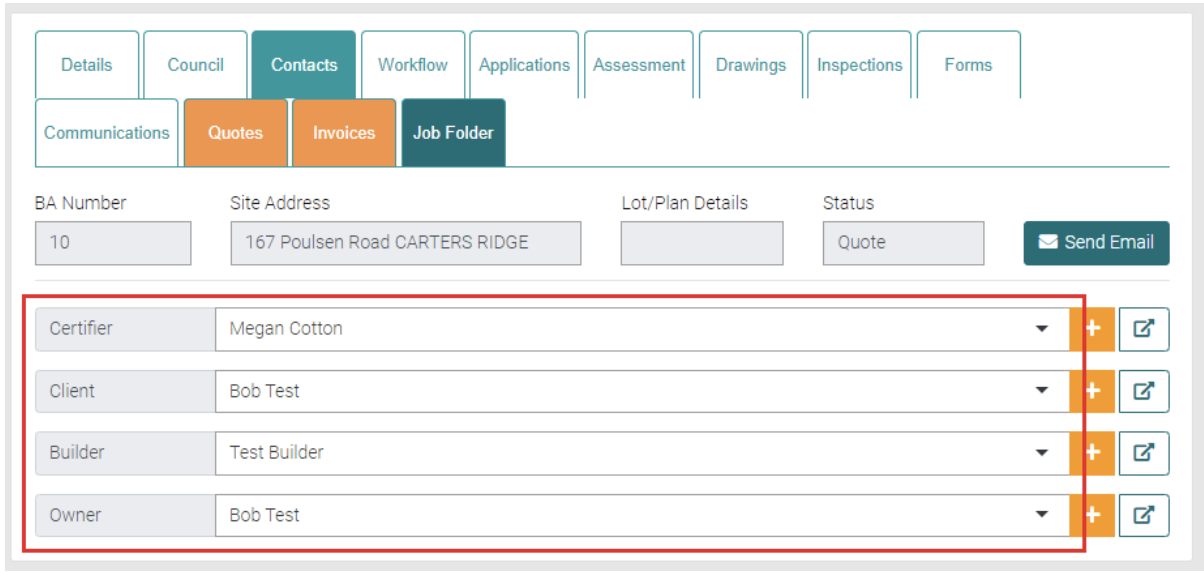
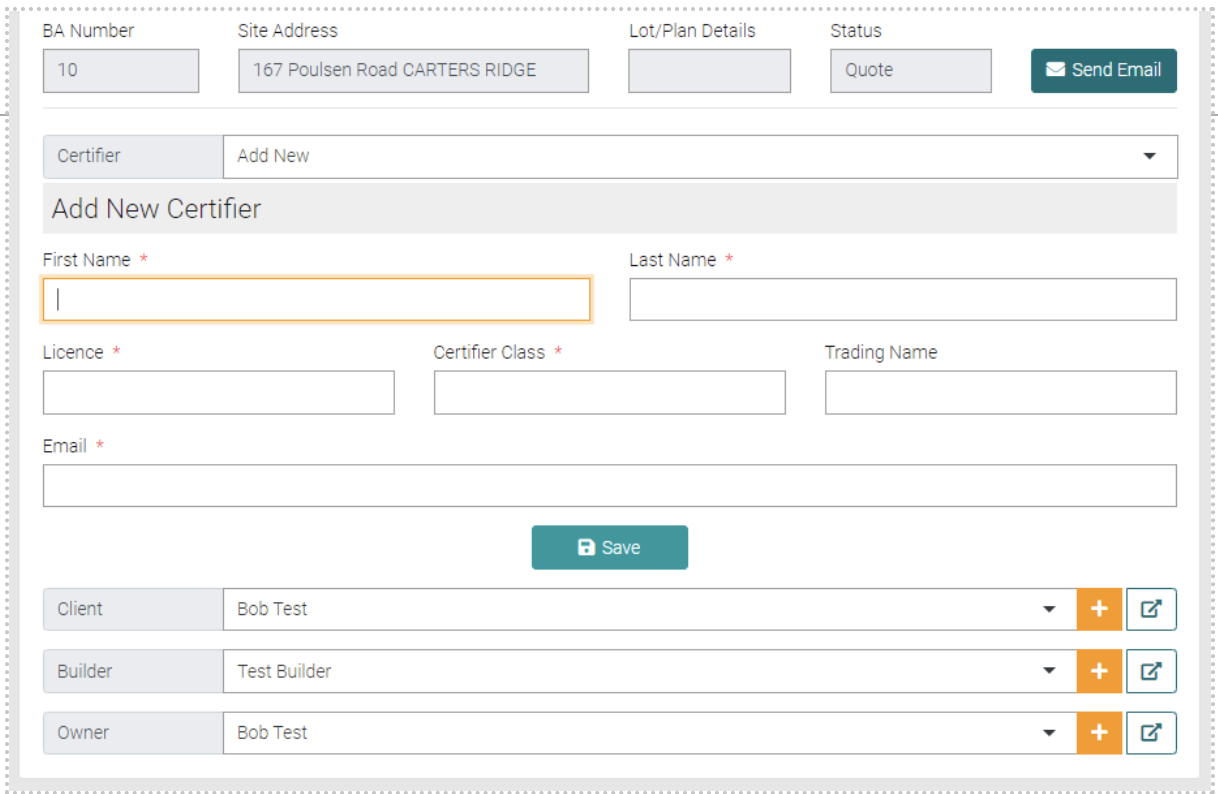
There is an Add New option that allows the creation of a new contact on the same page. All text with the * is mandatory. Once all Mandatory fields are complete select the Save button to create a new contact.
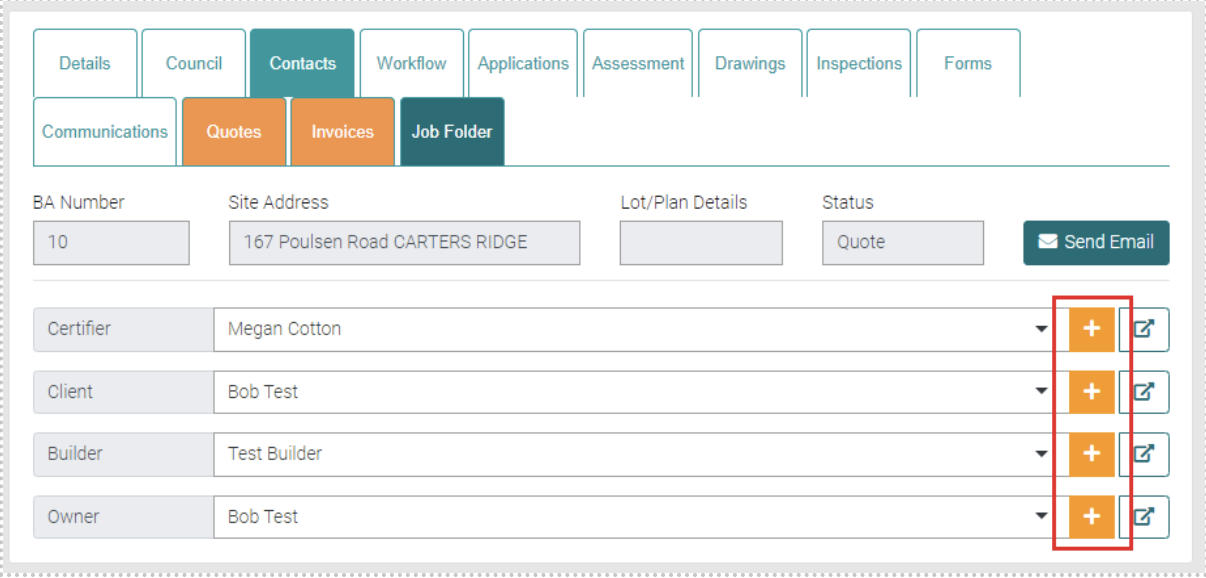
The plus button to the right shows more details of the contact.
The Arrow button takes you to the Contact’s User profile.

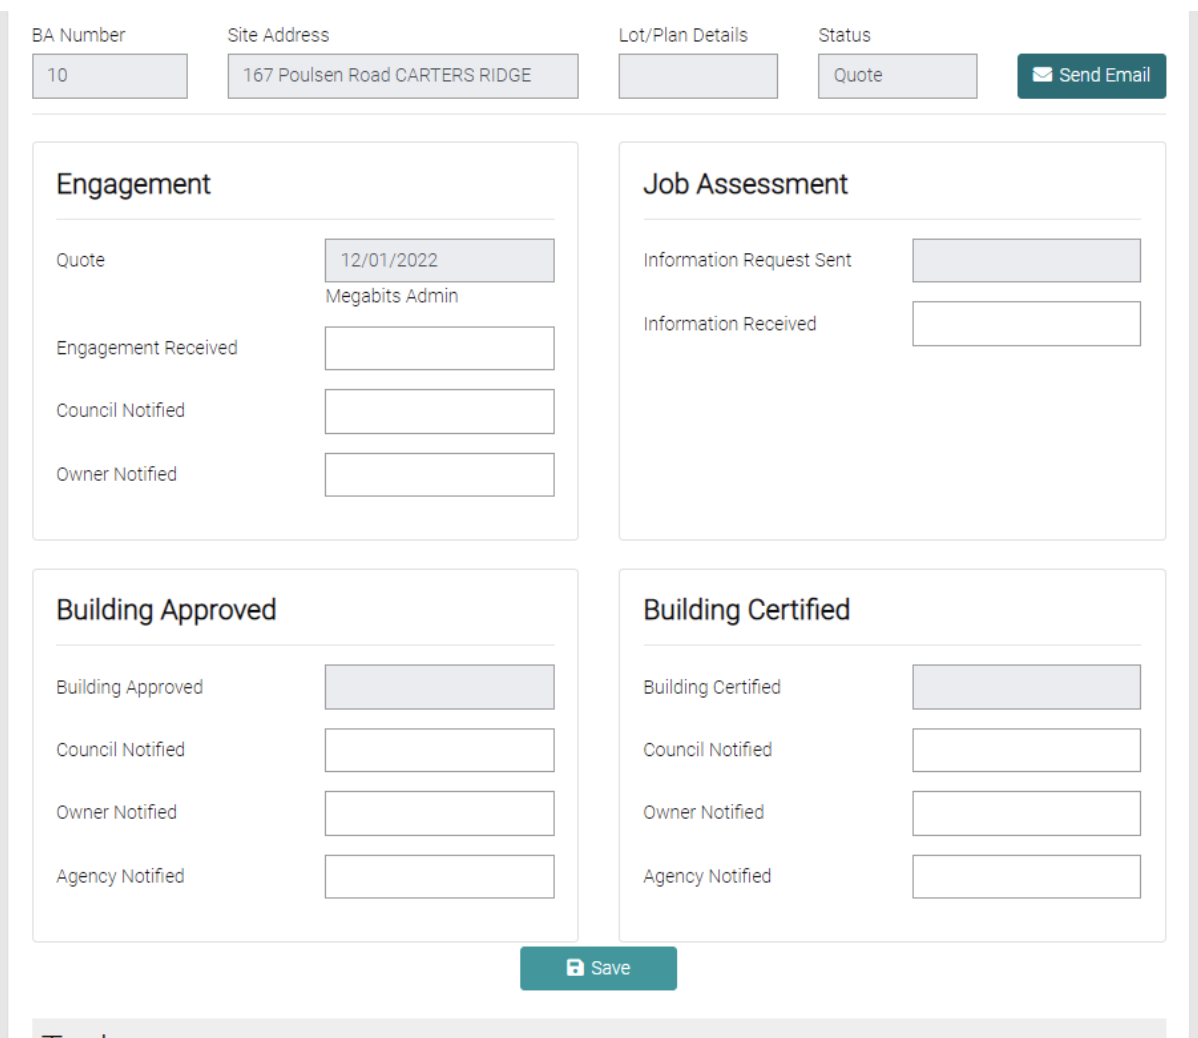
Workflow
The workflow shows the progression of the job. It shows the Engagement, Job Assessment, Building Approval and Building Certified, each text field will open a calendar, to date of each sub task is completed. Once latest update has been entered click on the green Save button below.
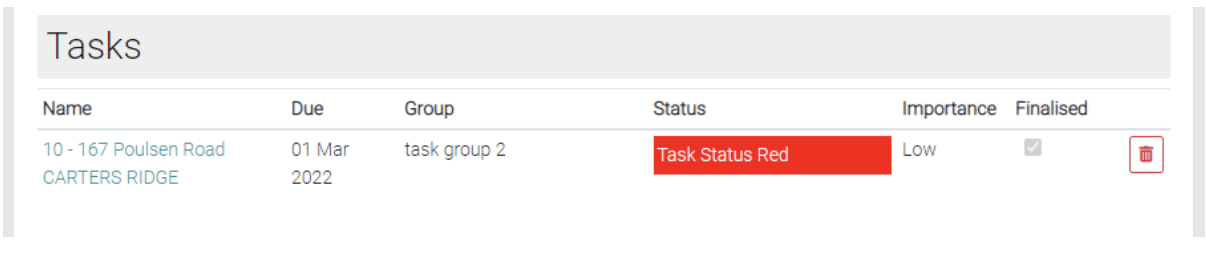
Below the Workflow is the list of Tasks associated with the Job, this displays the name, due date, status, importance and if the task has been finalised. The red trash can icon can be used to delete a task.
Applications
Applications show the related Applications on this page.
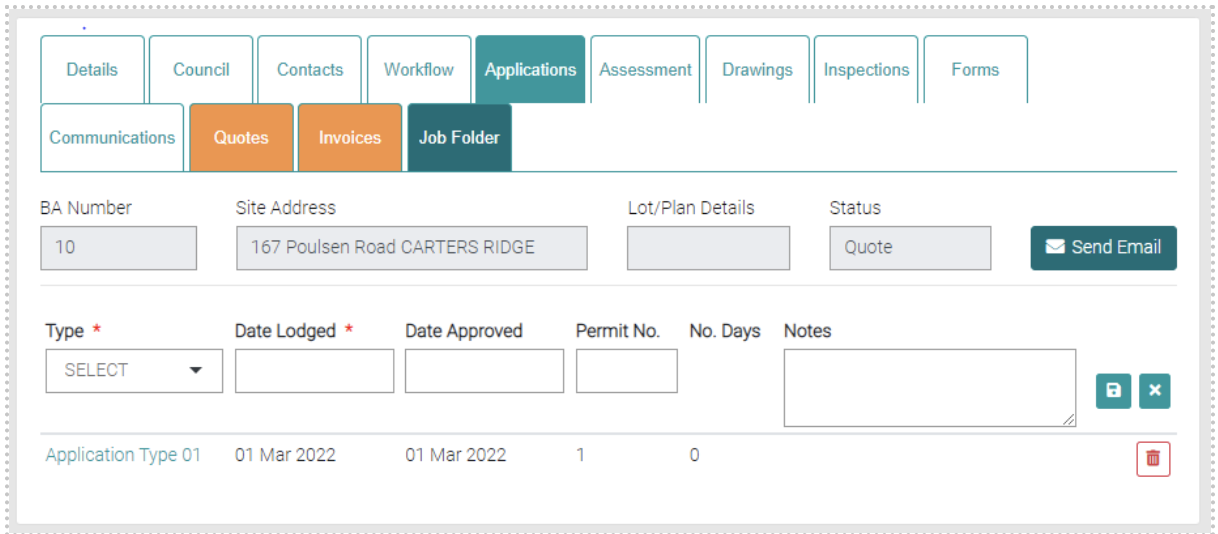
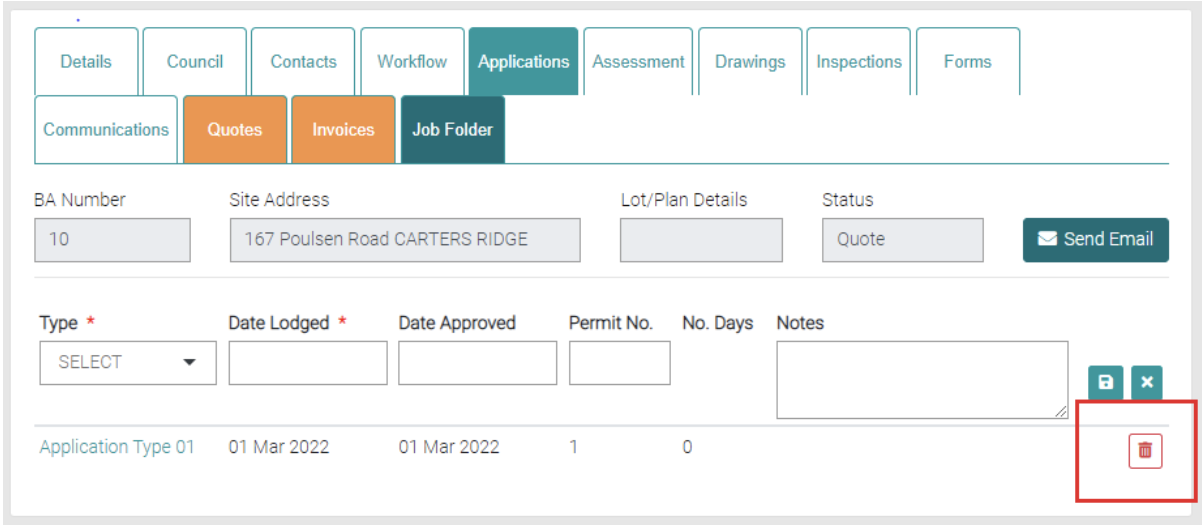
Existing Applications are located below, the information displayed goes in order of Type, Date Lodged, Date Approved (if available), Permit No. (if available), No. Days and Notes (if available). Types can be managed in Lookup > Application Type.
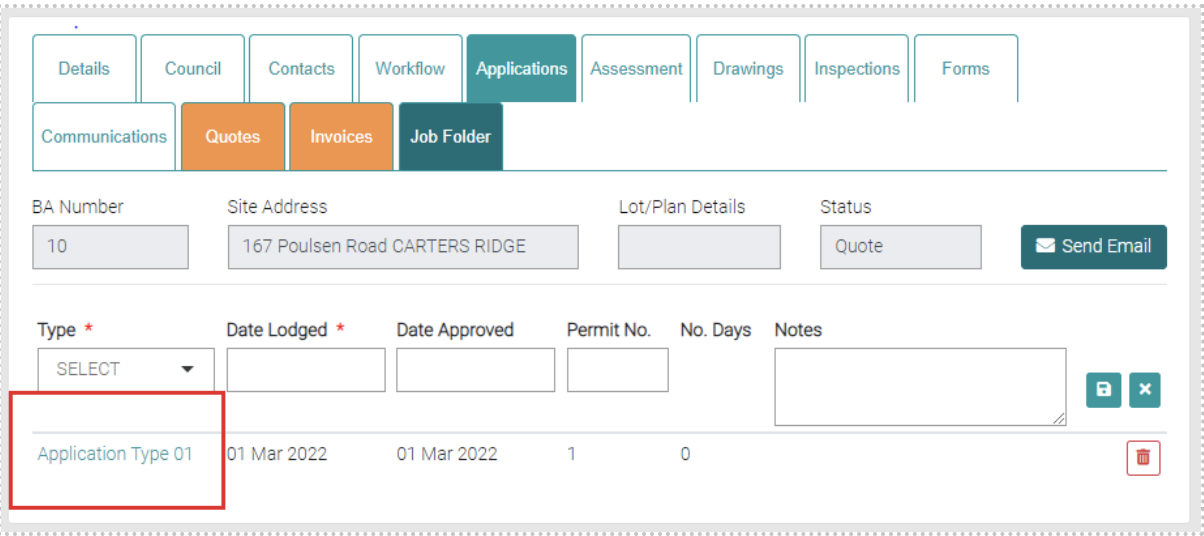
Edit
By clicking on the Type, you can edit the Application.
Delete
Using the red trash-can you can delete existing Applications.
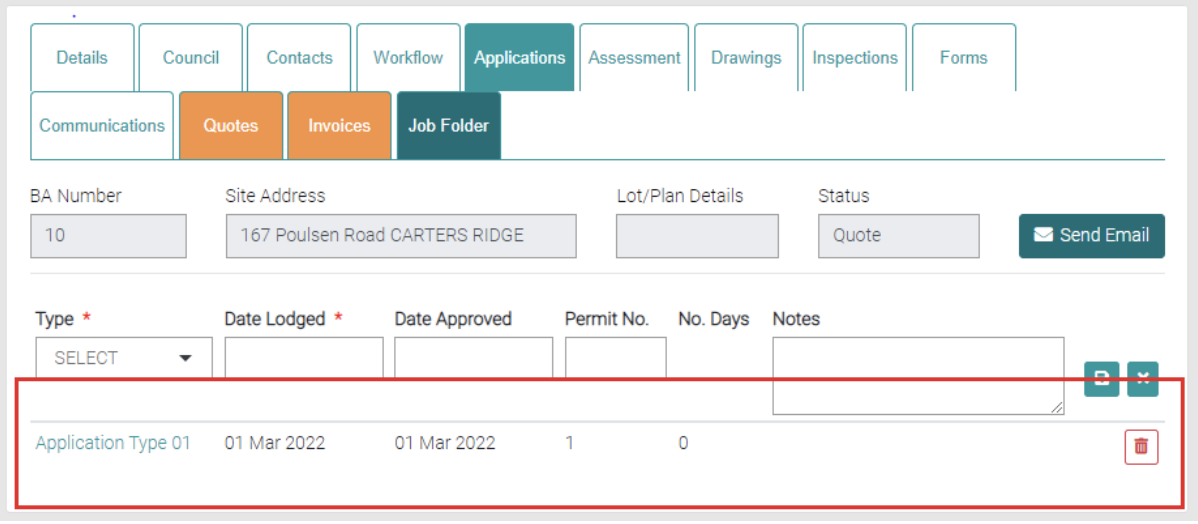
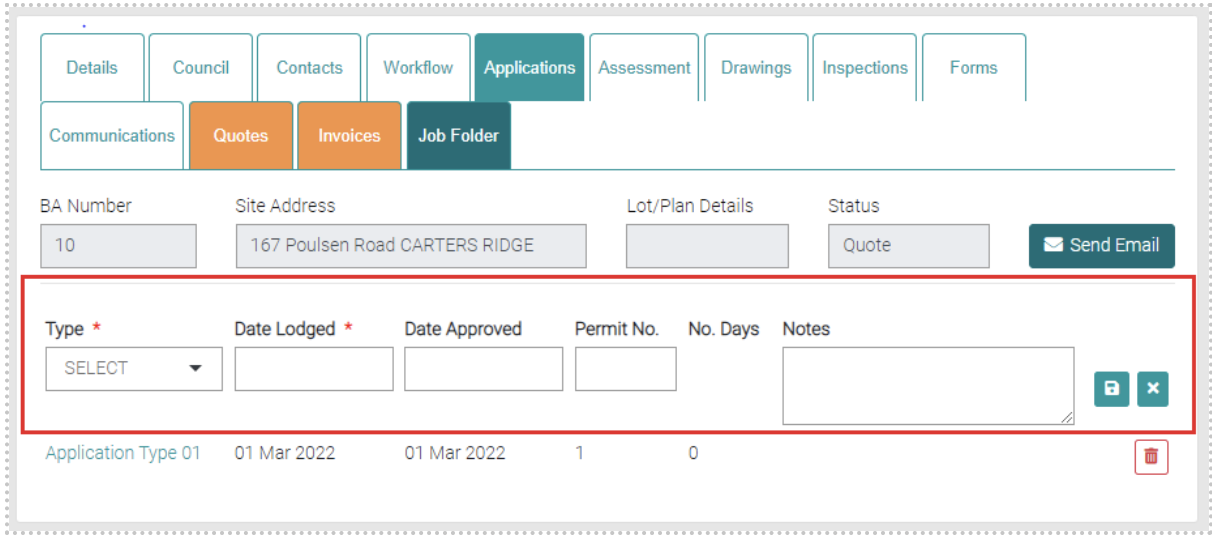
Add
New Applications can be added via the highlighted section. The Mandatory information is marked by * and need to be filled in before it can be saved with the green save button. Date Lodged and Date Approved open a calendar to select a date.
Assessment
The Assessment page is used to assess the state of the Job.
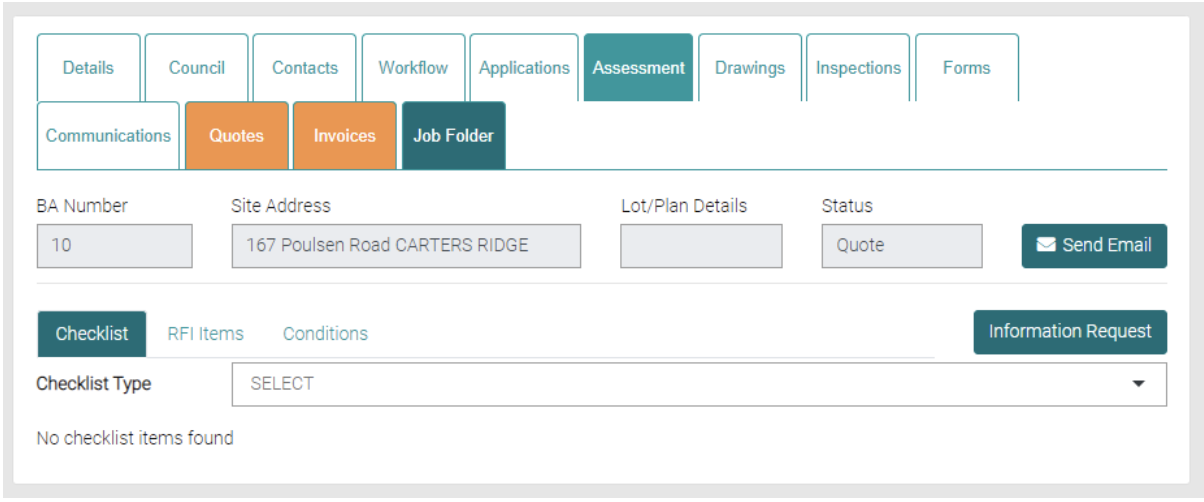
Checklist
Checklist shows a drop-down menu, that shows all Checklist Types that are associated to the Job.
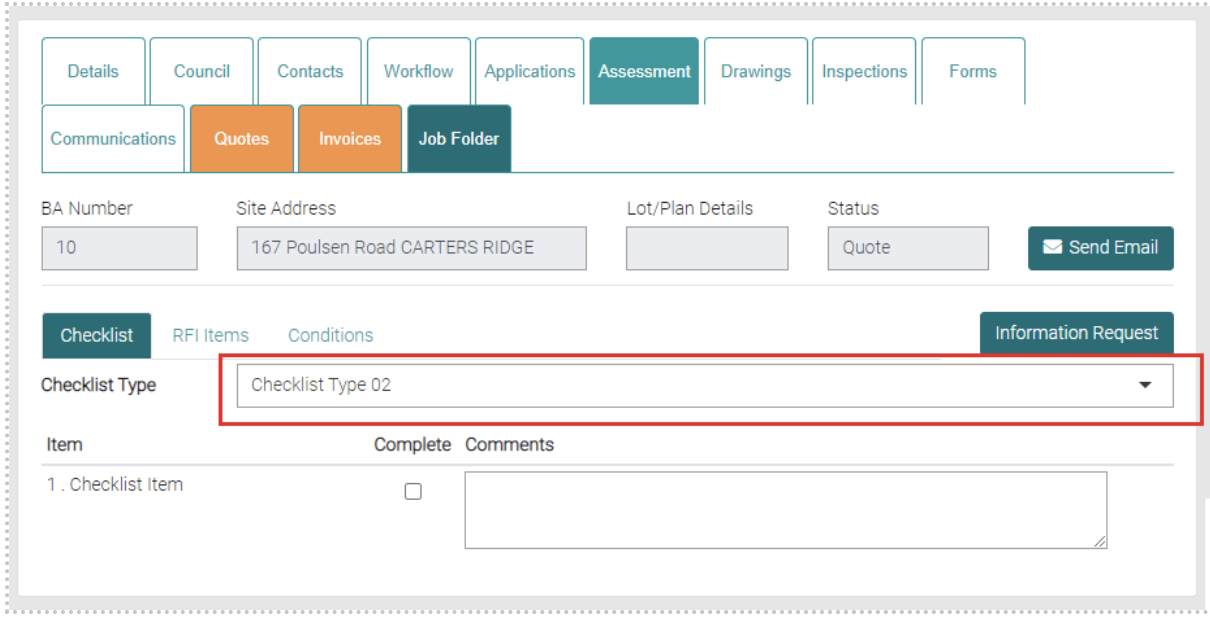
It brings up a list of Items that can be checked off as completed with comments being added via a text field.
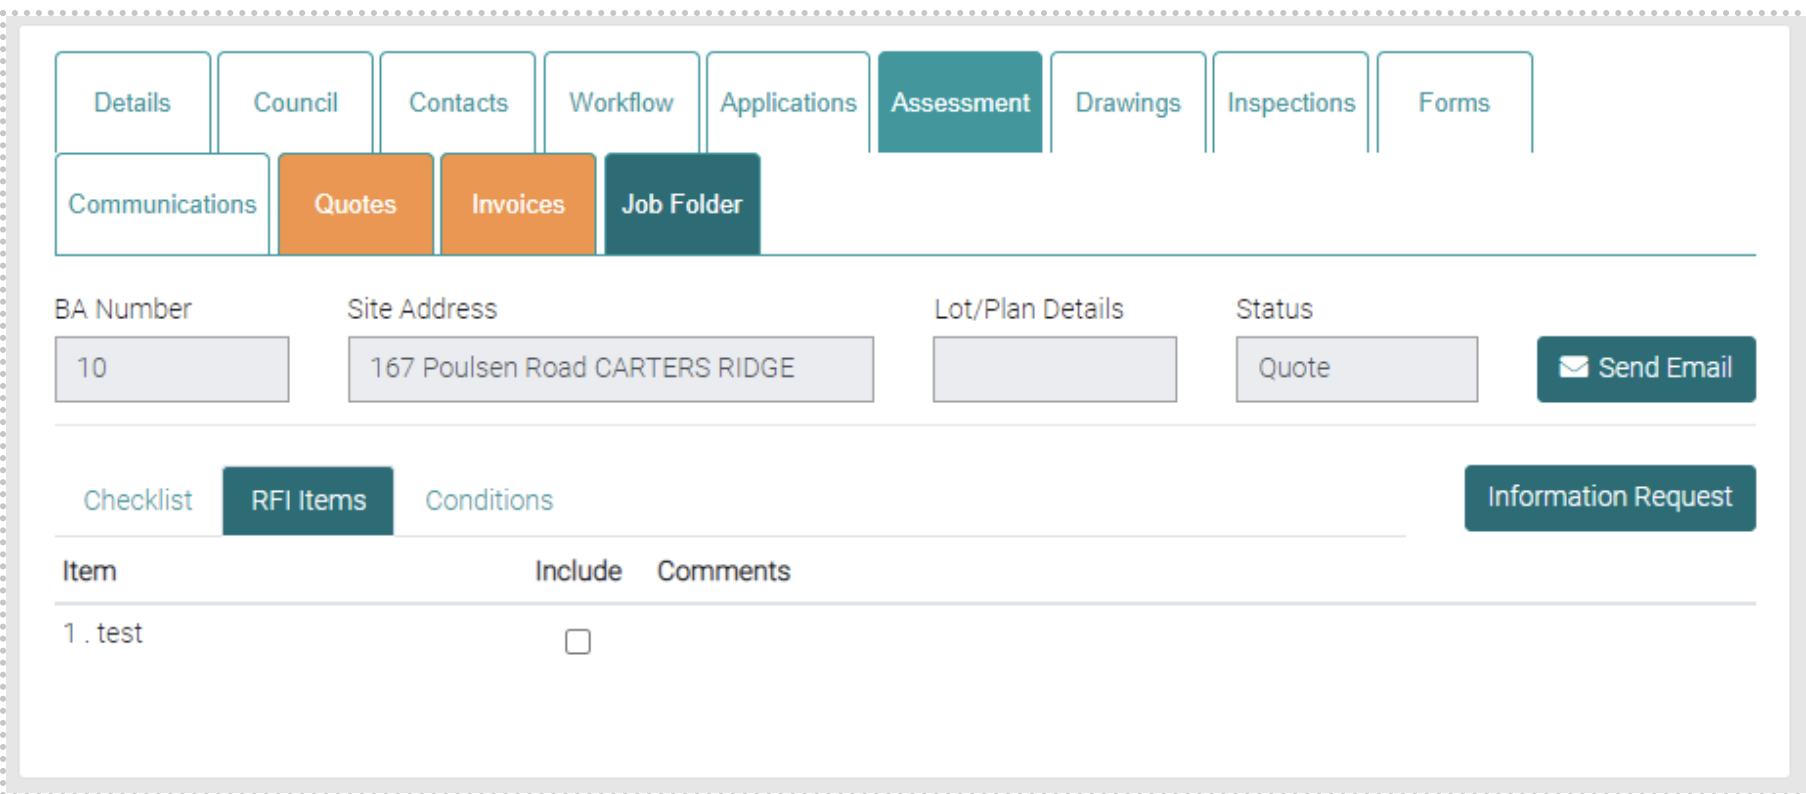
RFI Items
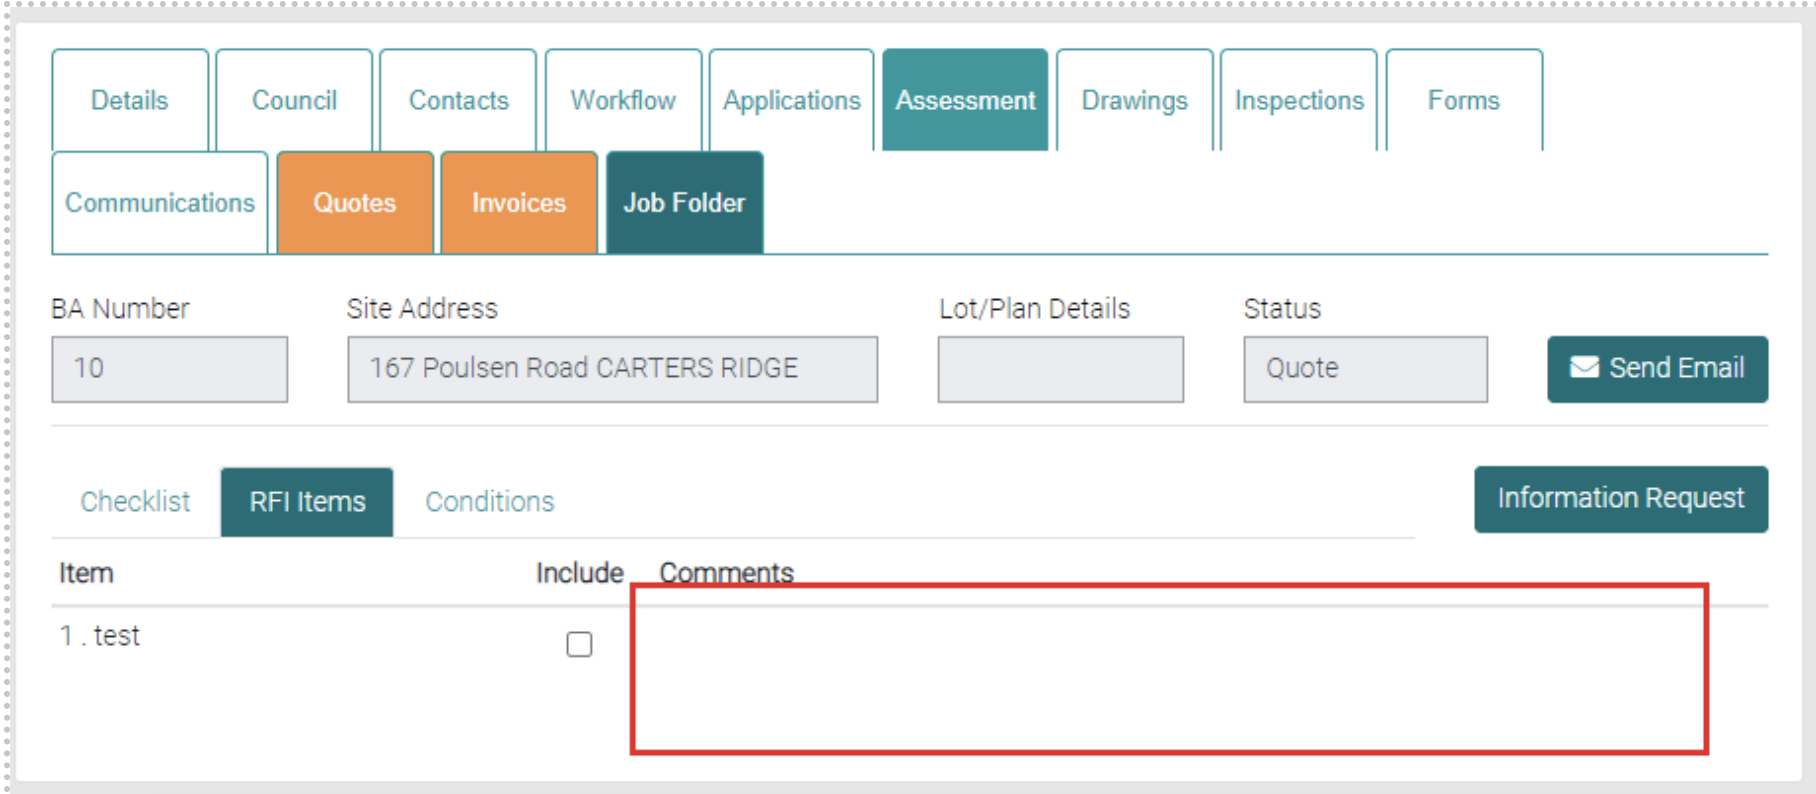
RFI Items shows a list of Items that allow them to be included in the job.
There is a text field in the Comments to add comments to the RFI Items in relation to the Job.
Conditions
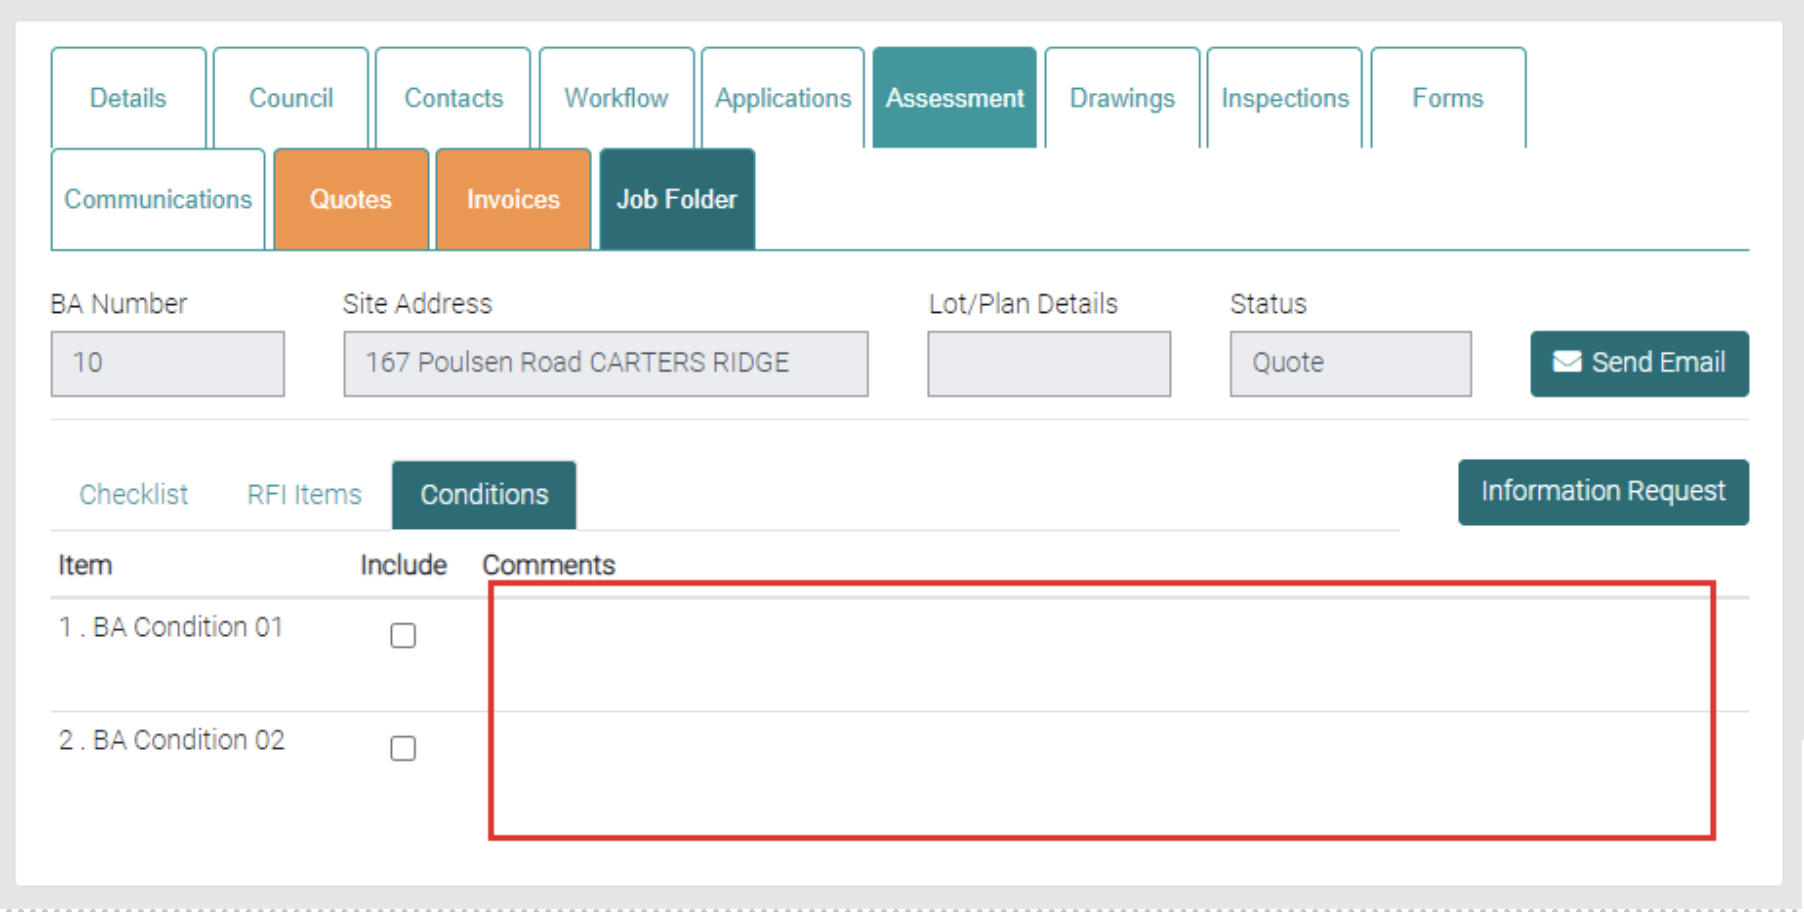
Conditions shows all the Conditions that can be applied to the Job.

There is a text field in the Comments to add comments to the Conditions in relation to the Job.
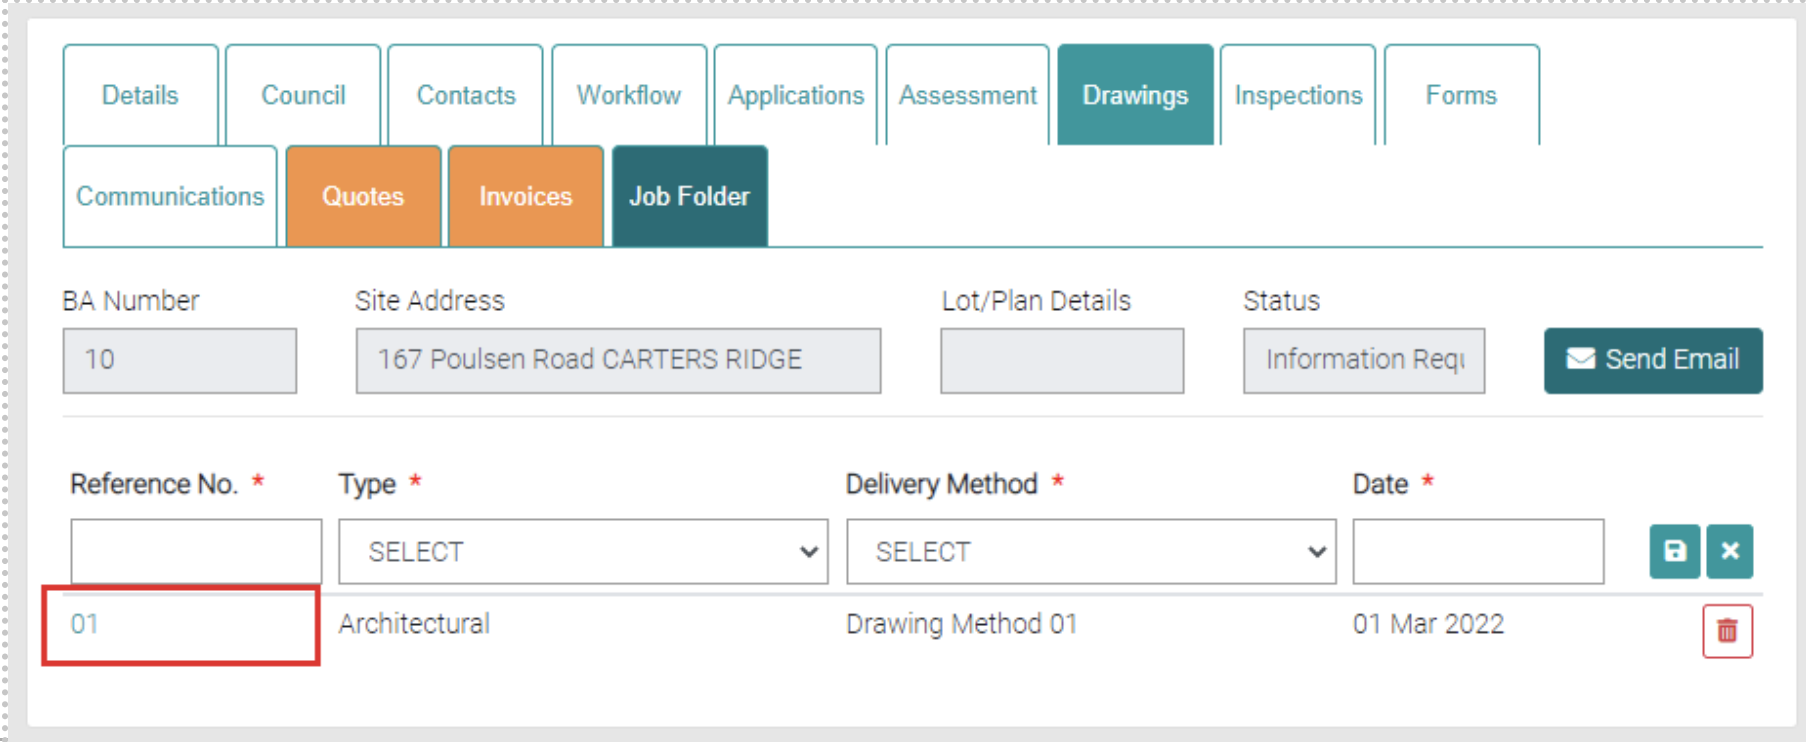
Drawings
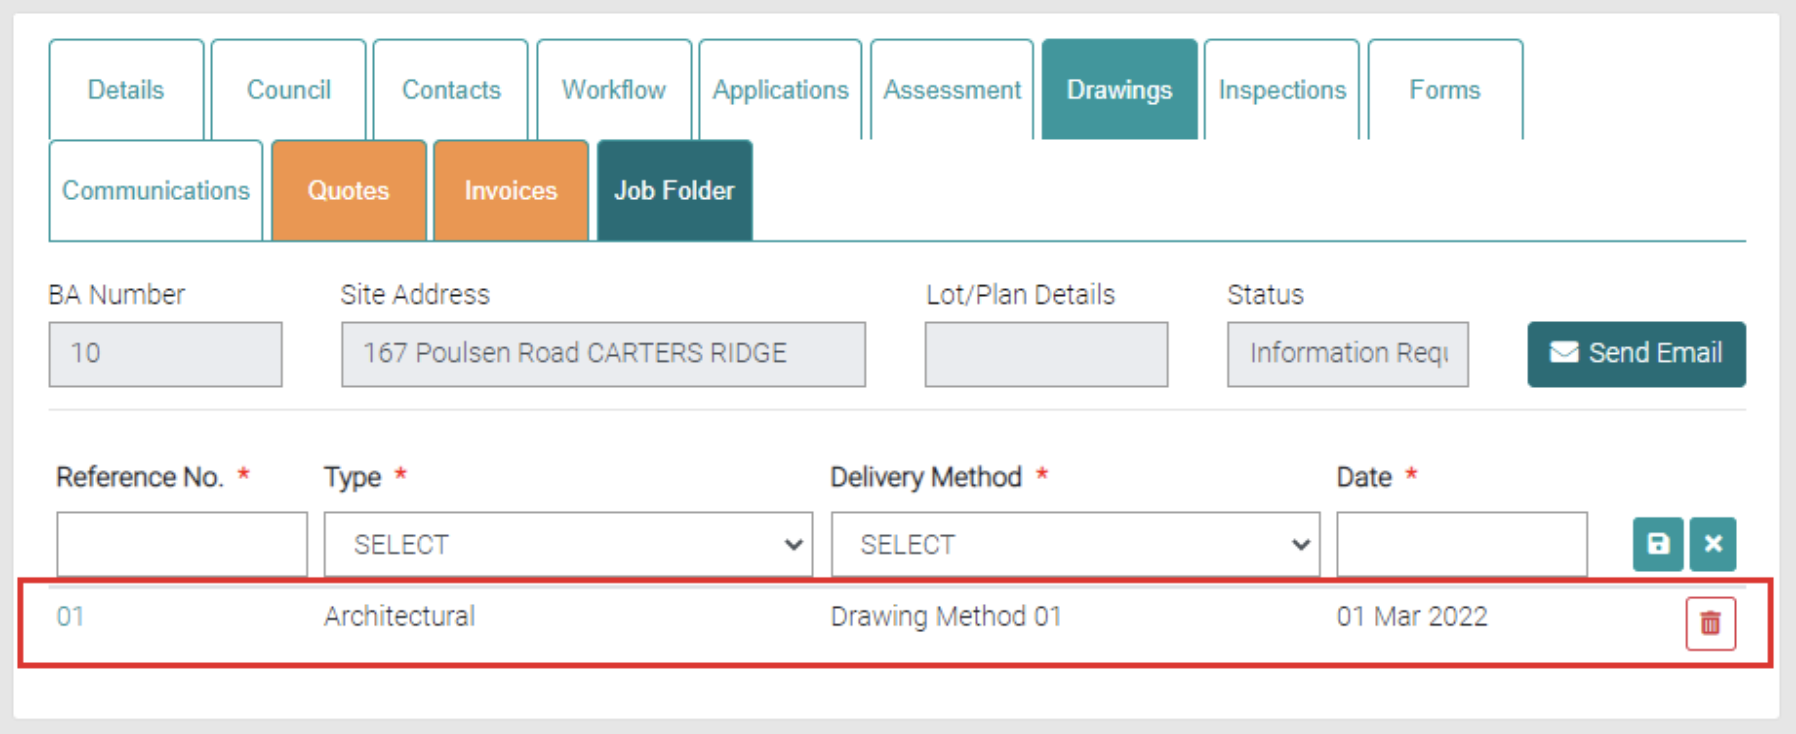
The Drawings tab shows the Drawings associated with the job. There is a list of existing drawings.
Edit
By clicking on the Reference No. you can edit the Drawing.
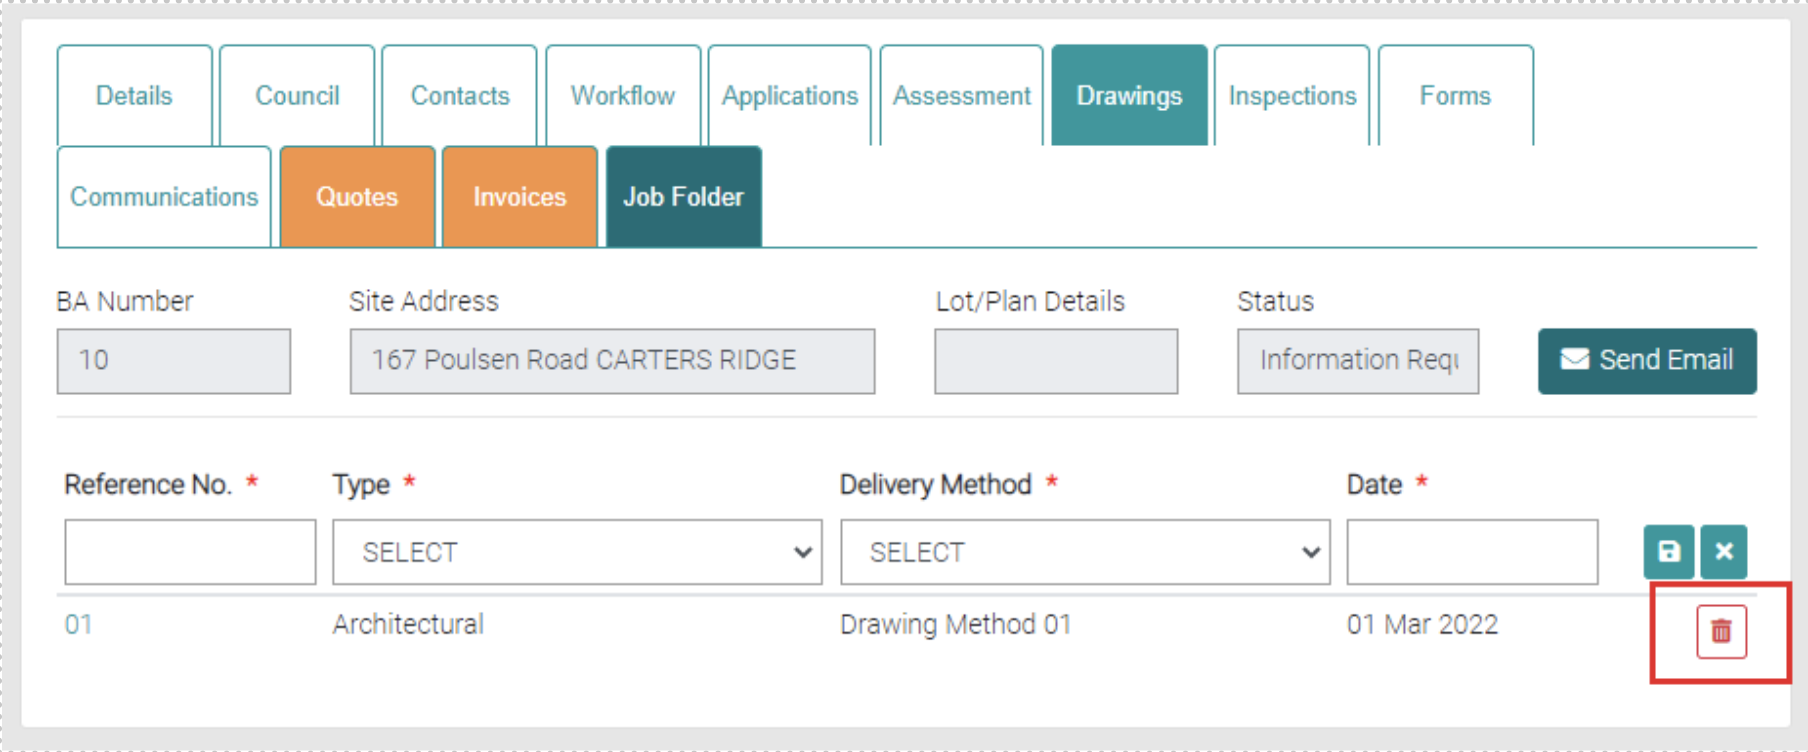
Delete
The red trash can will delete existing Drawings.
Add
Add new Drawings by using the highlighted area, each field with * marked are mandatory. The Reference No. is the Reference Number to identify the drawing. The Type is a drop down menu for different Drawing Types which can be managed at Lookup > Drawing Types. Delivery Method is a drop-down menu for different Delivery Methods which can be managed at Lookup > Drawing Method. The Date shows a calendar so the date can be selected.
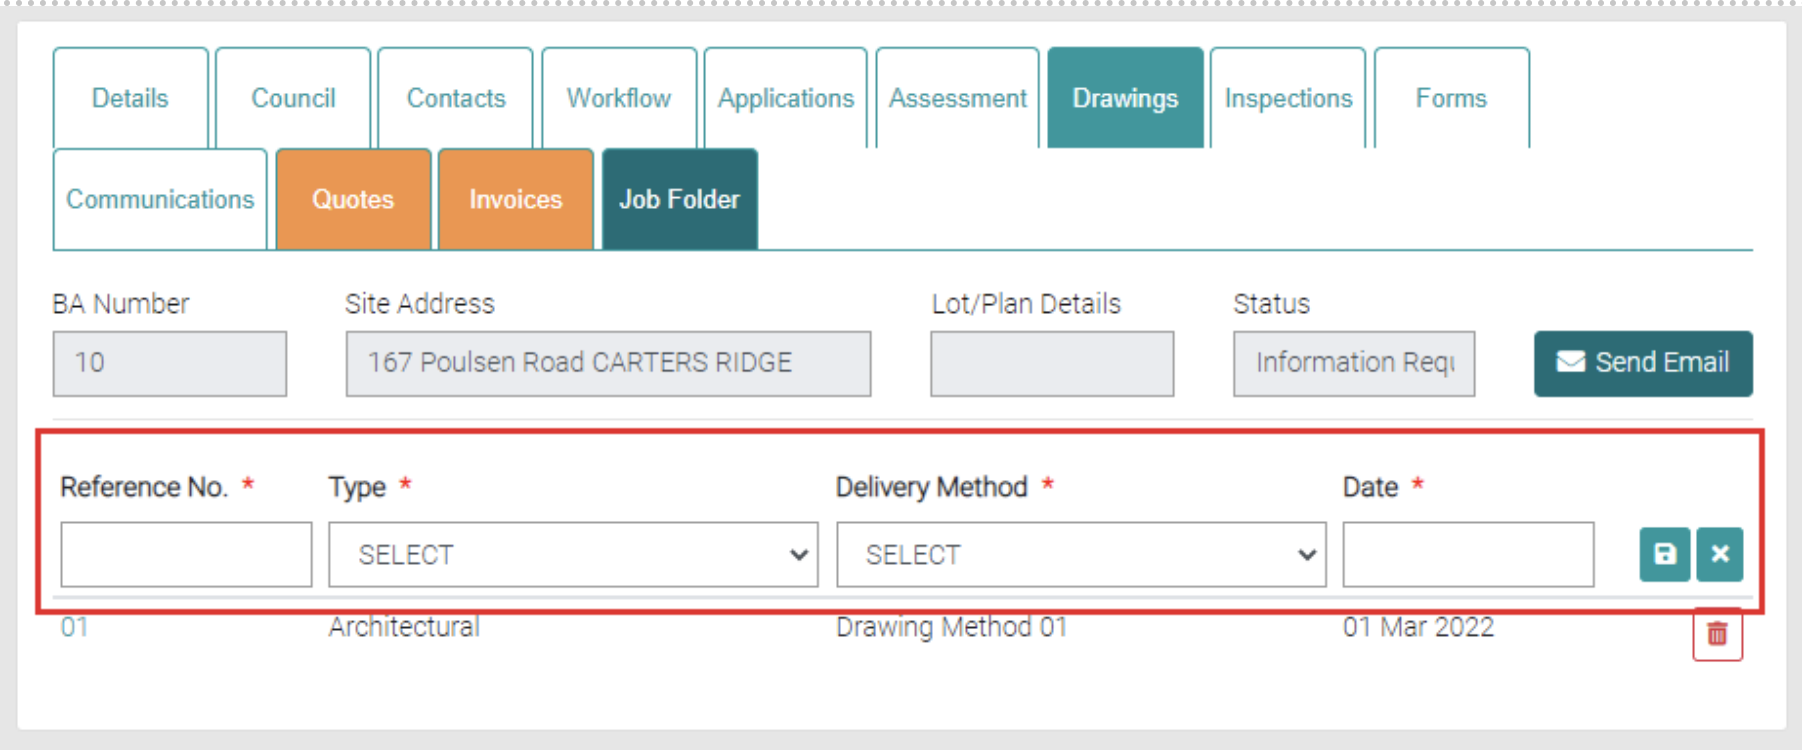
Use the Save icon to save new Drawing or close with the cross icons.

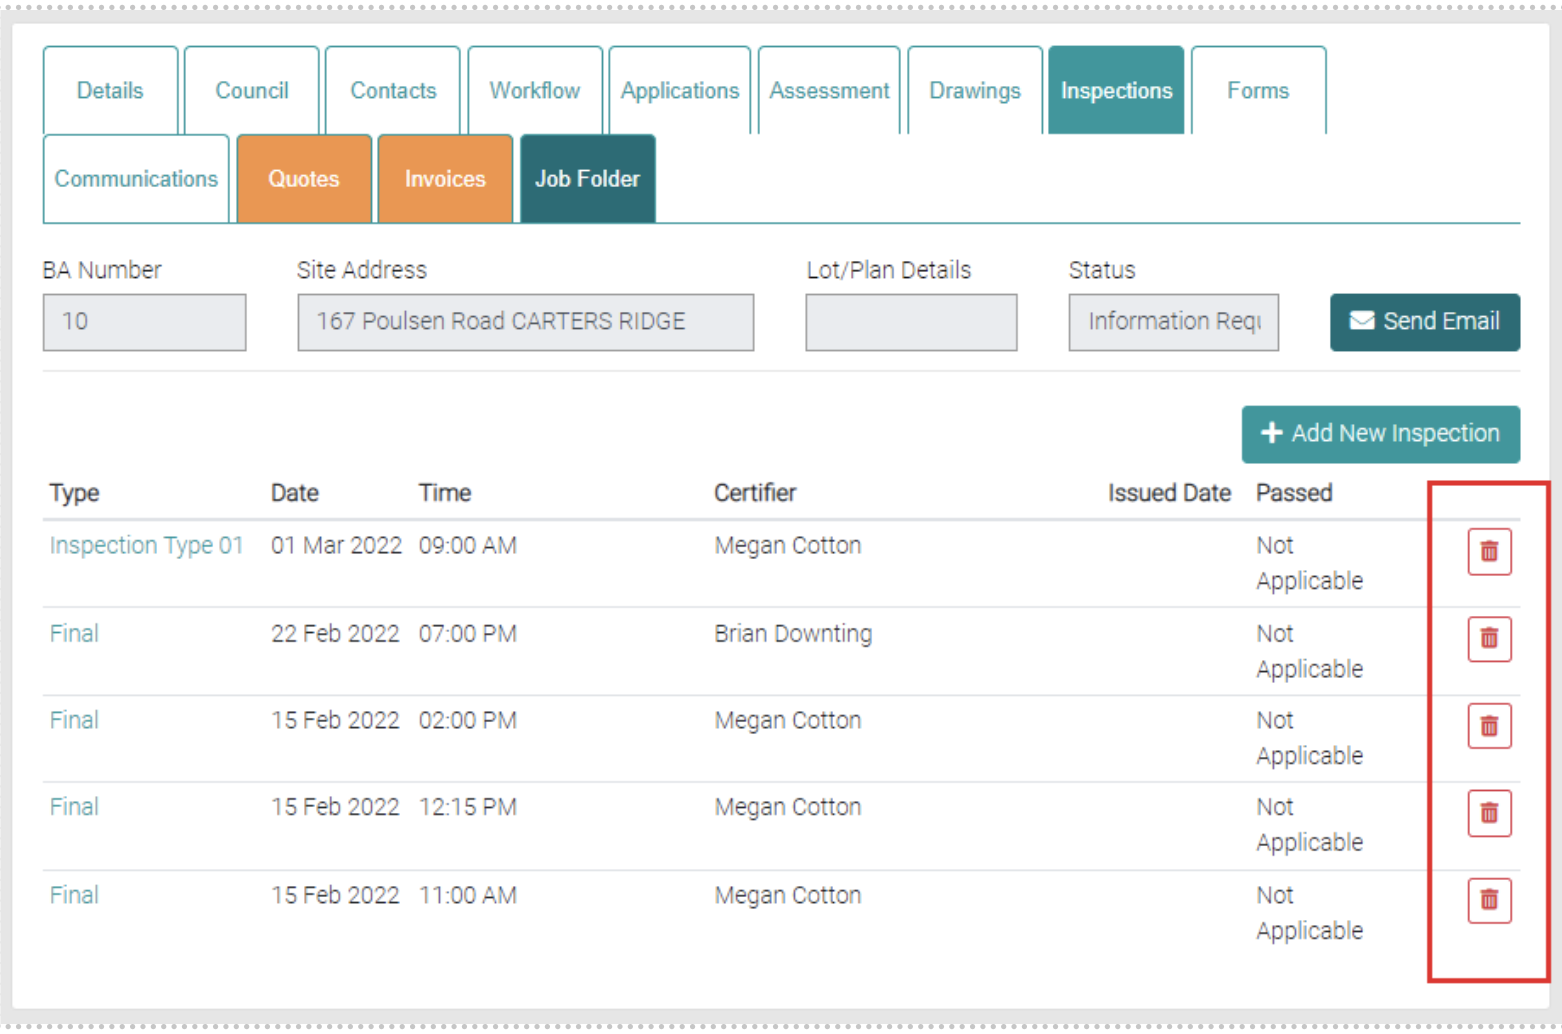
Inspections
The Inspections tab shows all the Inspections for the job.

Add
New Inspections can be added by the Add New Inspection button.
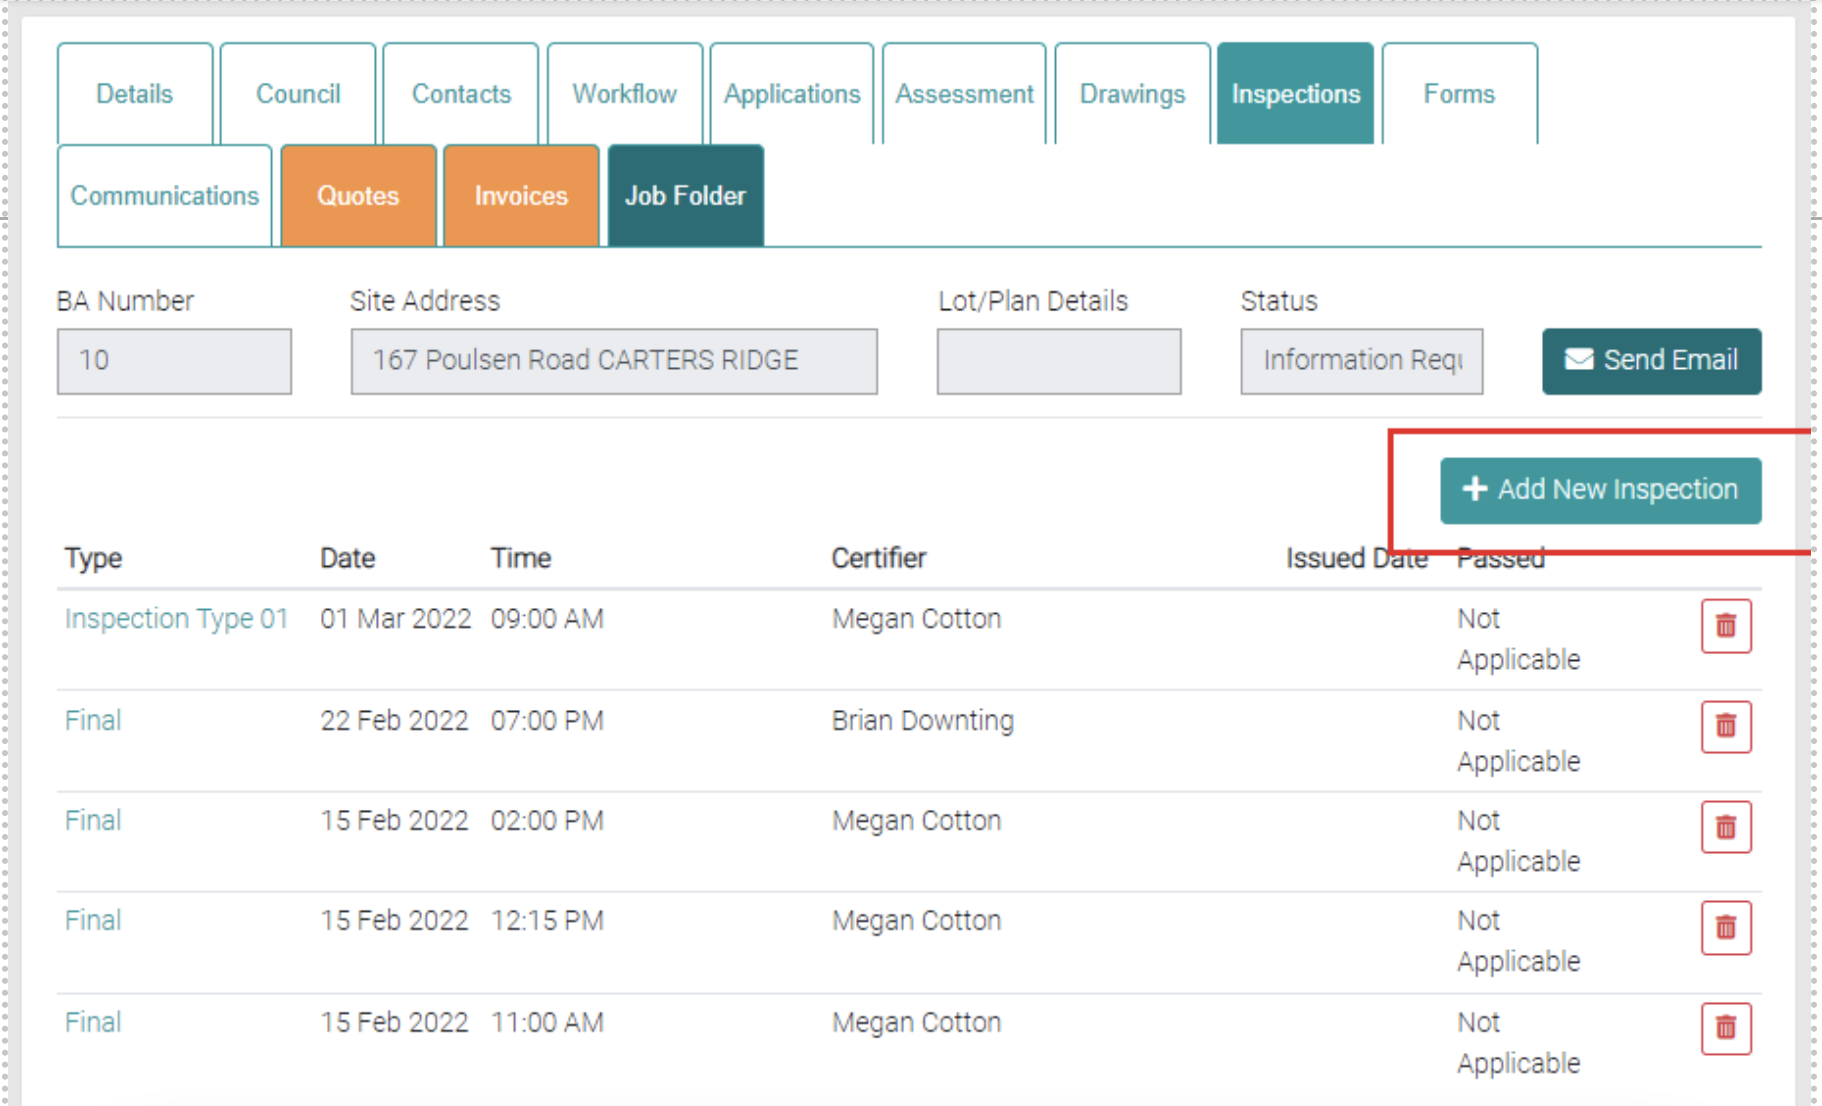
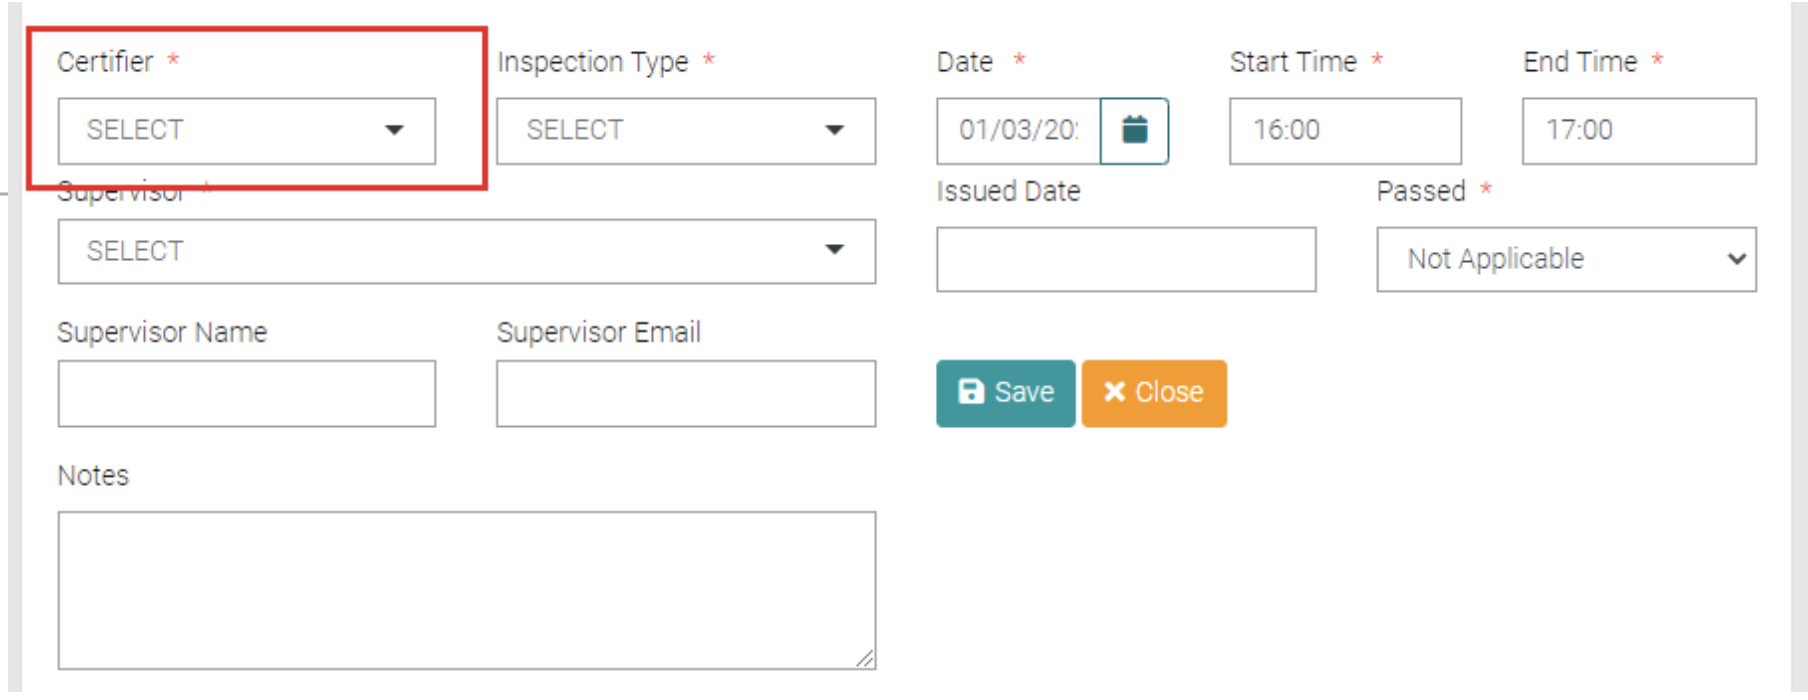
When clicked it will open a new section that will allow details of the Inspection to be added. Each text field or drop-down menu marked with the * symbol is mandatory before saving.

Certifier drops a menu to select from Users with the Certifier role. These Users can be managed in System Users.
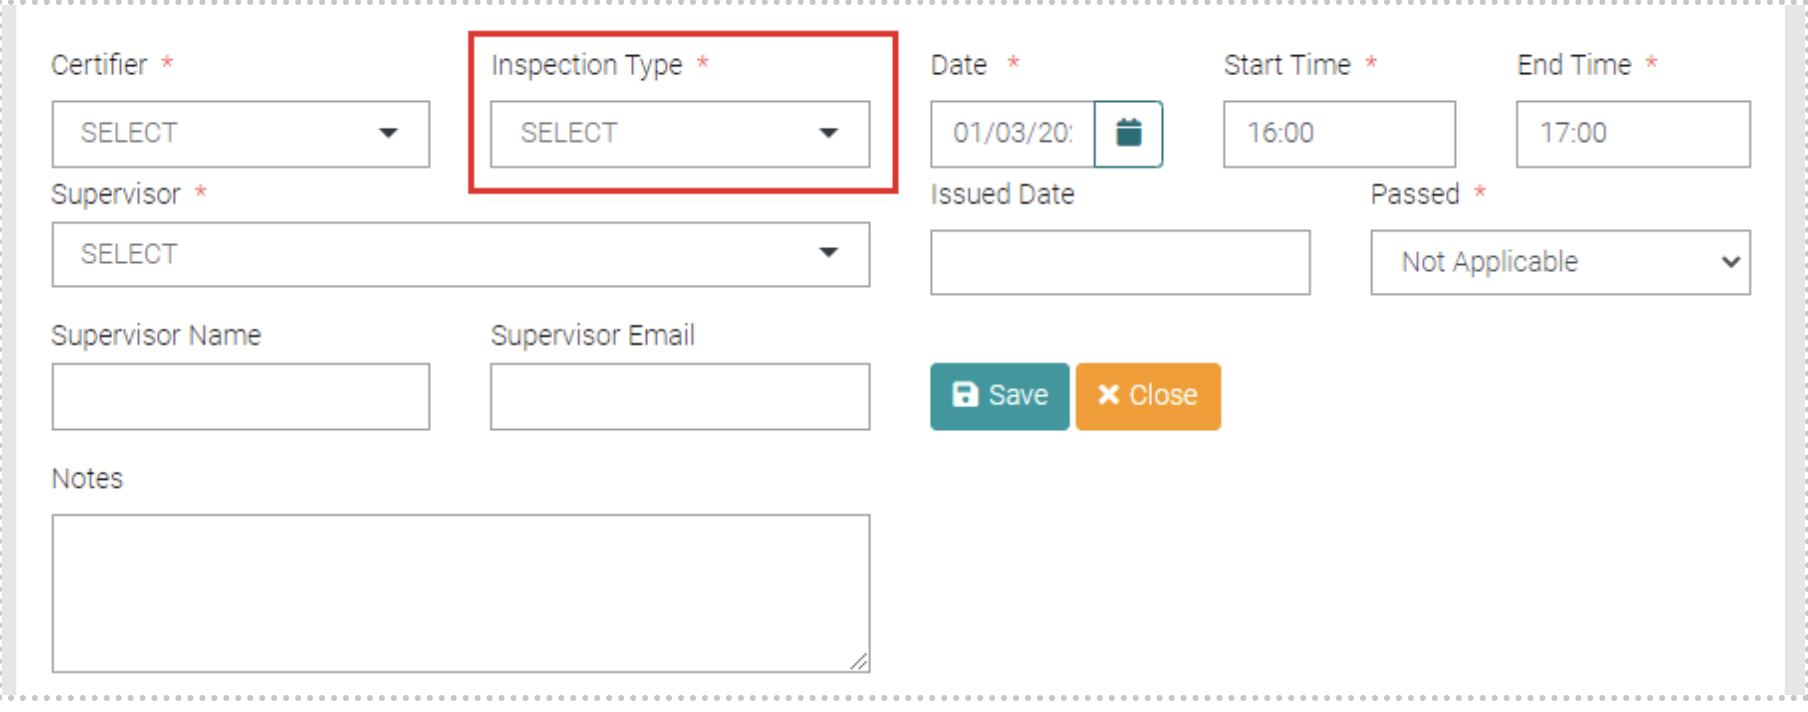
Inspection Type is a menu that allows you to select an Inspection Type, these can be managed in Lookups > Inspection Type.
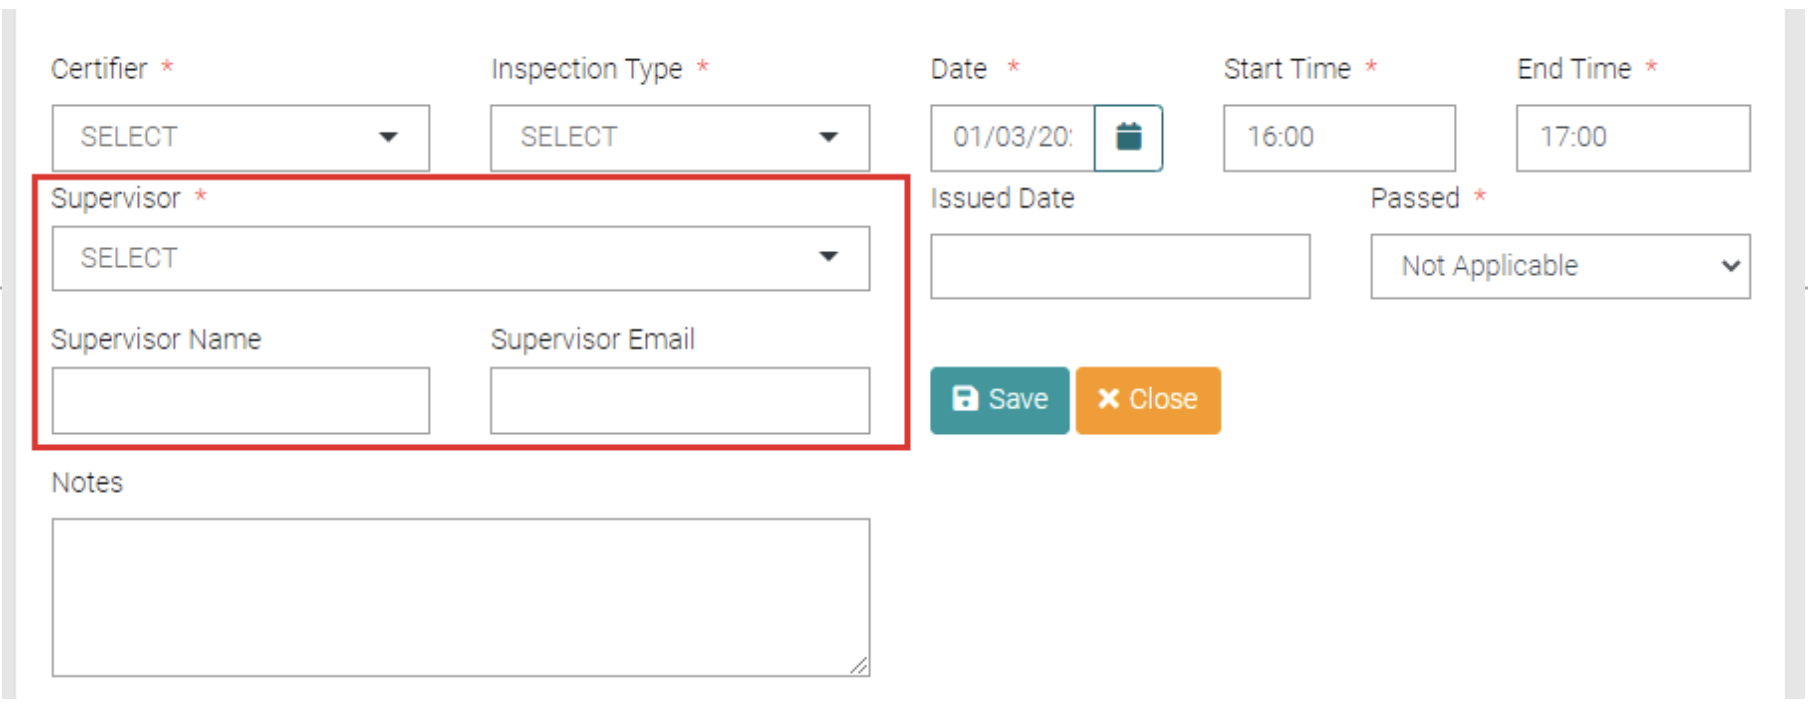
Supervisor is a drop-down menu that allows you selection from Users with the Supervisor Role, or you can select Add New and complete the Supervisor Name and Email text fields.
You can set the date and time of the Inspection.
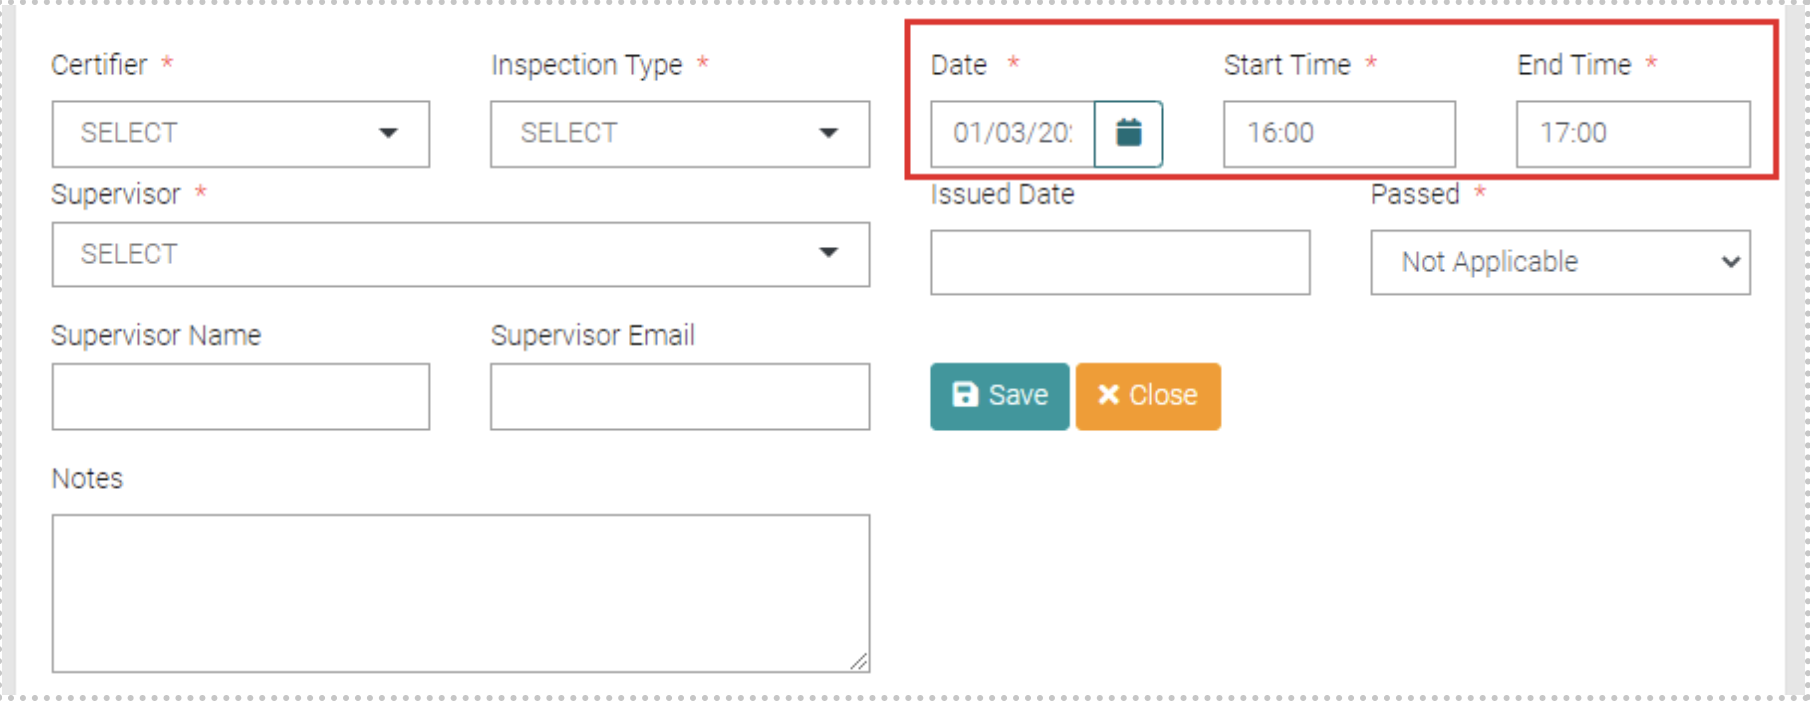
Issued Date drops a calendar to select the date the Inspection was Passed. Beside it is a drop down menu to show if the Inspection has passed (Yes), not passed (No) or not yet done (Not Applicable).
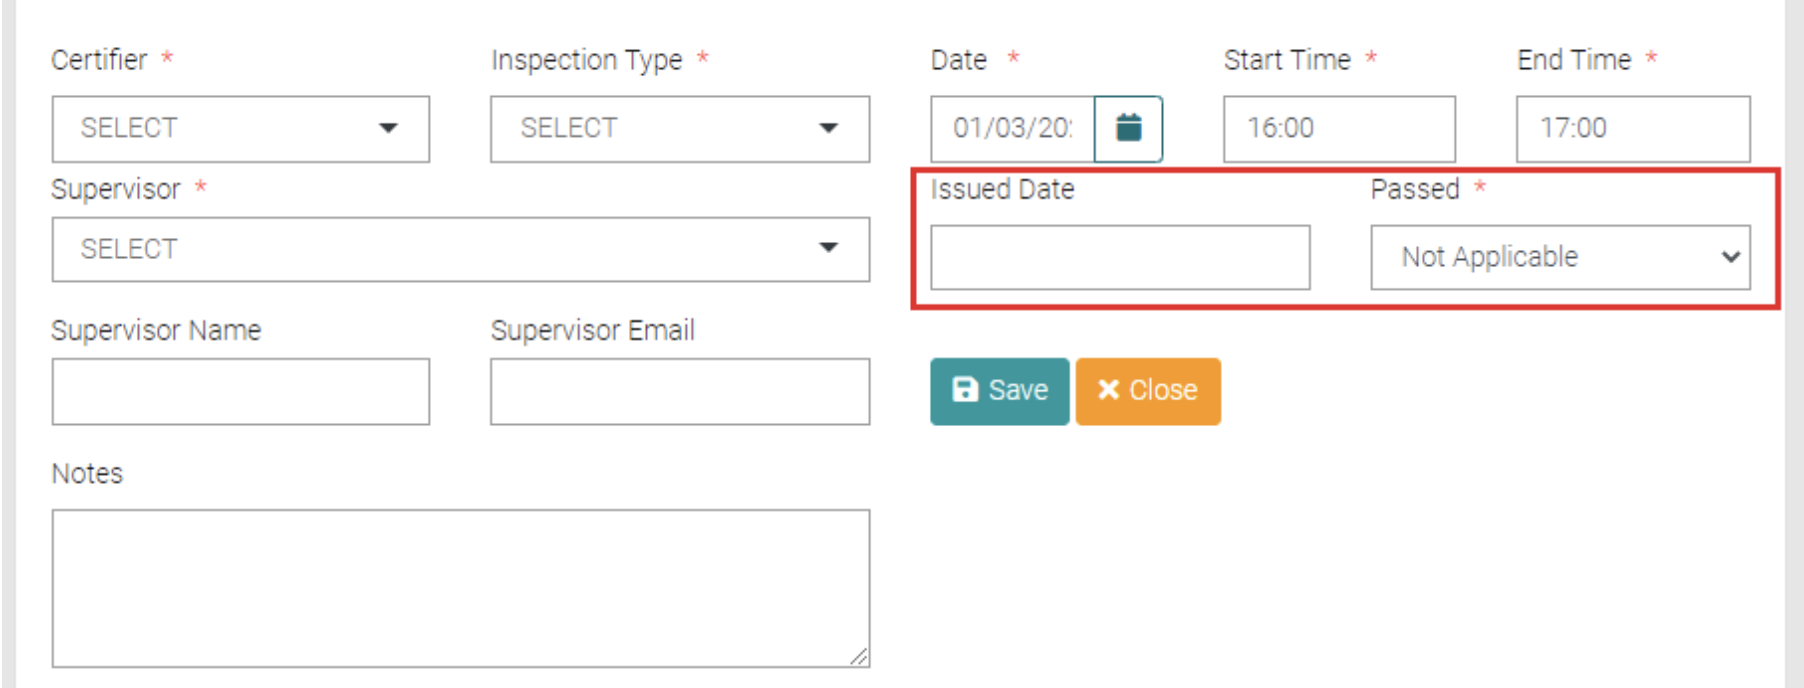
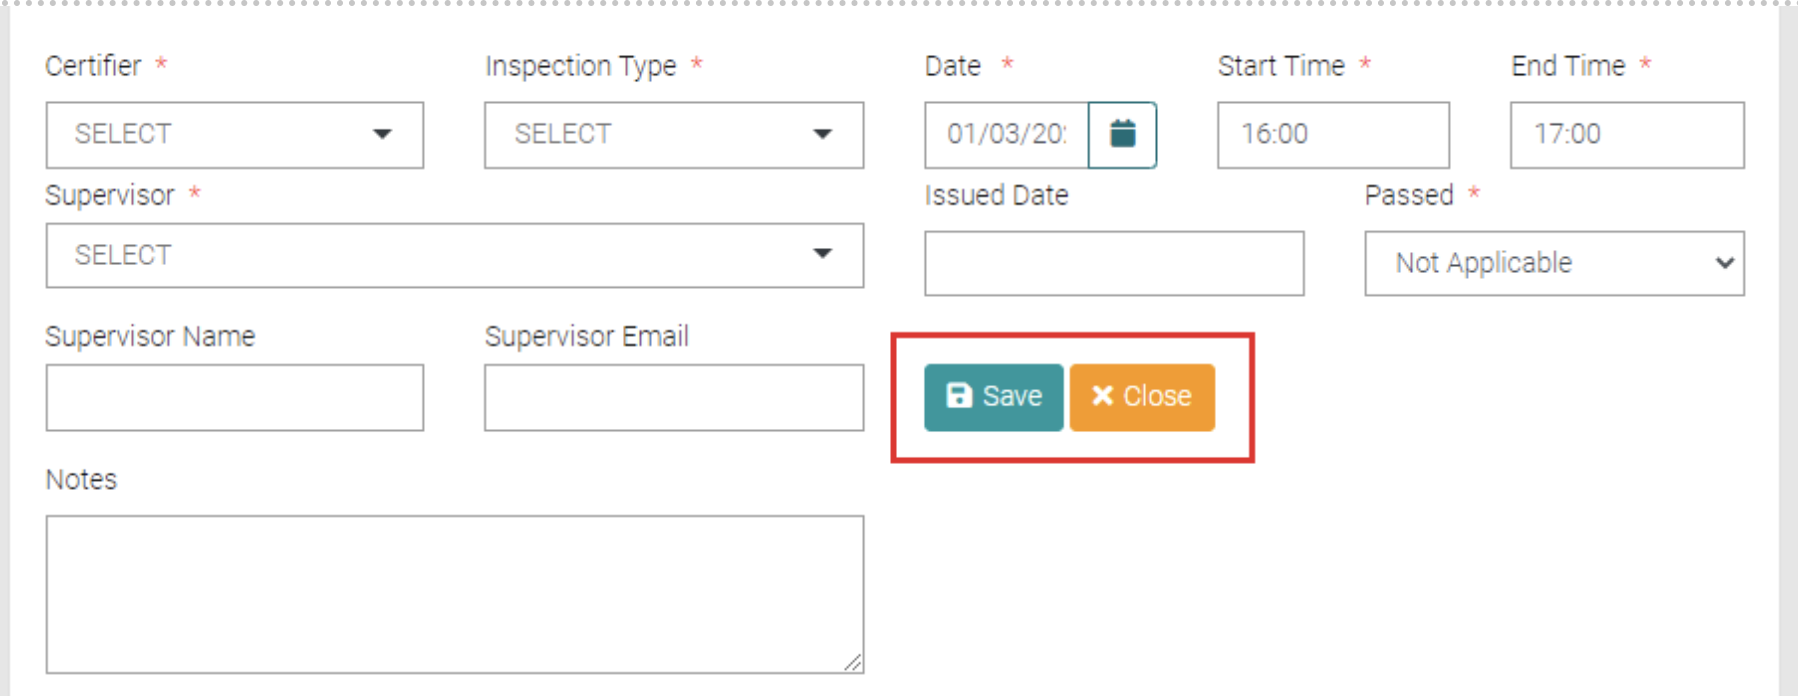
Once all Mandatory Fields are completed click on Save to save the new Inspection or click Close to close the Add New field.
Edit
Edit existing Inspections by clicking on their Type.

This will open a new field that you can edit the information of the Inspection.
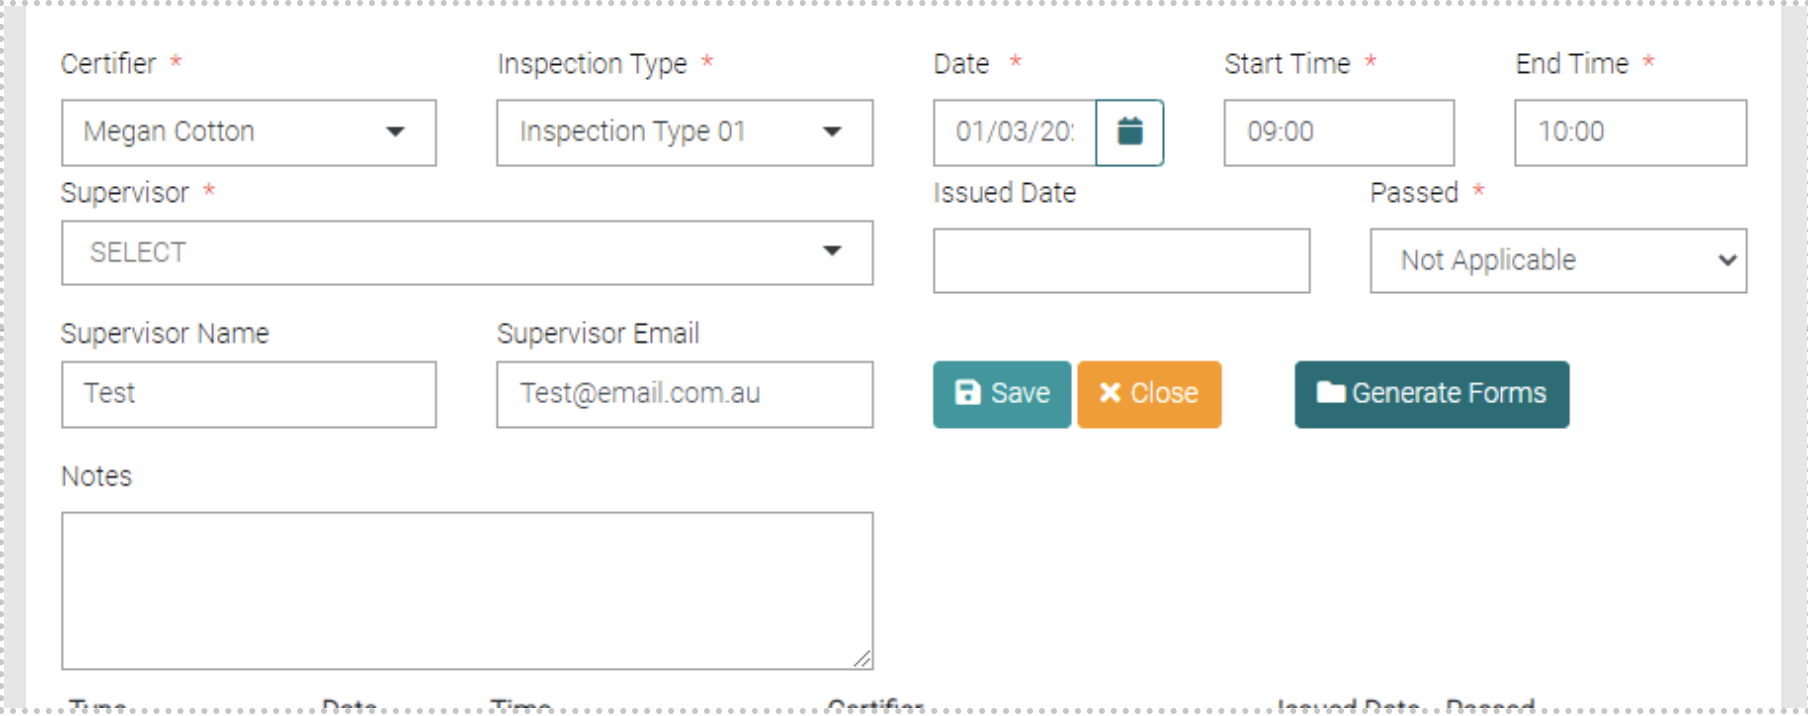
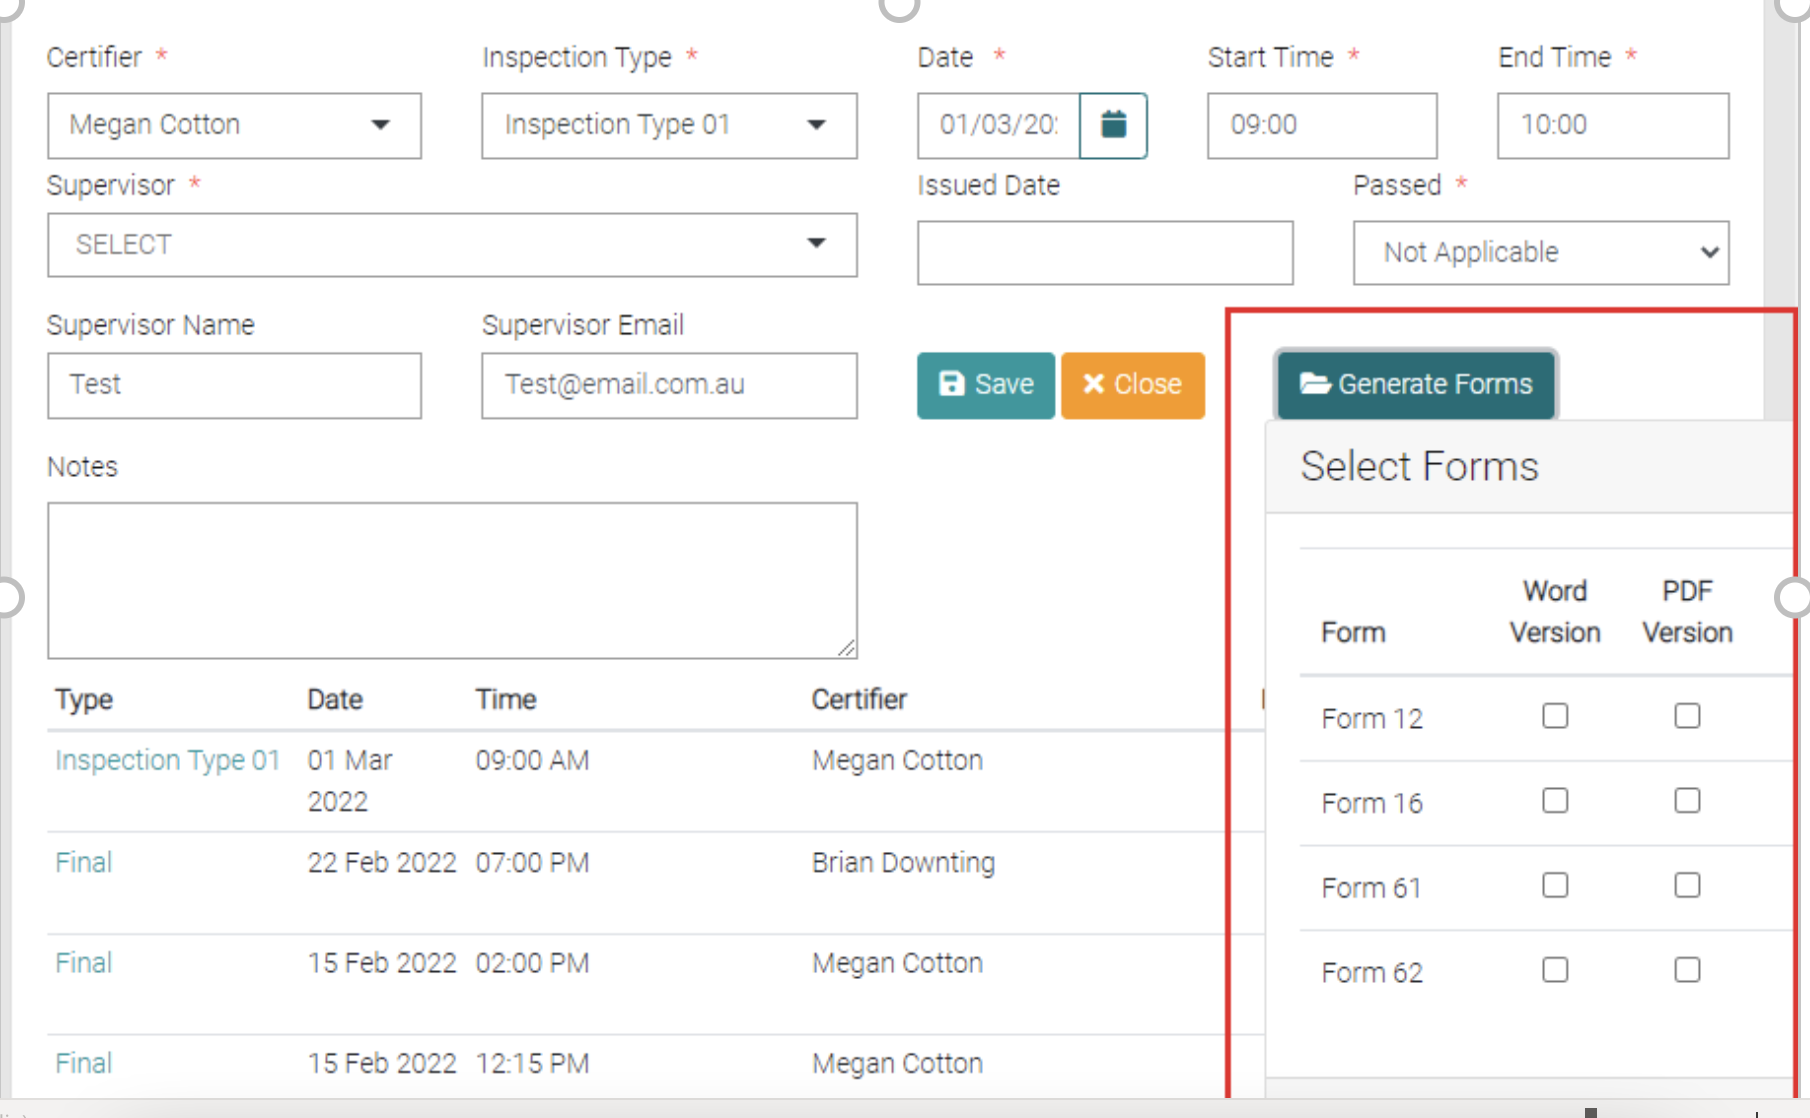
Use the Generate Forms button to generate forms. You use the checkbox to select the Form and what format it is to be generated in (either Word or PDF). The use the Generate button to download the generated file in the preferred file format.
Delete
Use the red trash can to delete the Inspection.
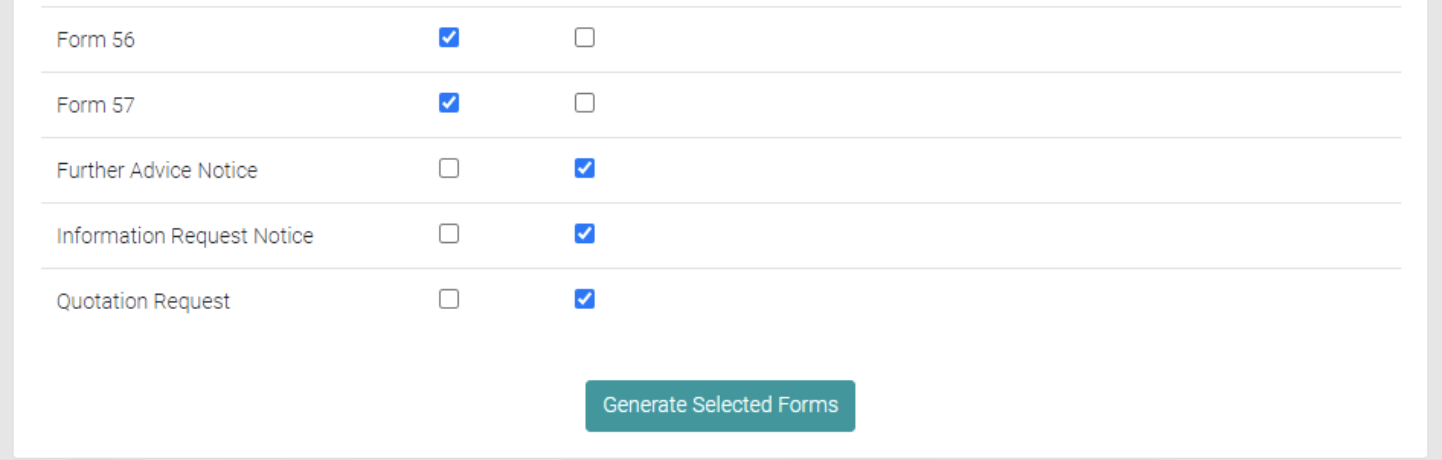
Forms
In the Forms page you see a list of Form related to this Job.
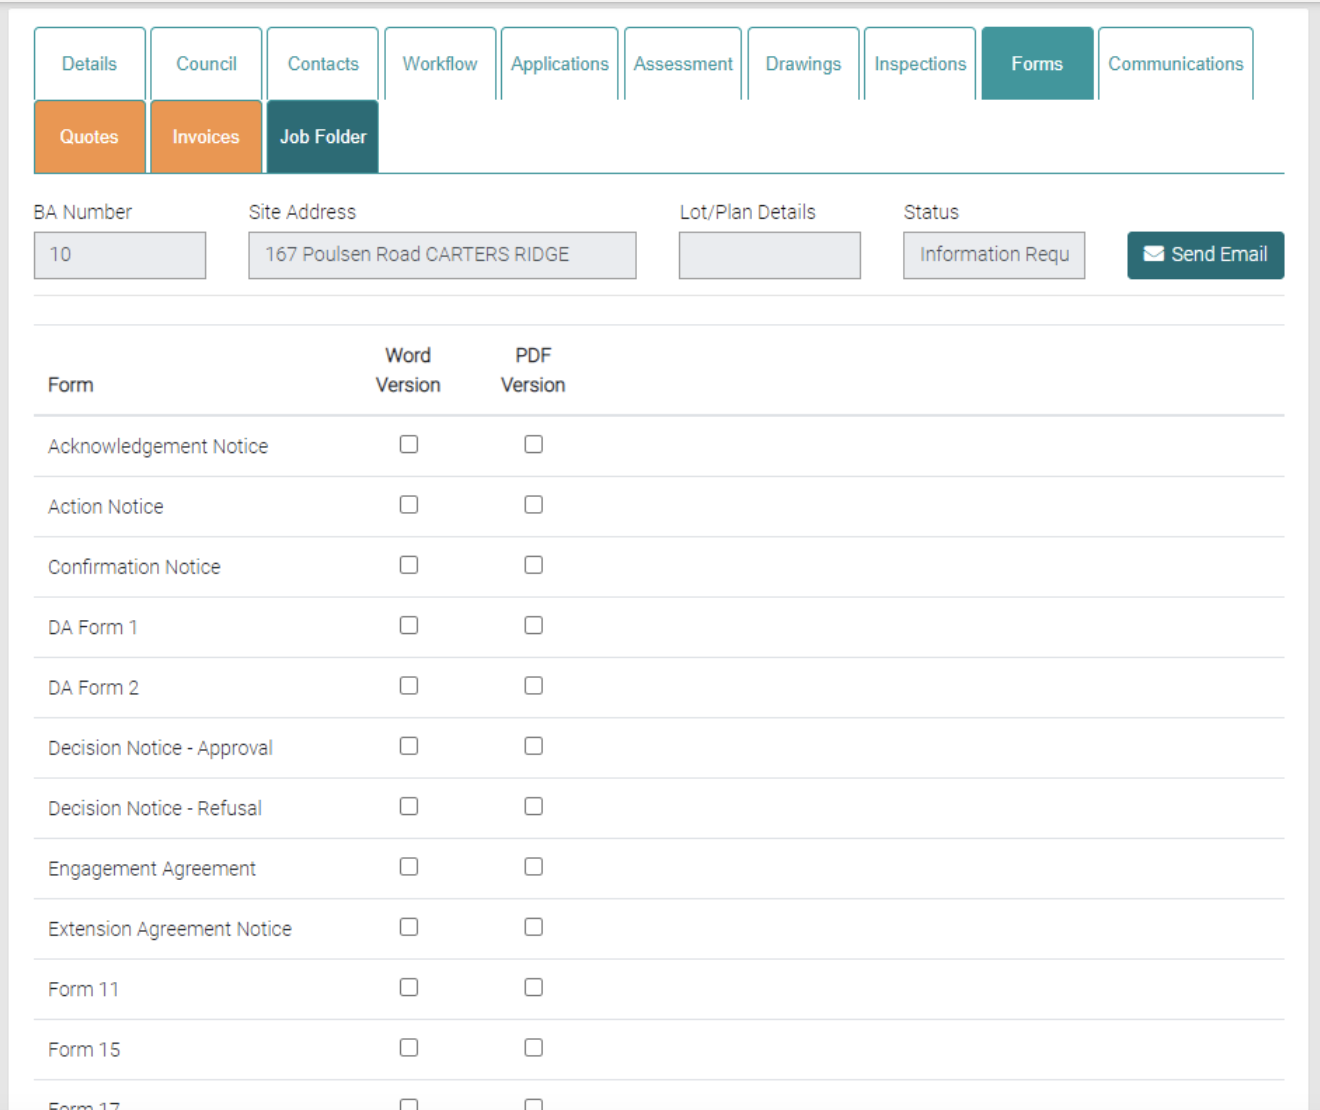
You use this tab to Generate Forms, use the Checkboxes to mark which Forms to generate and which format (Word or PDF), when Generate Selected Forms is selected only the selected forms are generated.
Communications
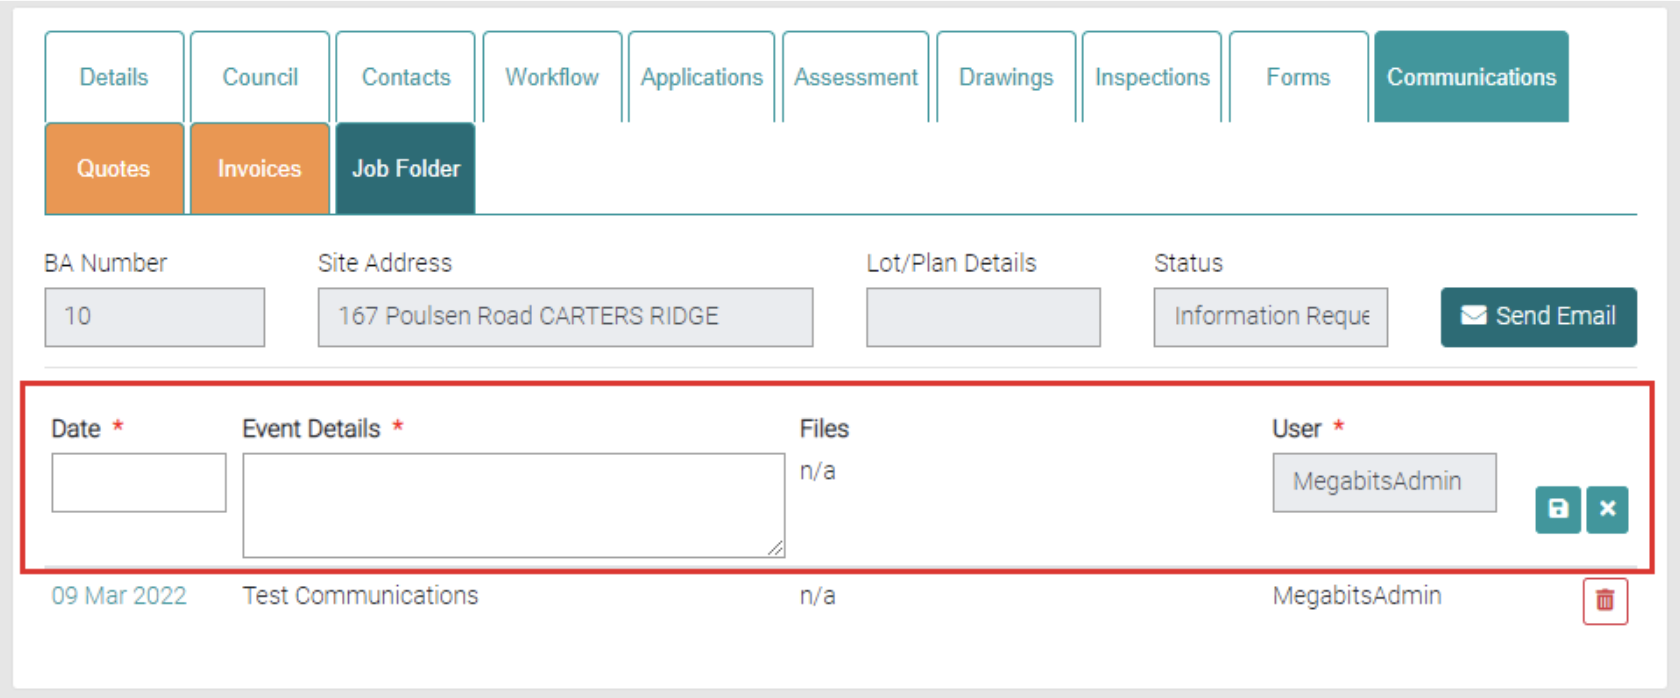
Communication tab is used to record communications regarding the Job.
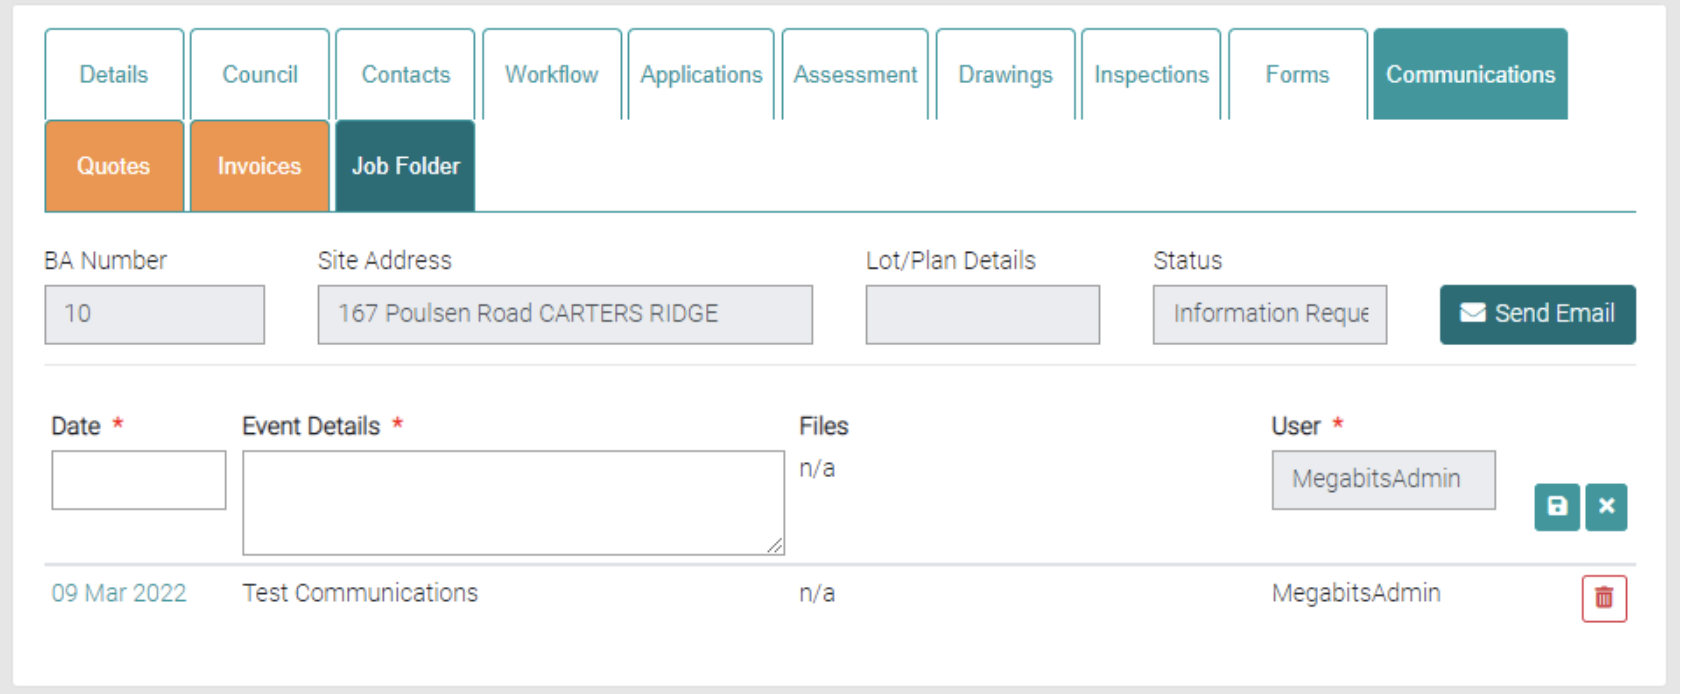
Add
New Communications can be created here, fill out the text fields marked with * are mandatory. Add the Date of the Communication and add any details about the communication should be added to the Event Details for future reference. Use the green save icon to save the new Communication.
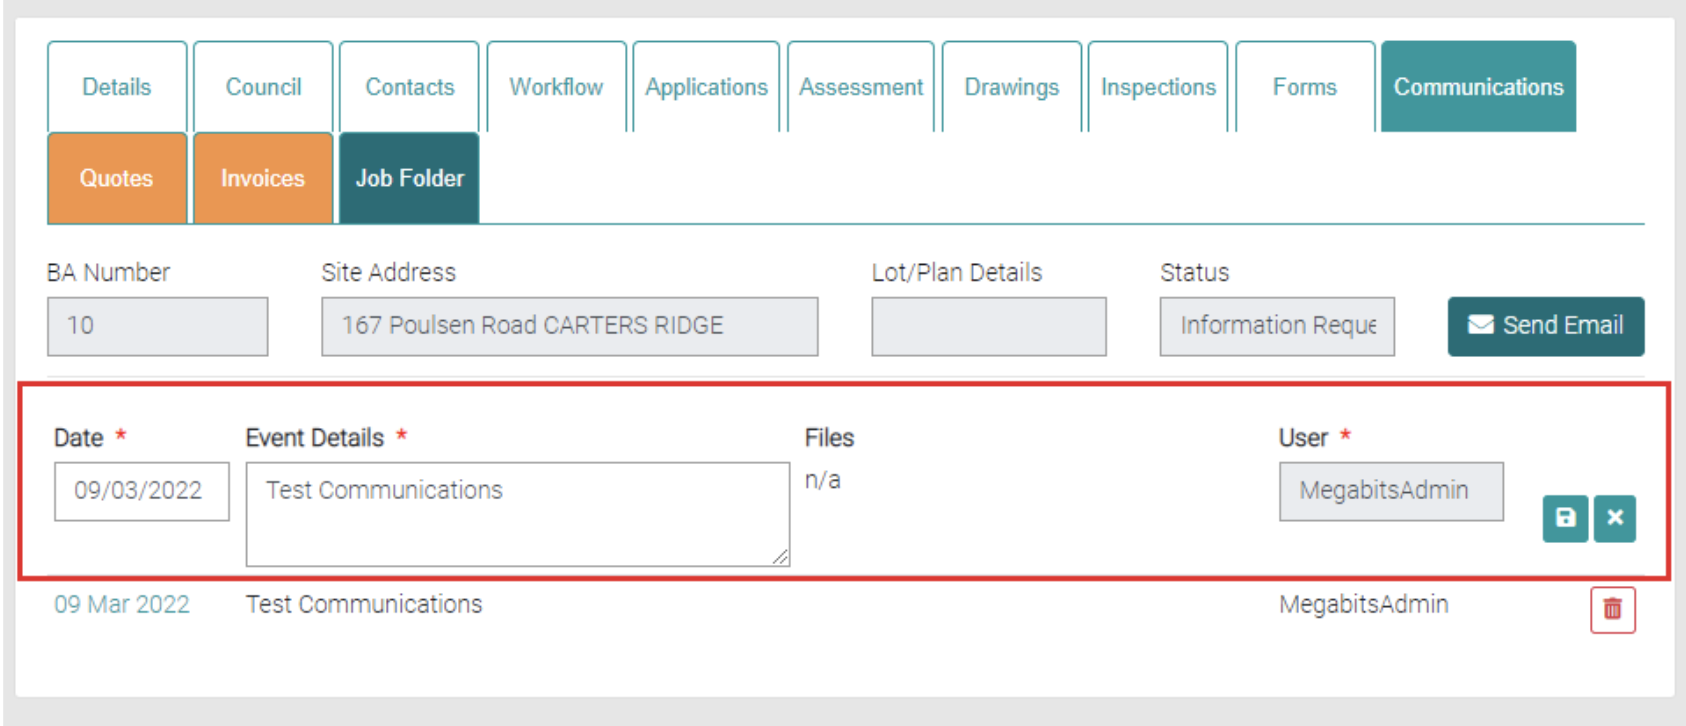
Edit
Existing Communications can be edited by selecting on the date of the Communication.

This loads the existing Communication into the text fields and can be edited. Use the green save button to save changes or the green cross to back out of making changes.
Delete
Use the red trash can button to delete existing Communication.

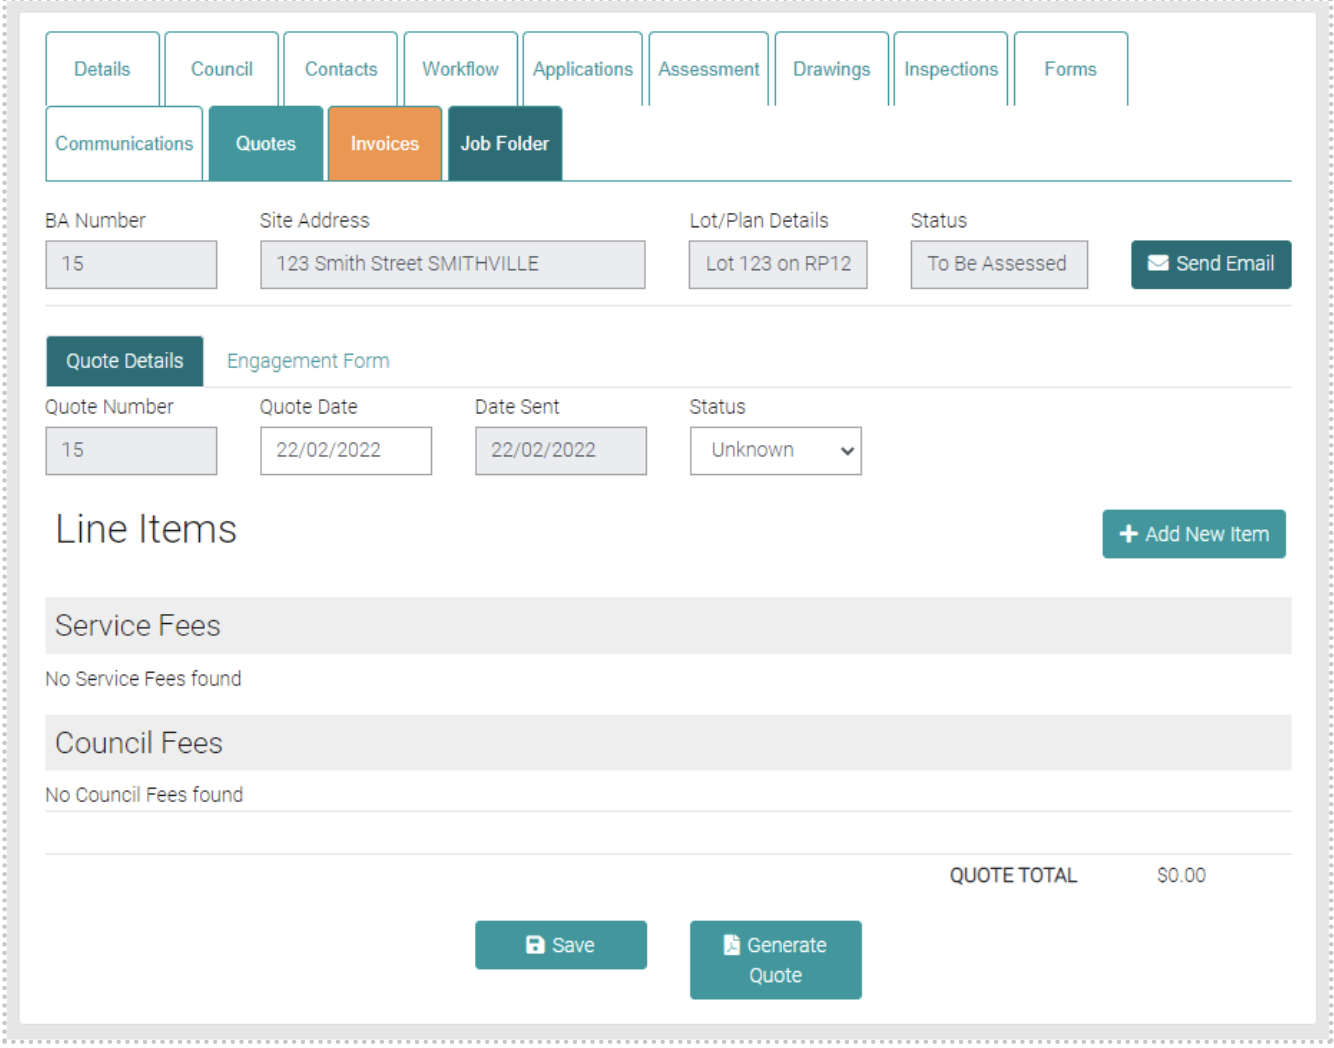
Quotes
This Tab opens the Quotes.
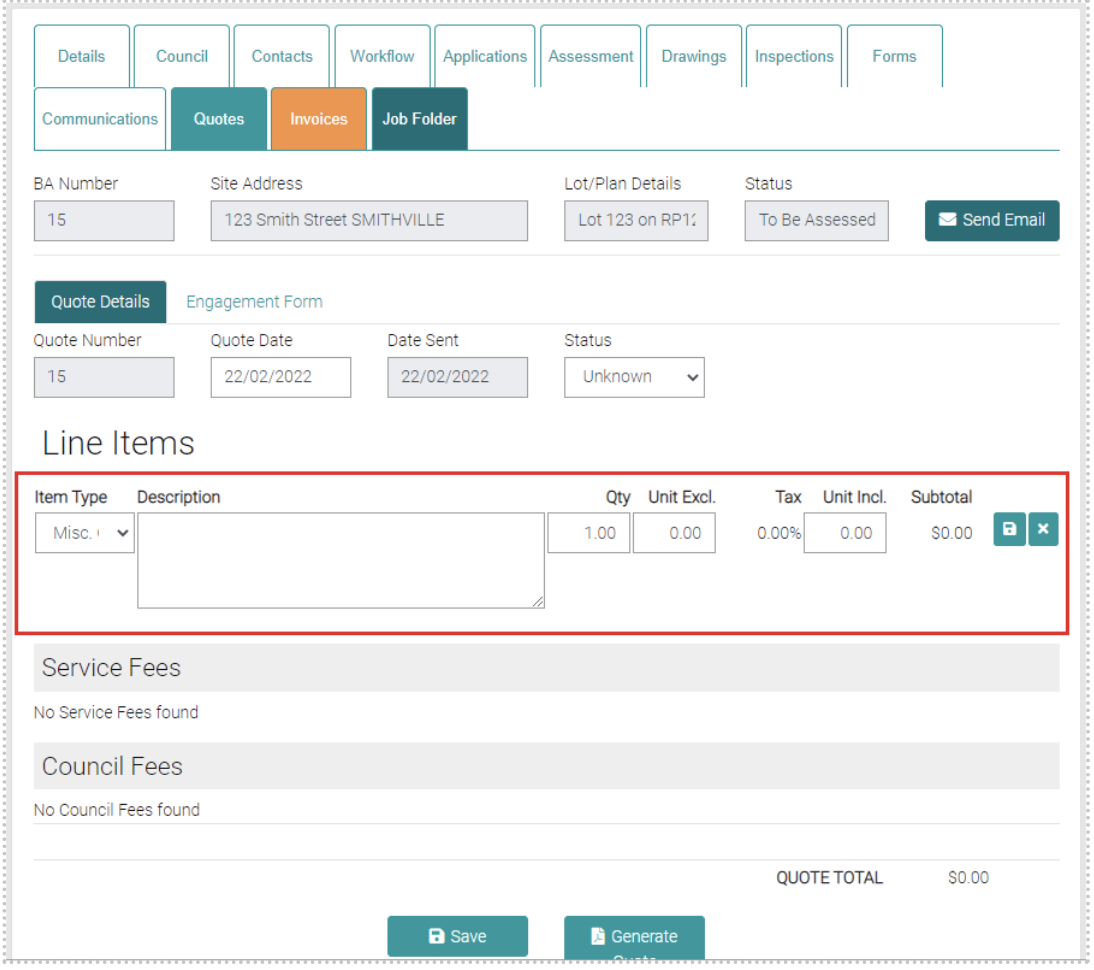
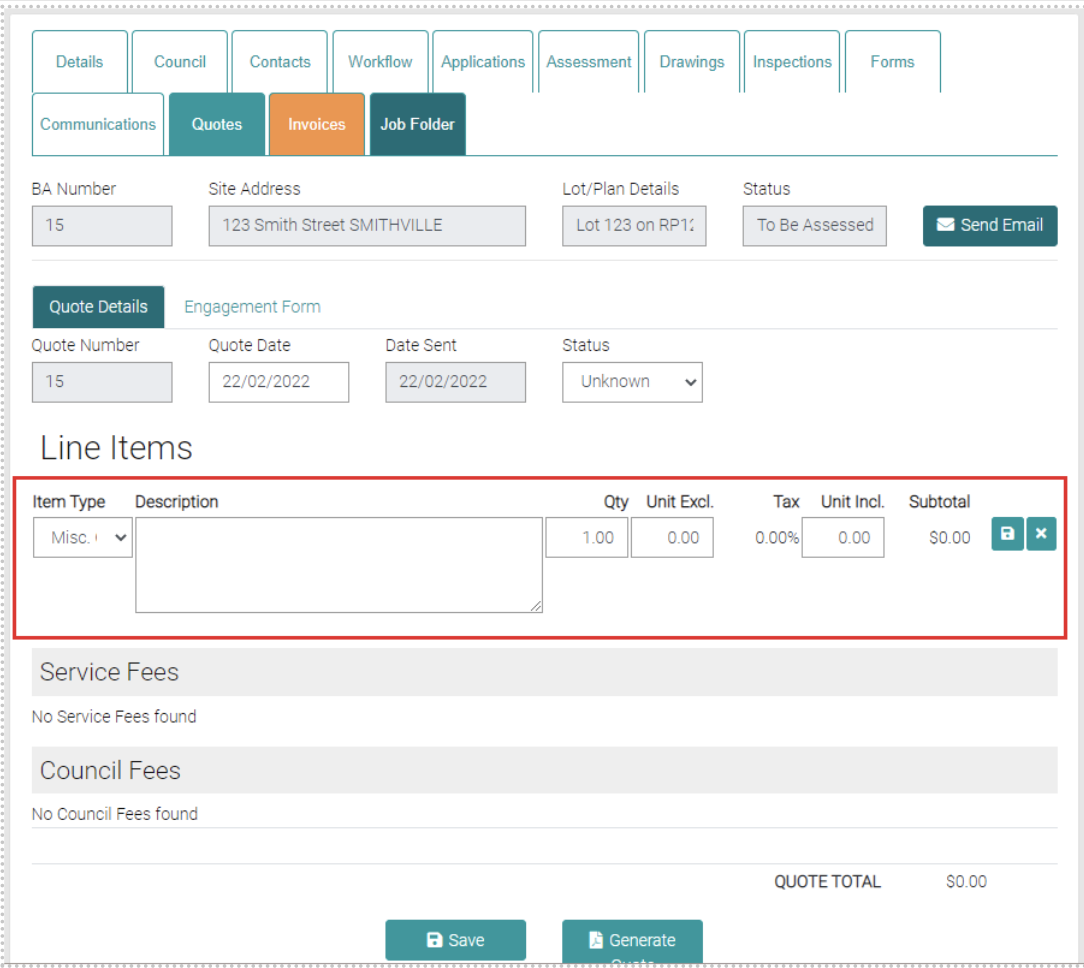
Add New Item
The Add New Item button opens text fields that allow new Service Fees or Council Fees.
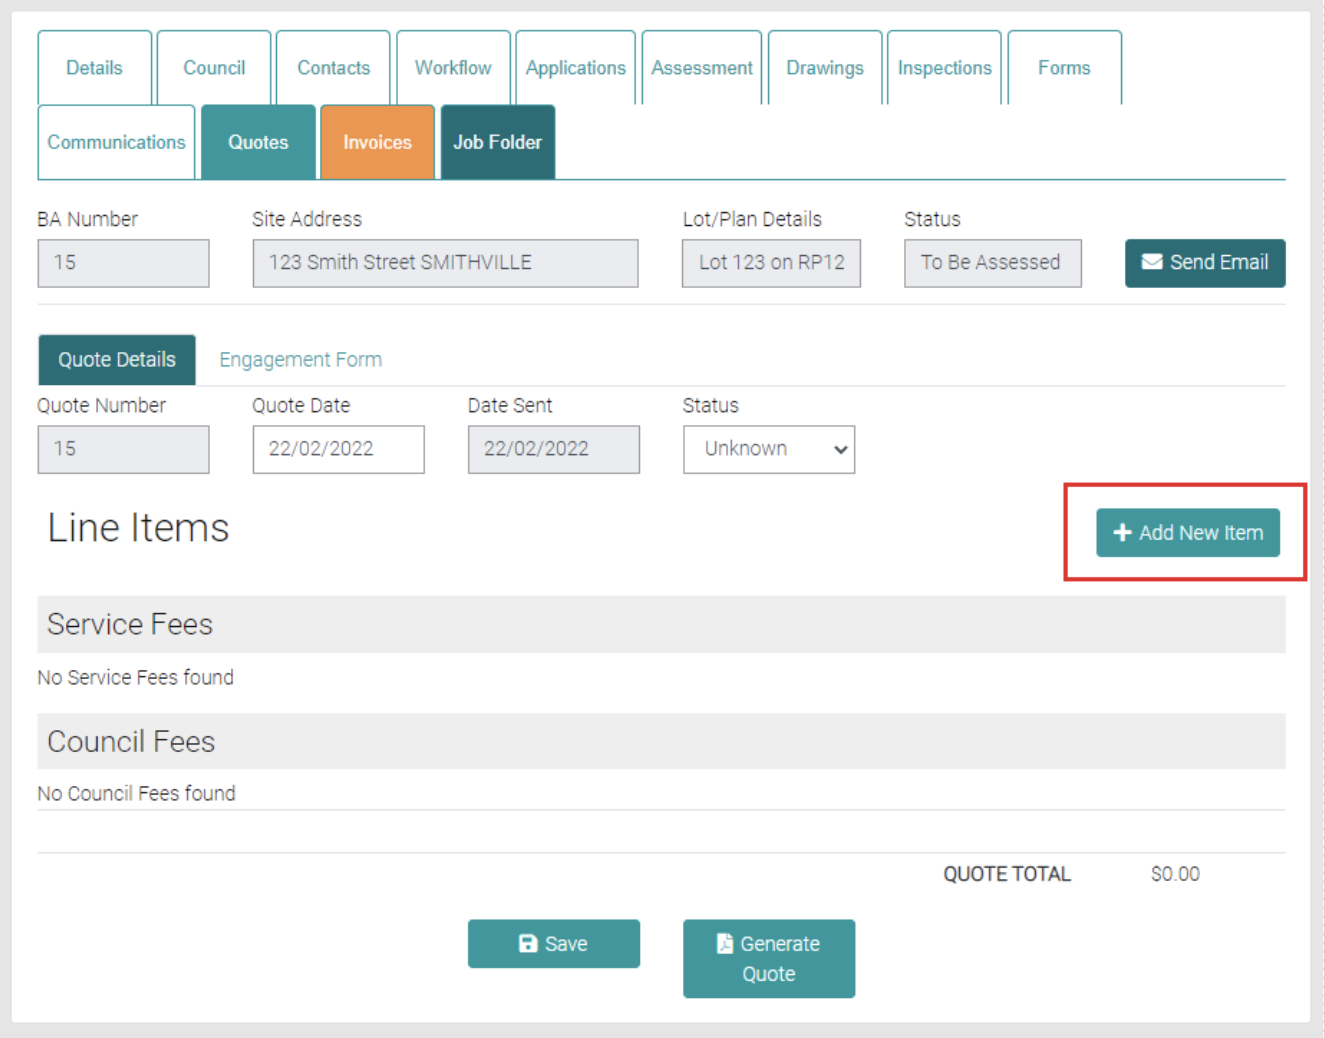
Item Type dictates if the new item is a Council Fee or Service Fee, the Description text field can add further details to the Fee, the Qty shows how many of these Fee’s exist, Unit Excl. is the cost per Item and Subtotal shows the cost of the new Item. Use the Green save button to save the new Item or the Green cross to close and not save the new item.
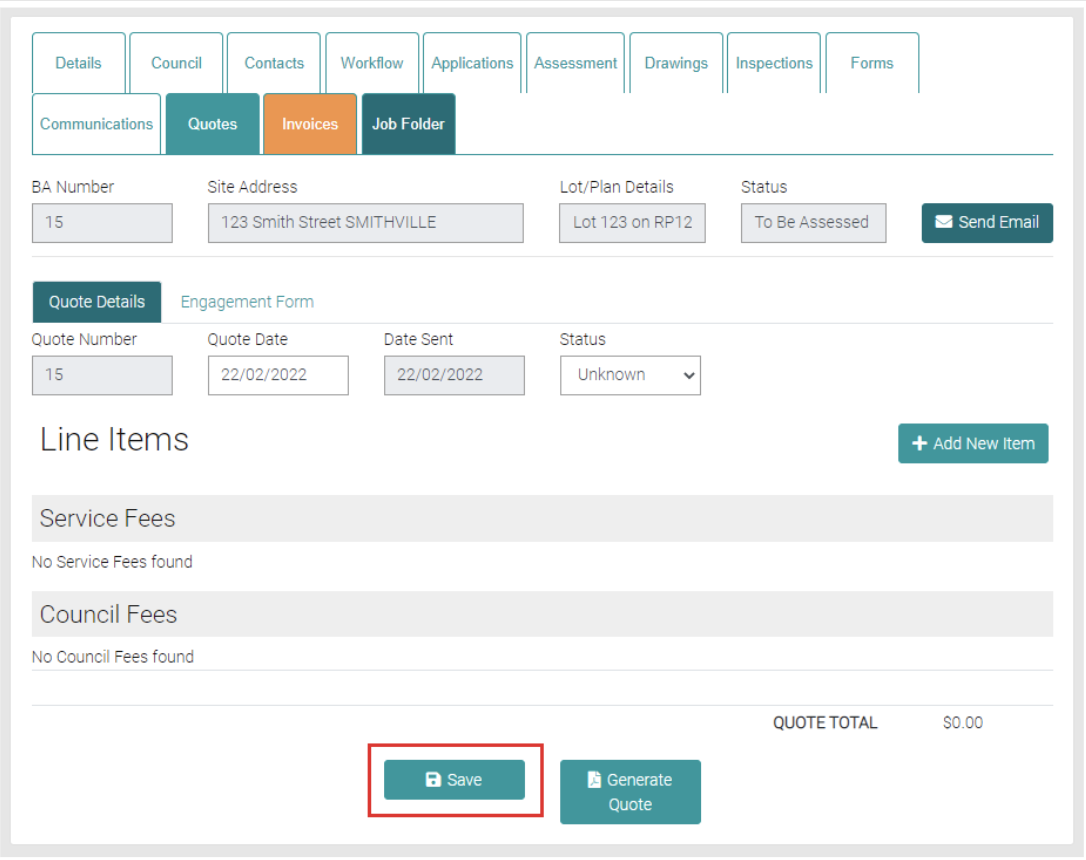
Use the Save button to save any changes to the Quote.
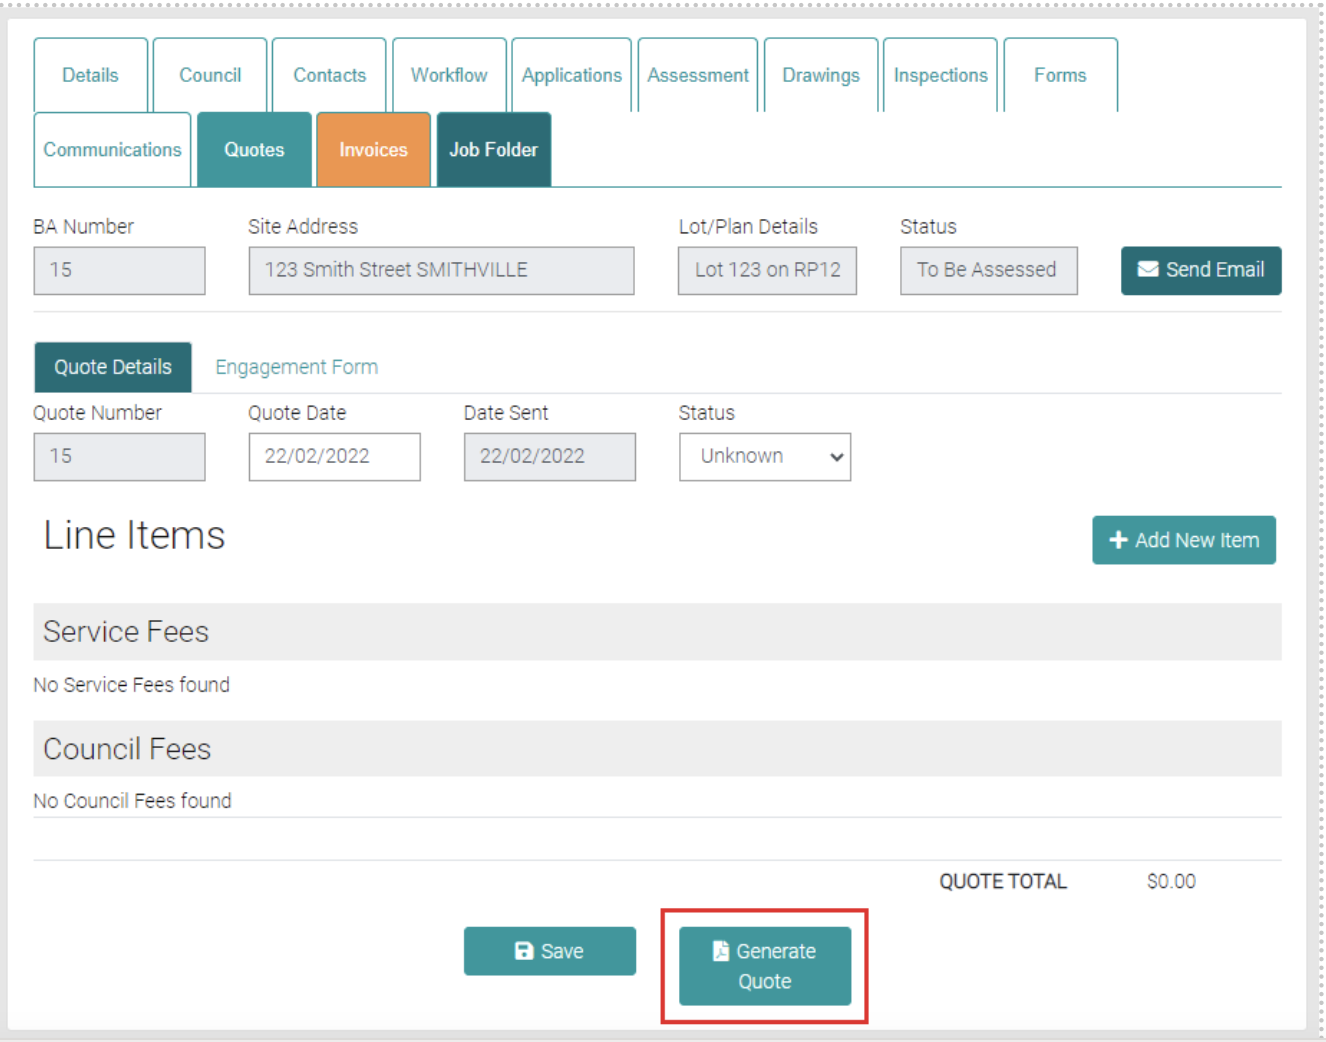
Generate Quote
Generate a Quote by using the Generate Quote button, this will download a PDF of the quote.
Invoices
In the Invoices tab is where Invoices are created and managed.
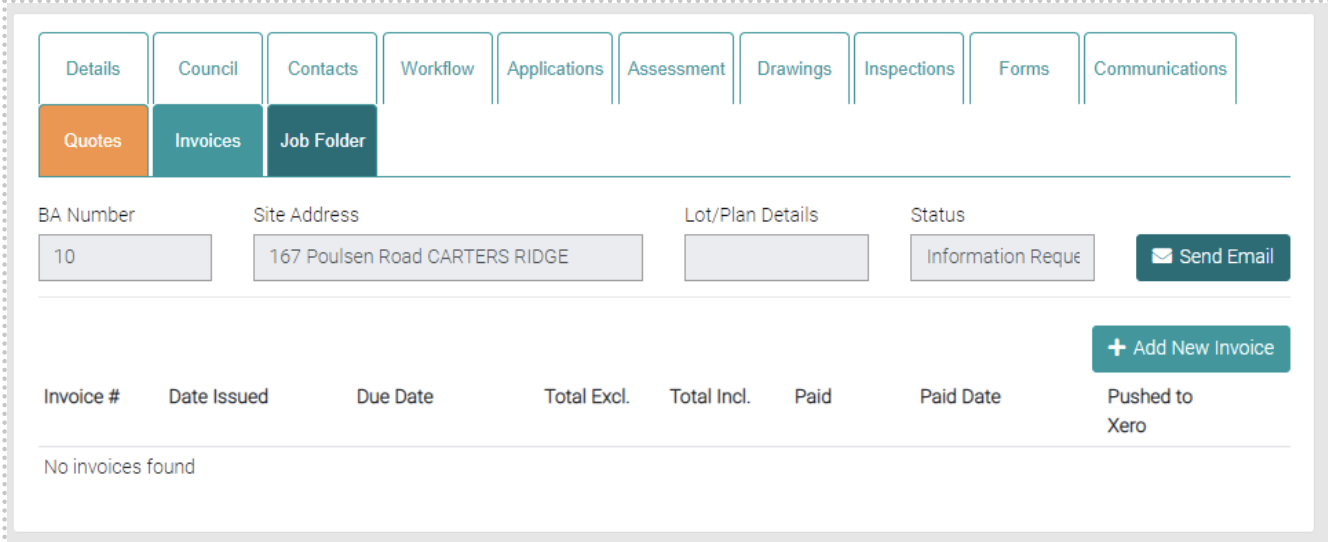
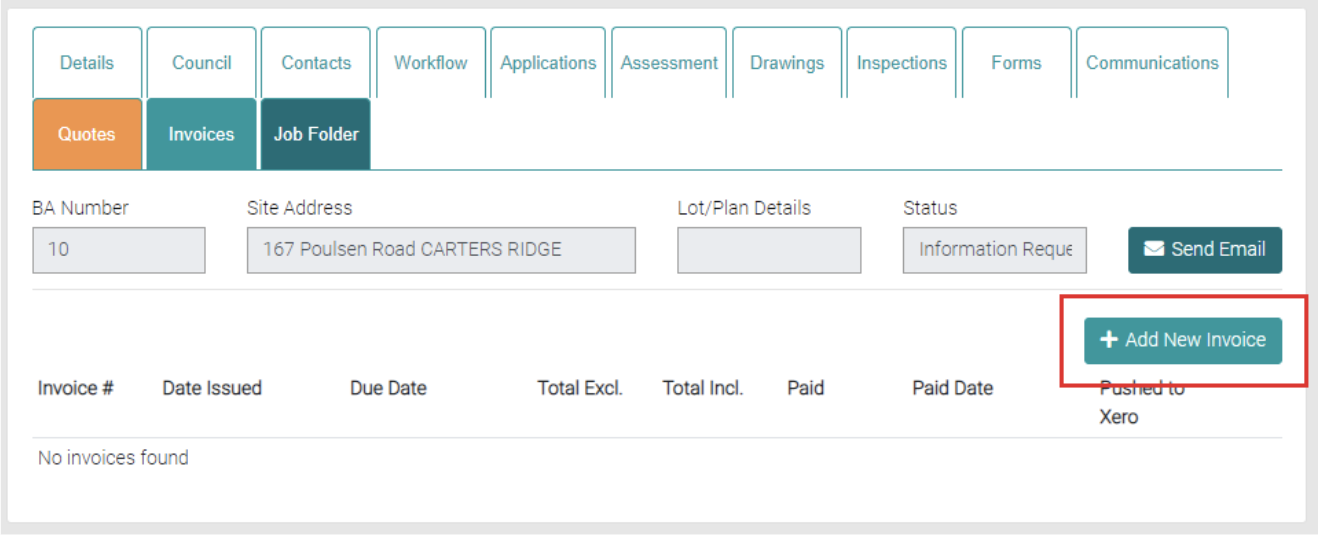
Add
New Invoices are made by clicking on the Add New Invoice.
Enter in the Details of the Invoice, the text fields that are greyed out are unable to be edited.
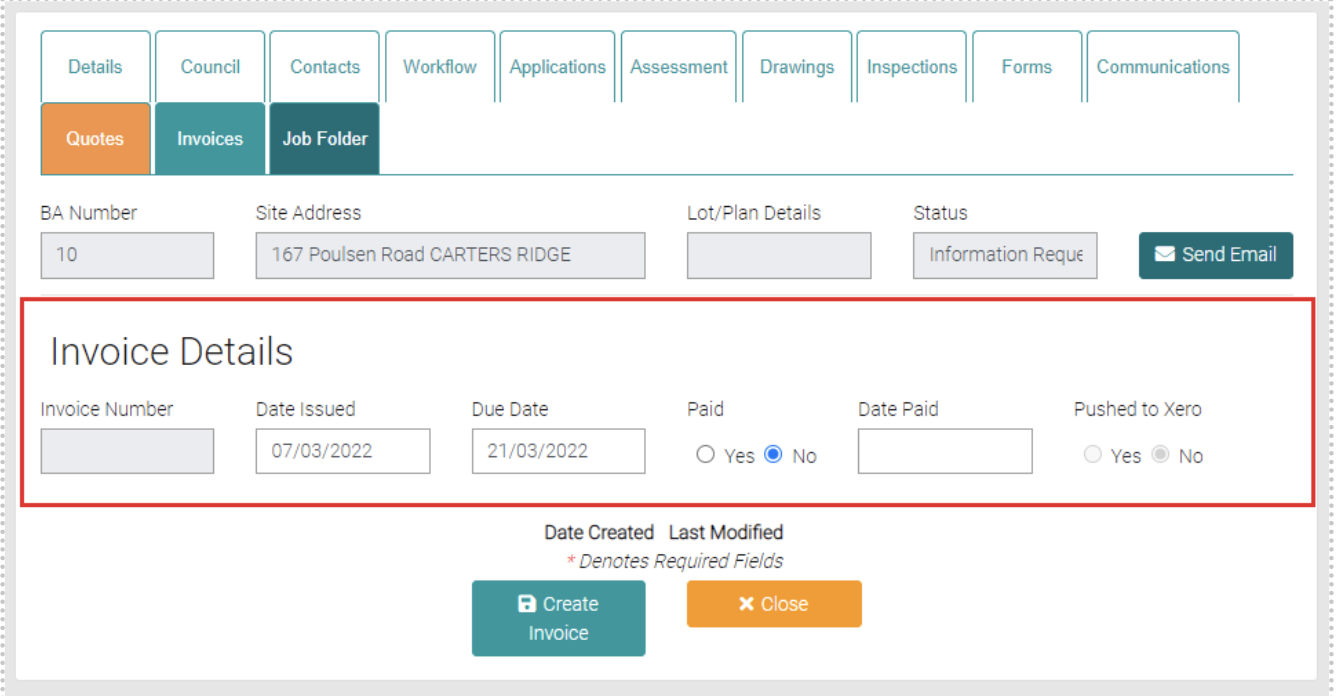
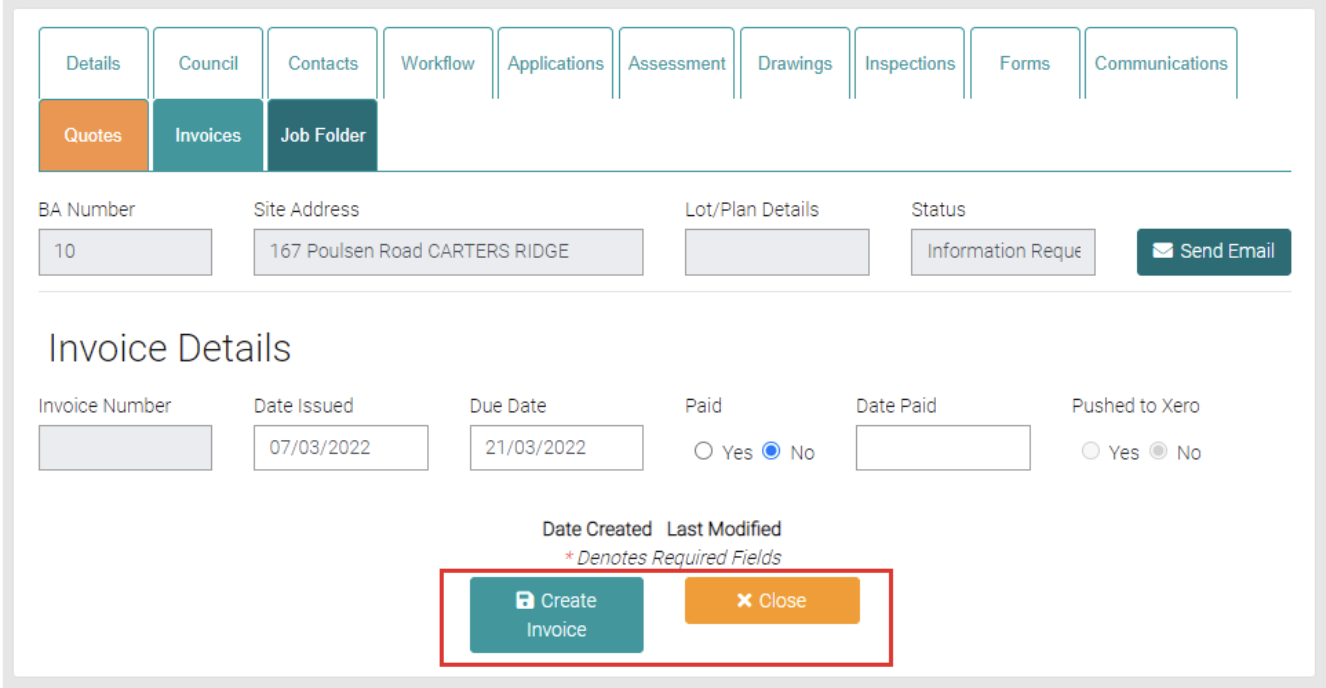
Once the details have been entered click Create Invoice to create the new Invoice or Close to go back to the list of Invoices.
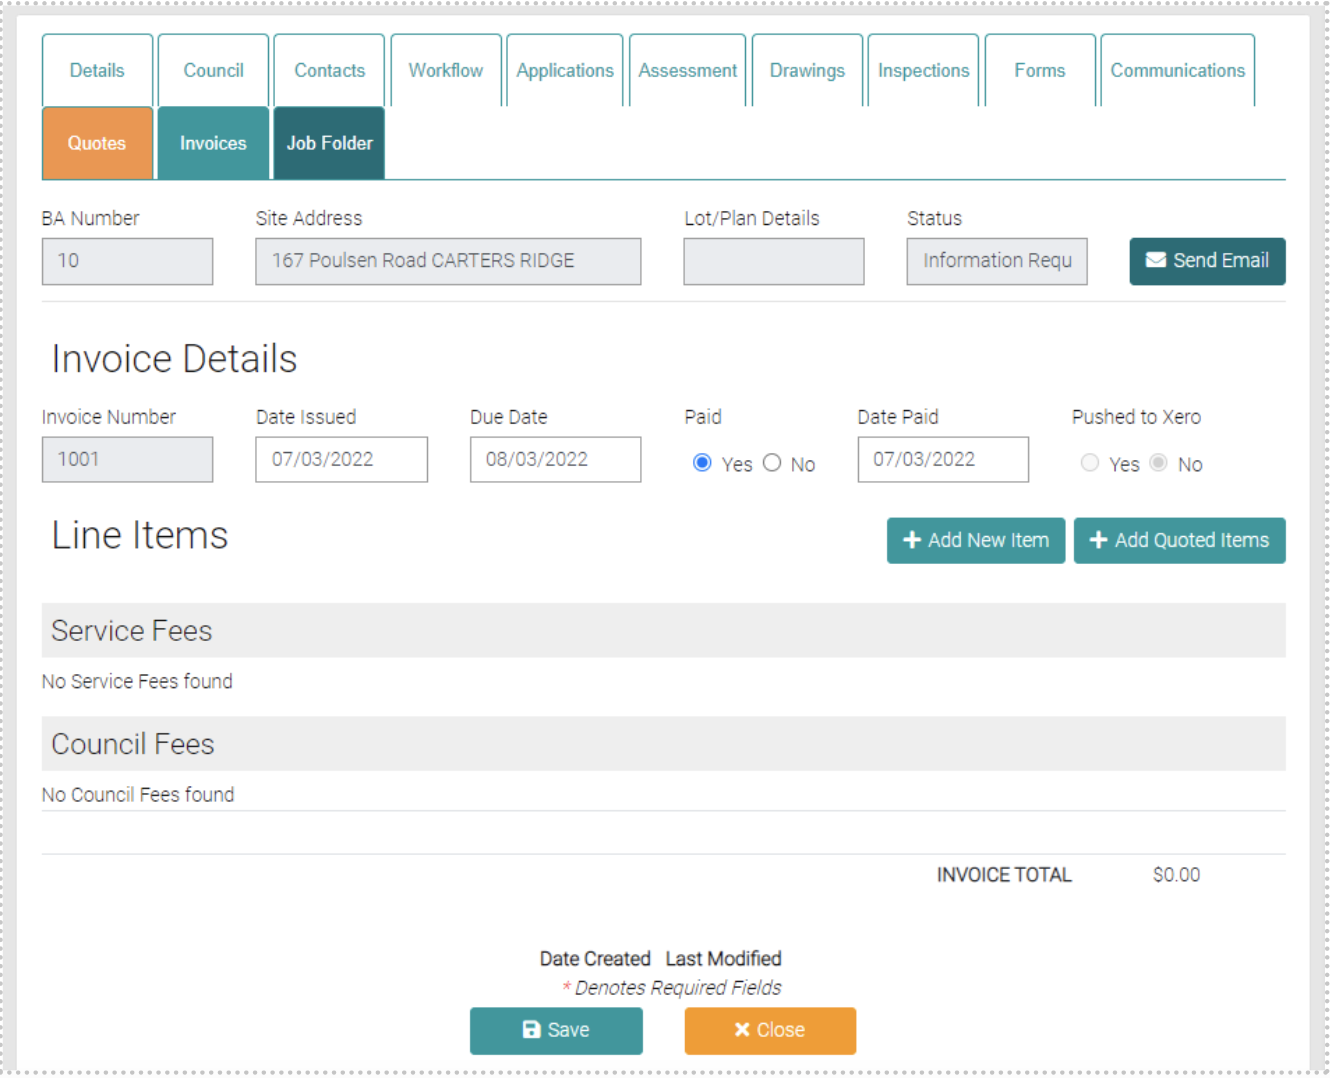
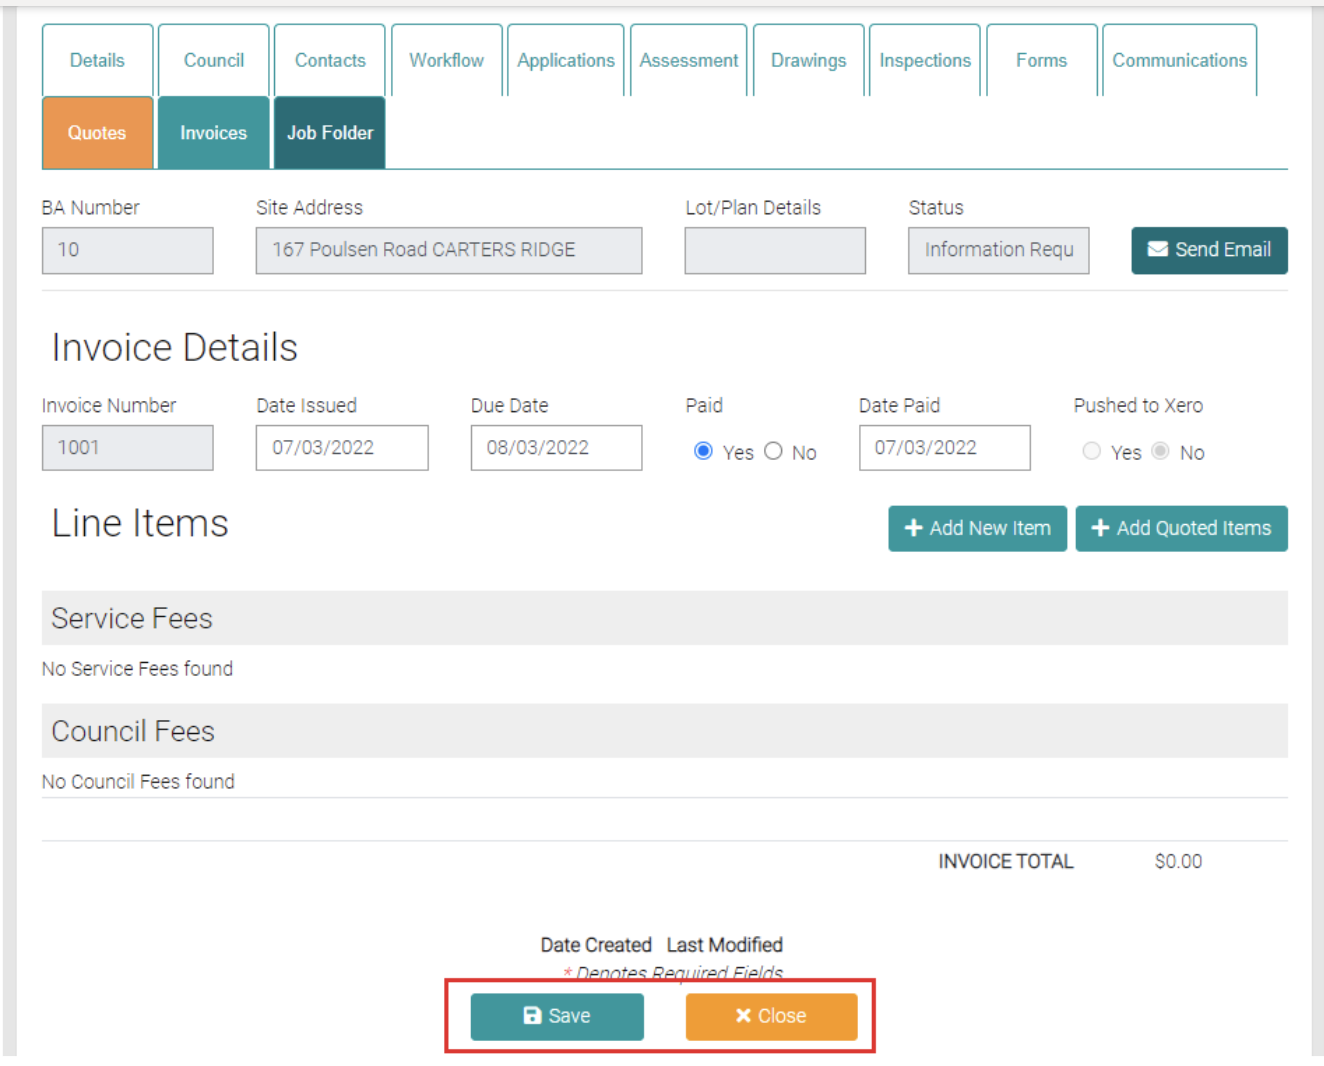
Once a New Invoice has been created this opens a page to add in all the Service/Council Fees to the Invoice.
Add New Item
Use the Add New Item to create a new item for the Invoice.
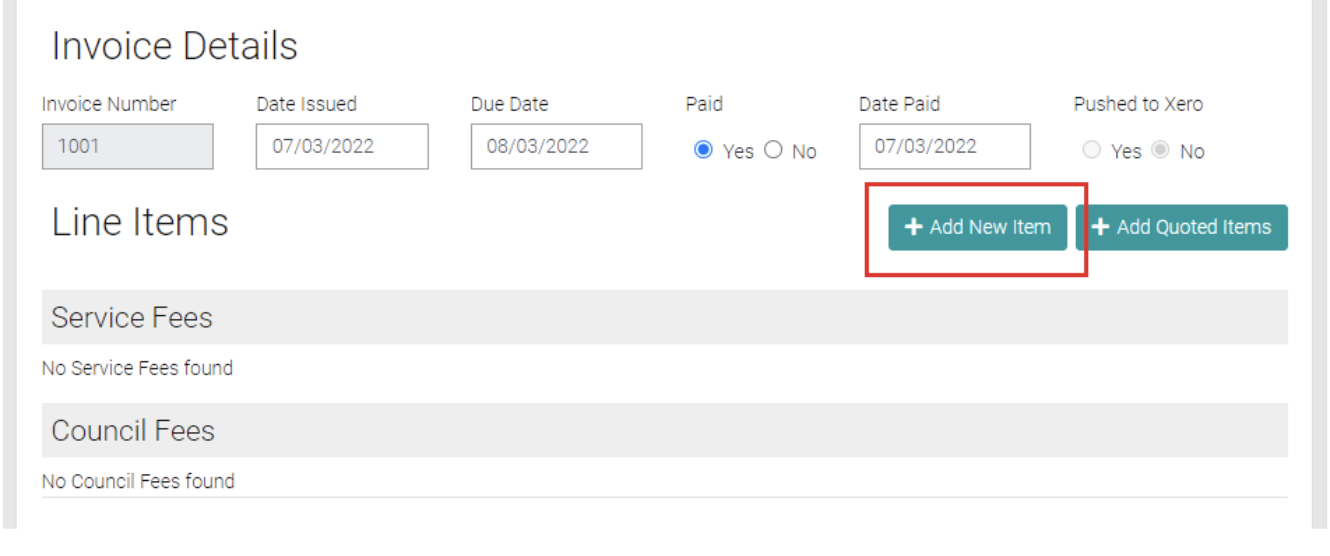
This will open a new section to add the details of the new Item.
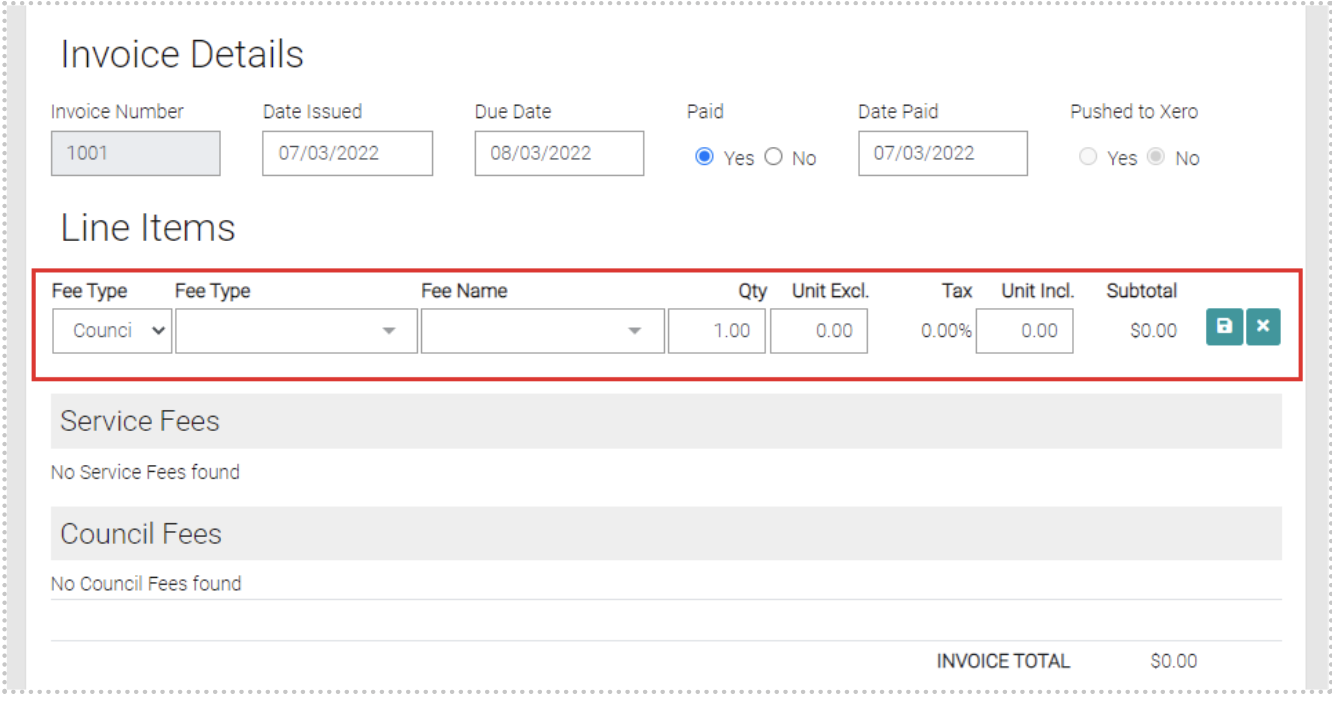
Add in all the details of the new item for the Invoice. Select if the Fee is a Council/Misc Council/ Service Fee/Misc Service Fee.
When the Fee Type is Council Fee or Service Fee you will need to select from another two drop down menus, another Fee Type (which it’s options are managed in either Lookups > Service Fee or Lookups > Council Fee) and Fee Name. You can enter the quantity and Unit Excl. and Unit Incl, these should prefill with information that has already been used in the Service Fee, double check the information is accurate.

When using the Misc Council or Misc Service Fee the second Fee type drop down menu becomes a Description text field where the user can give a general description of the new Item. Like with the Service Fee/Council Fee you can enter the Quantity, Unit Excl. and Unit Incl., make sure these numbers are accurate.
 Once the new Council/Misc. Council/ Service Fee/Misc. Service Fee has been filled out then click on the green Save button to save the new Item to the Invoice or use the green cross to not add the new Item.
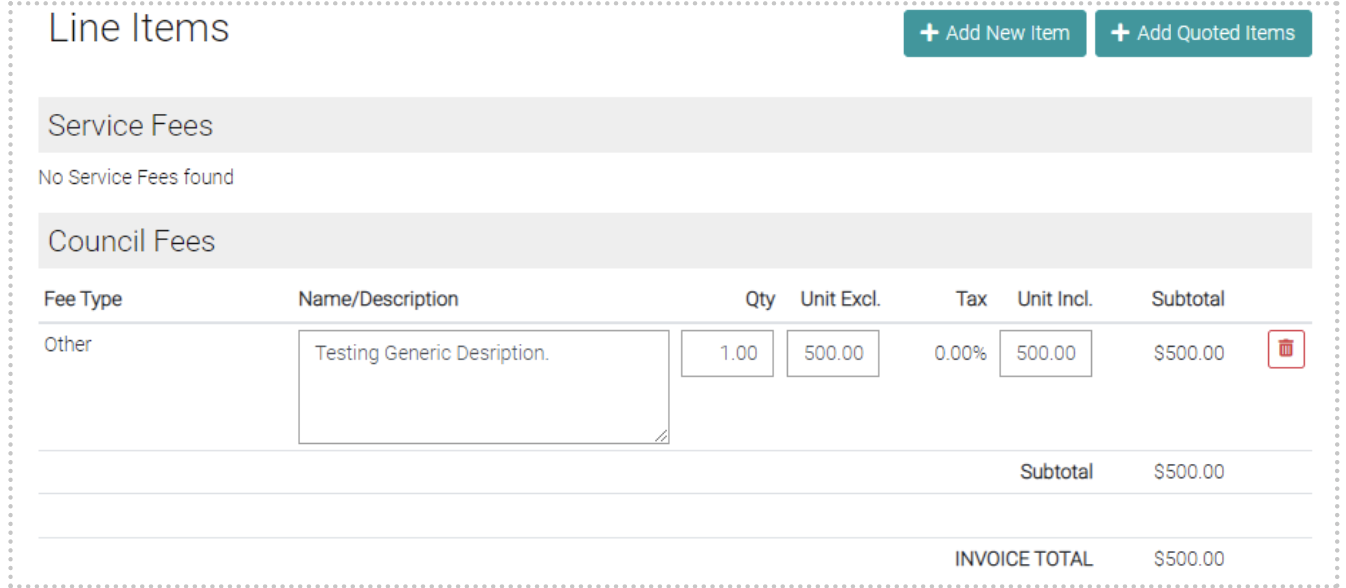
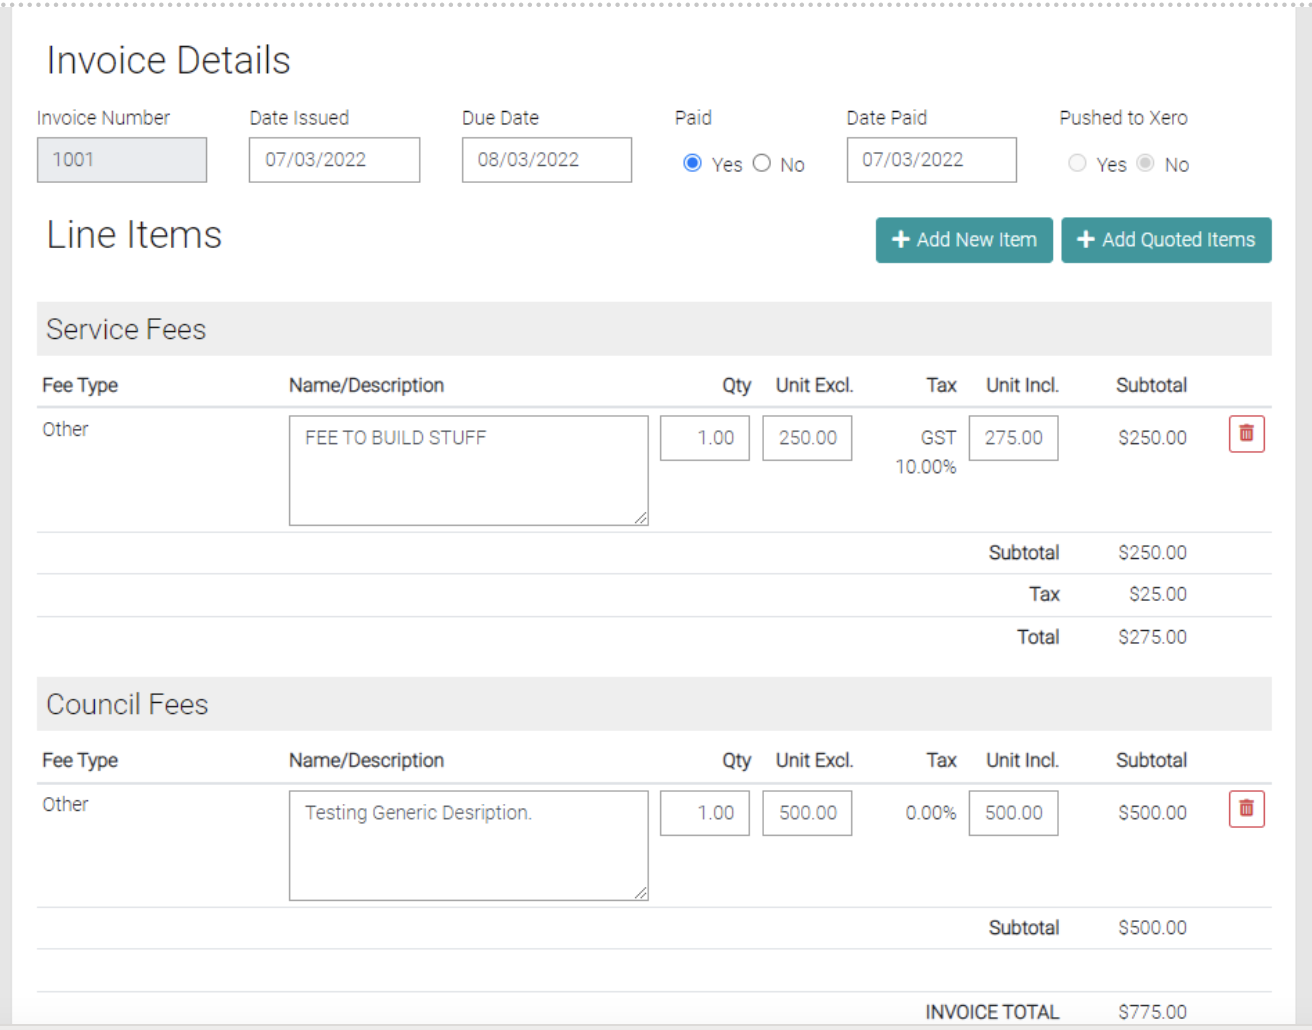
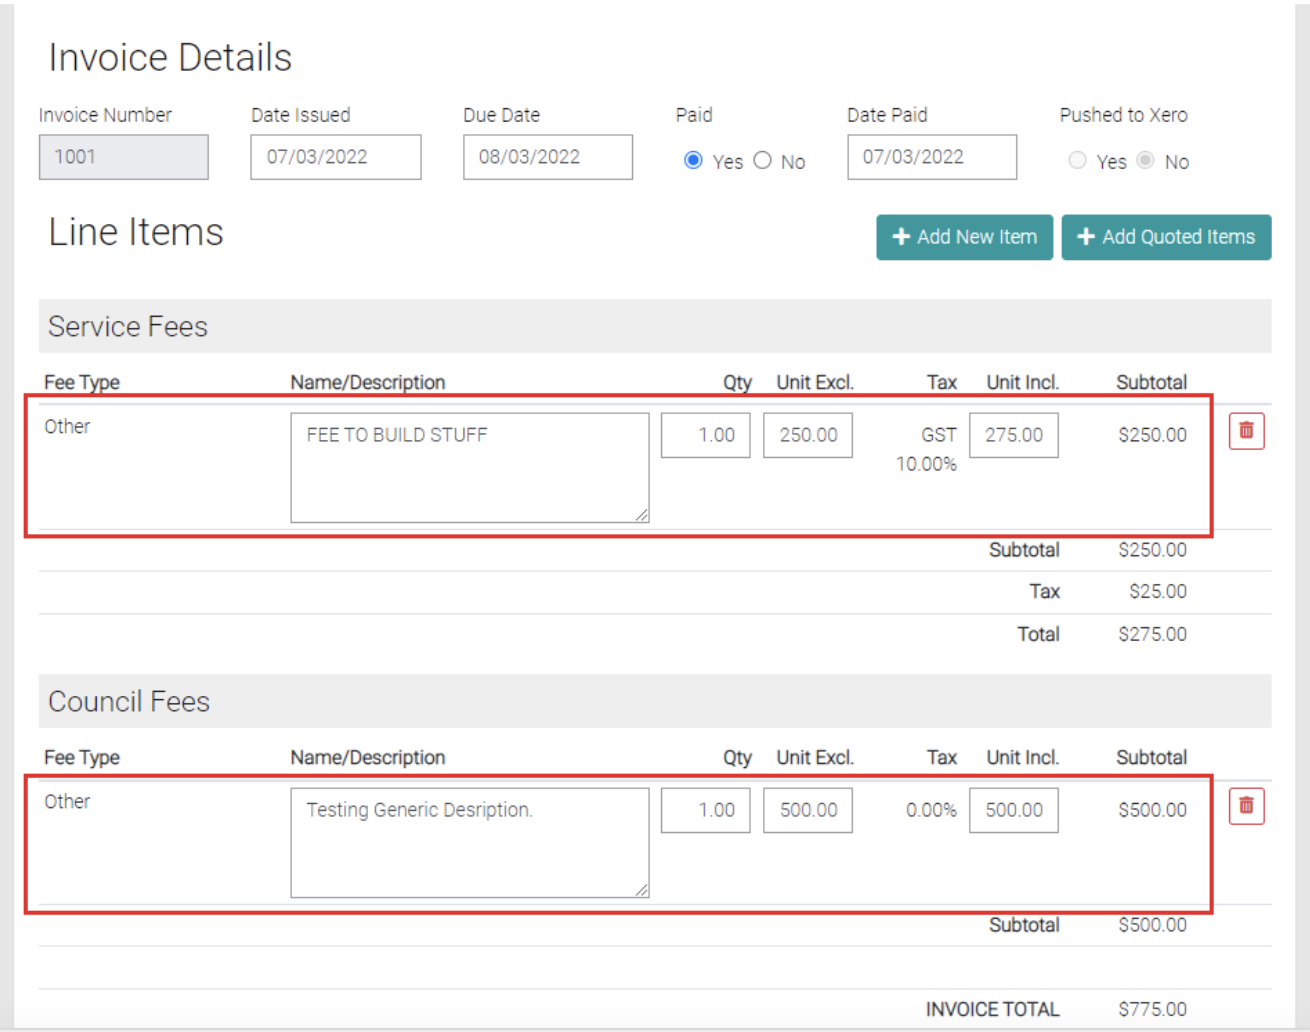
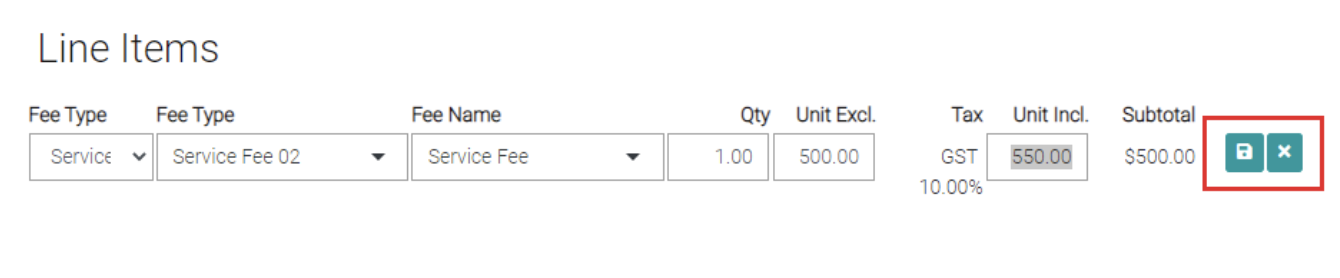 Once save it will appear on the invoice in either the Service Fee or Council Fee section. The Subtotal and Invoice total appear at the bottom of the Invoice.
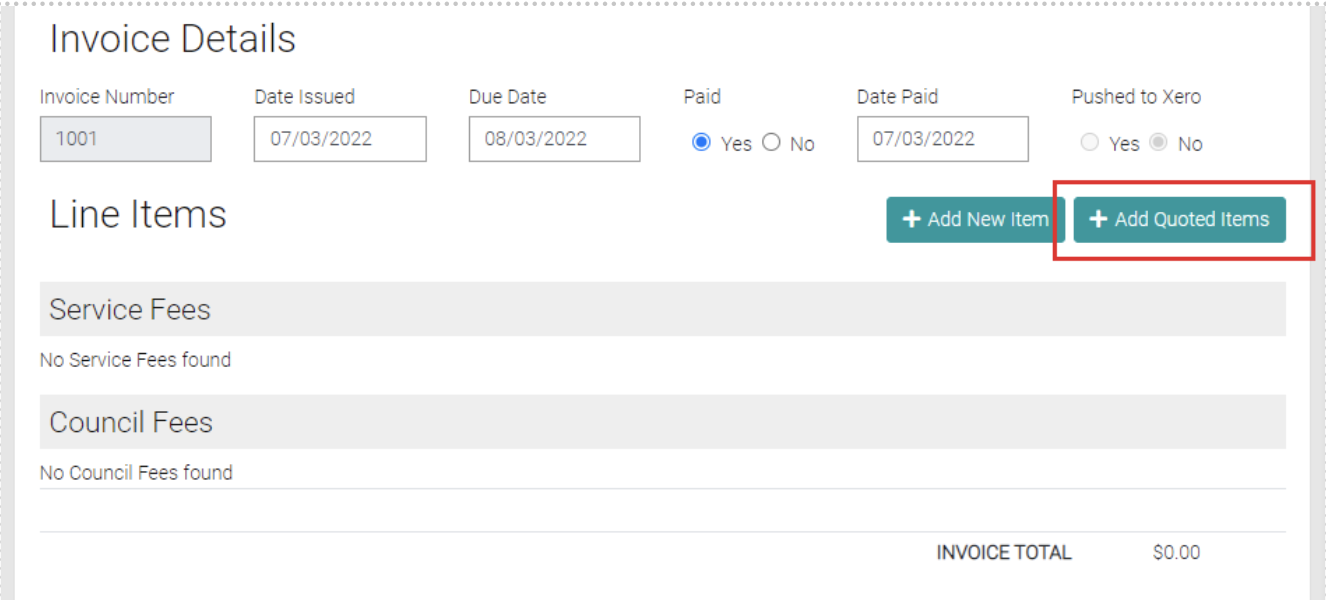
Add Quoted Items
To add already Quoted Price click on the Add Quoted Items
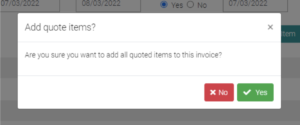
This will prompt a selection, by selecting Yes you add all the Quoted Items, by selecting No you don’t add any Quoted Items.
When Quoted Items are added the details of the new item is automatically added.
Edit Items
Any of the Items have text fields that are editable, instead of pressing save the Invoice will automatically update prices.
Delete
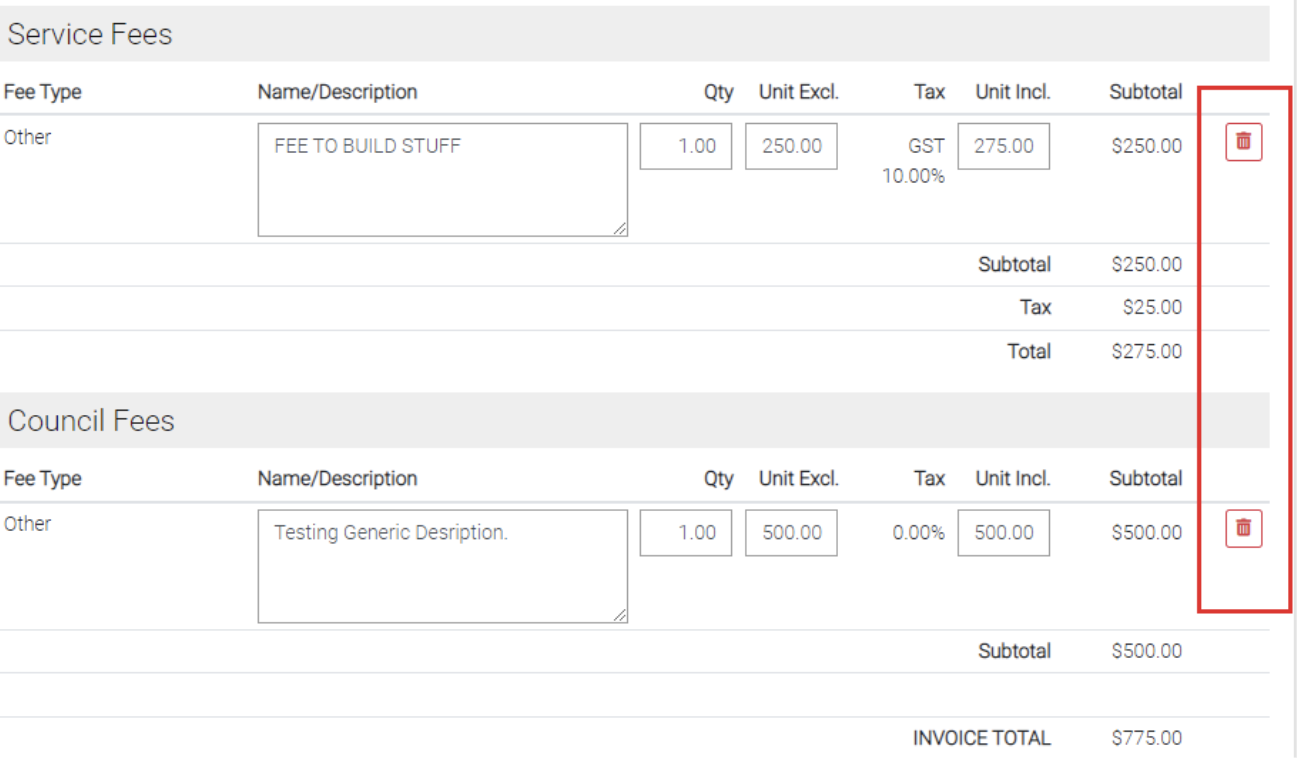
On the each of the Items there is a red trash-can that will Delete the Item.
Save
Once the invoice is completed then click on the green Save button to save the Invoice or click on Close to back out of adding new items to the Invoice.
Edit Existing Invoice
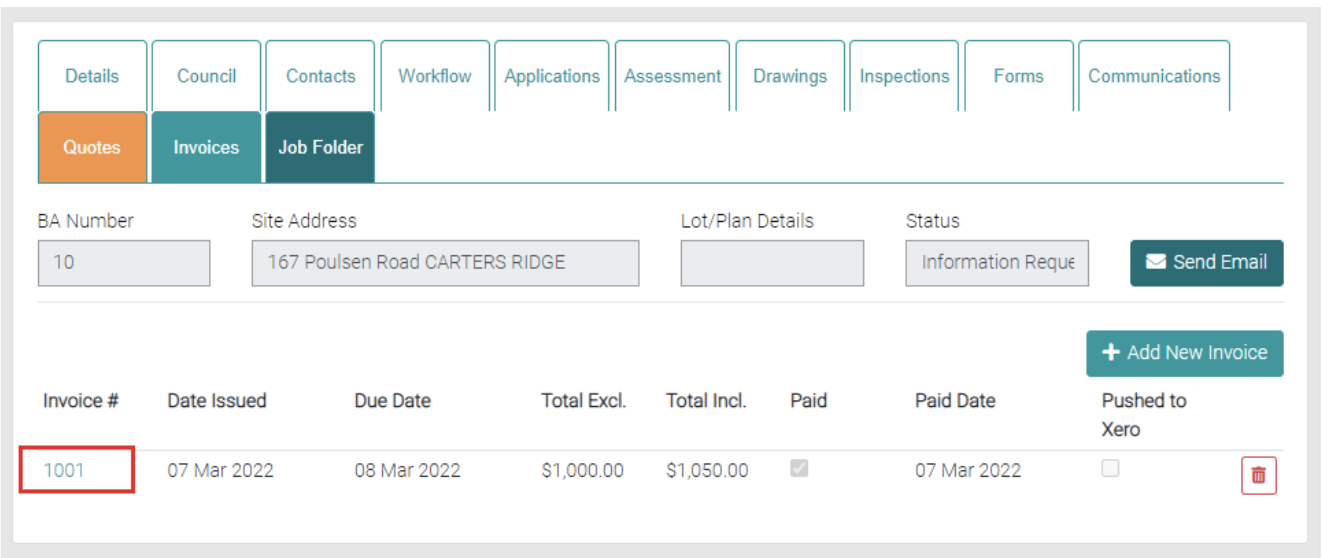
From the Invoice tab all invoices related to this Job are located. Click on the Invoice # to edit the Invoice.
Once in you can add, edit and delete Items from the Invoice till correct changes have been made. Once changes have been completed use the green Save button to apply changes or use the Close button to go back to the Invoice List without making changes.
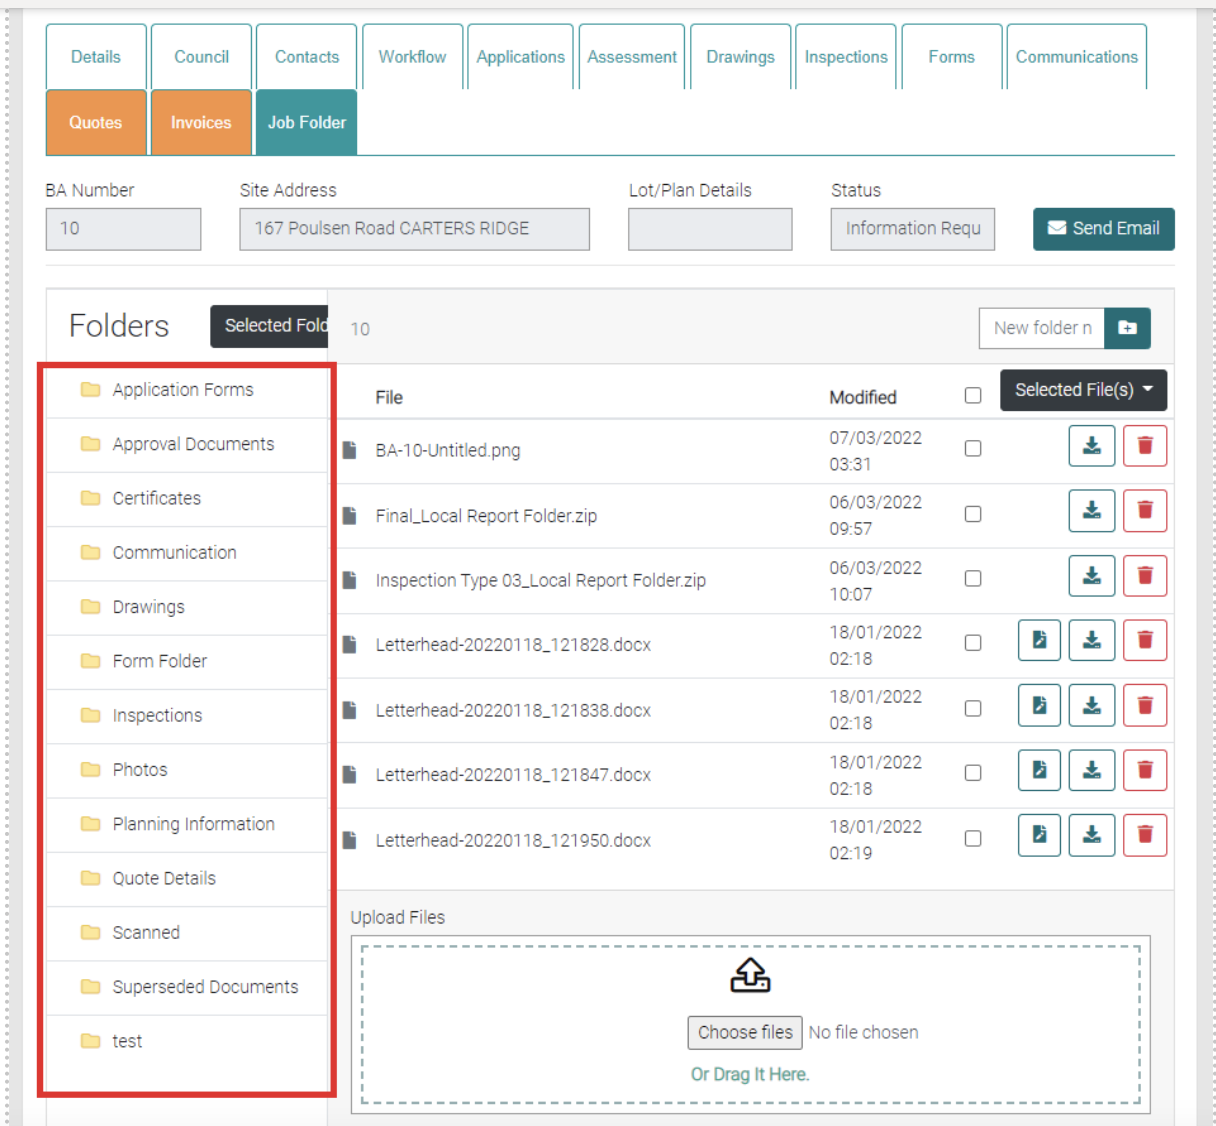
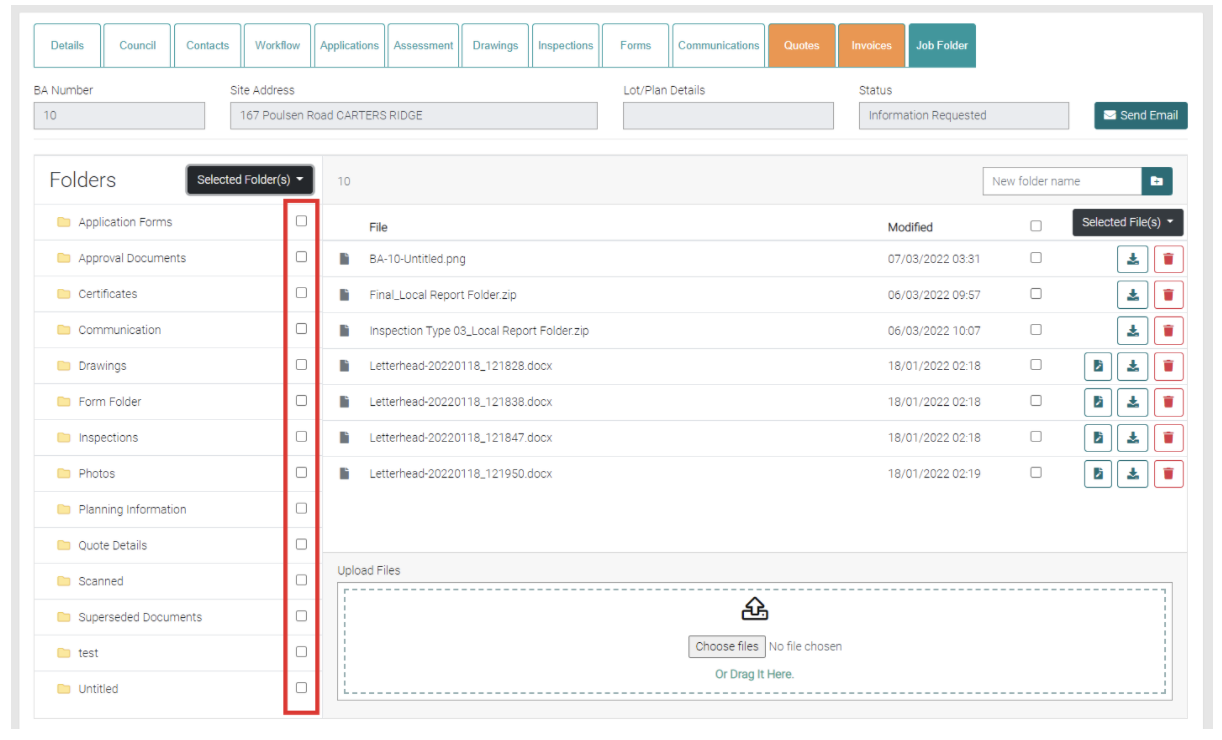
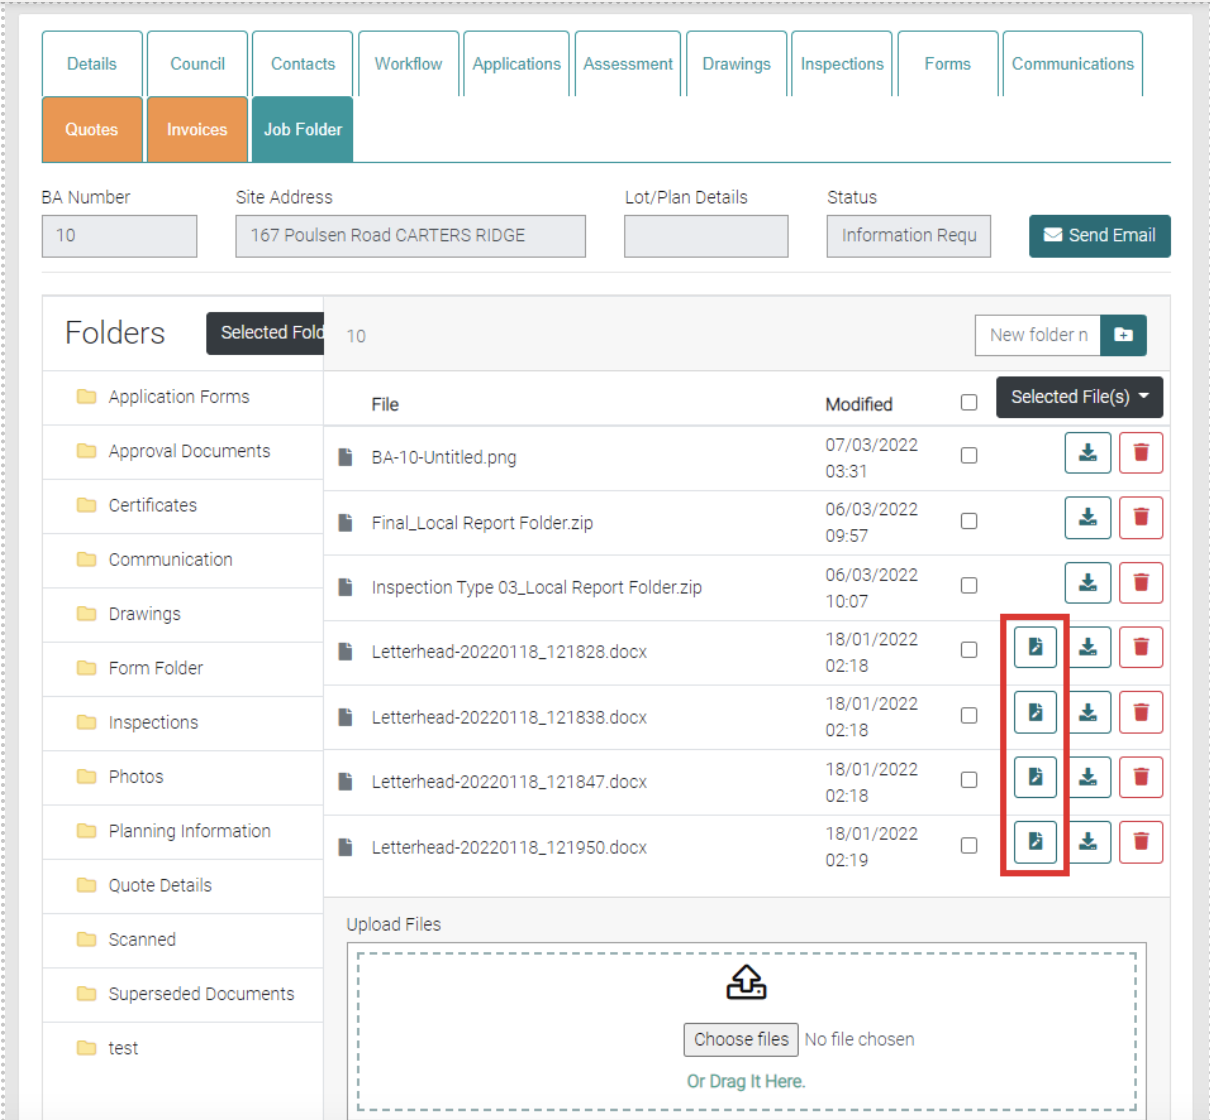
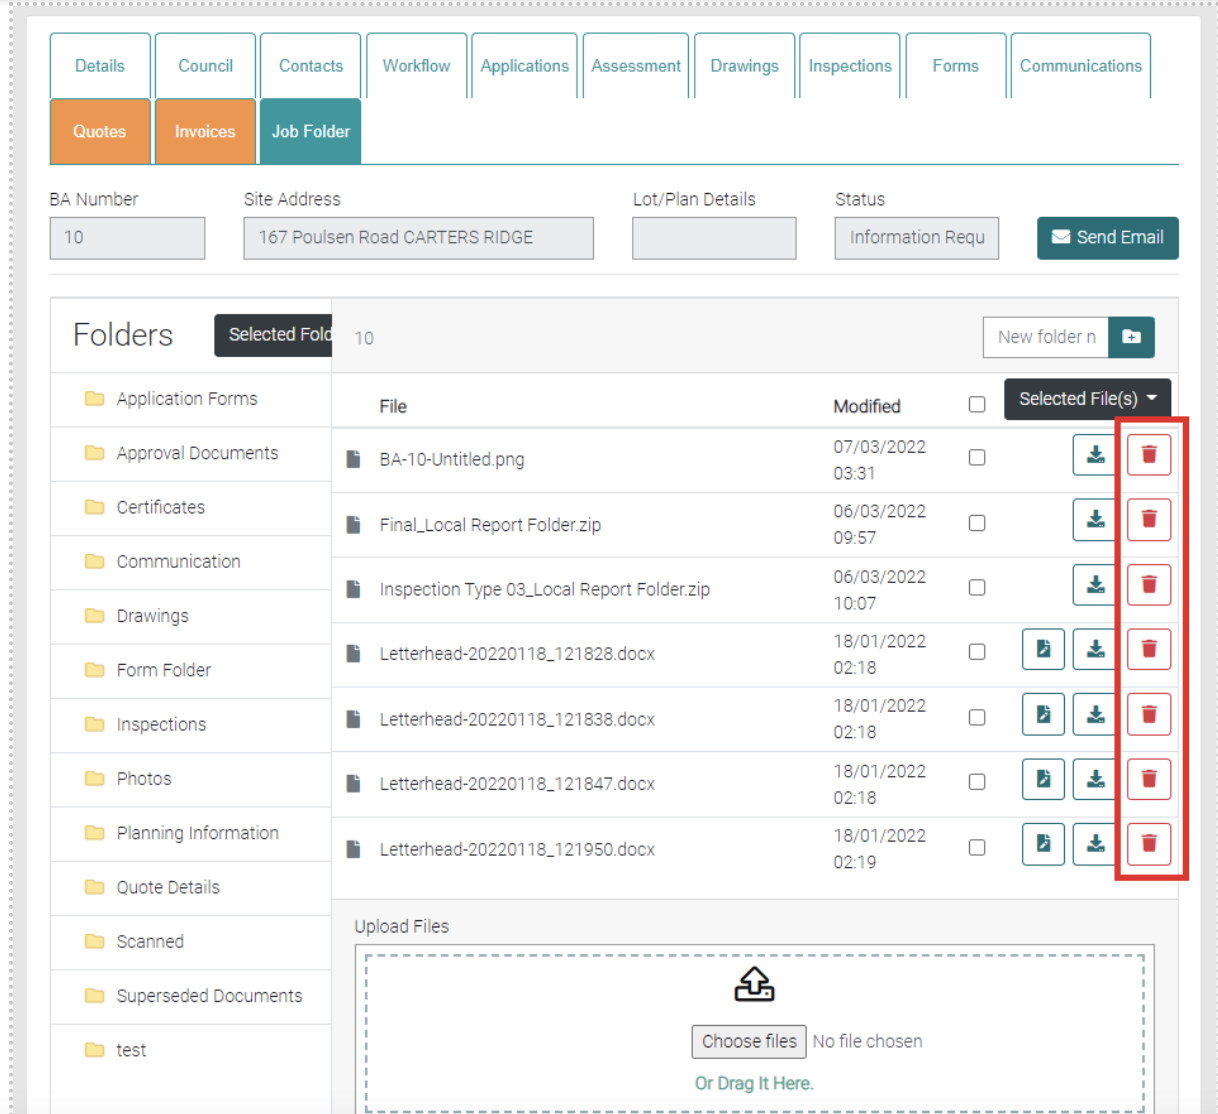
Job Folder
The Job Folder holds all the files in relation to the Job.
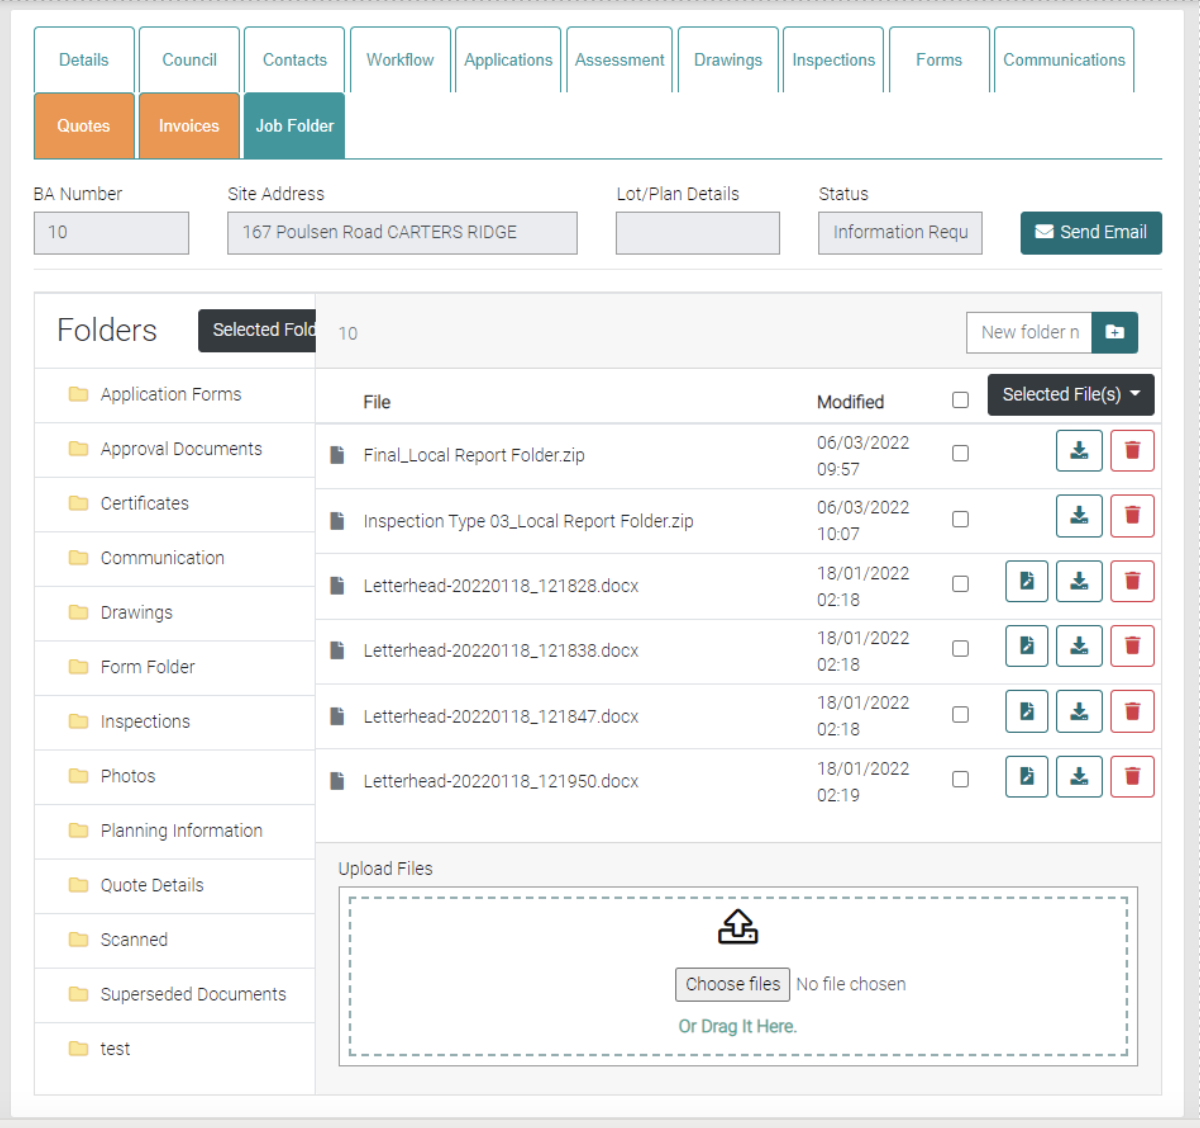
Folders
Use the Folders to organize the files, click on the folder name to open the folder to view Files inside.
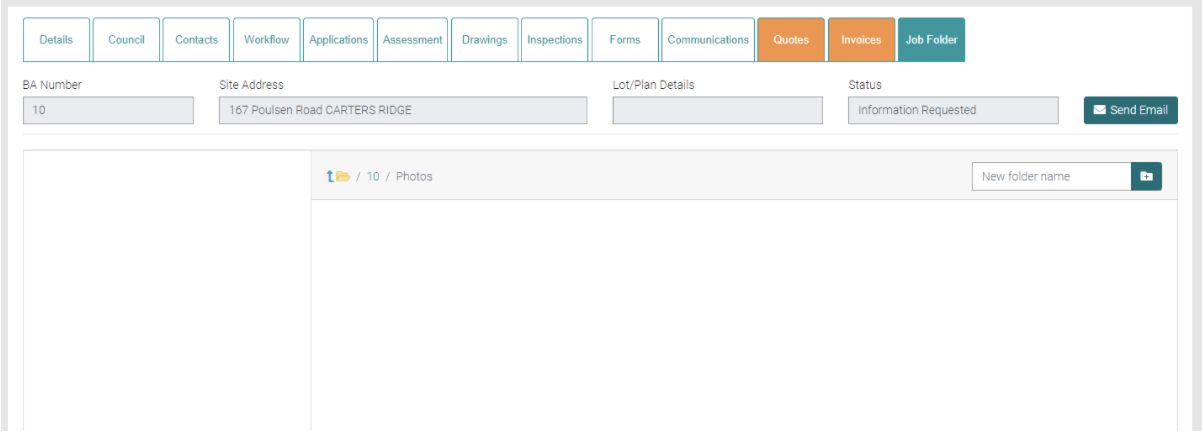
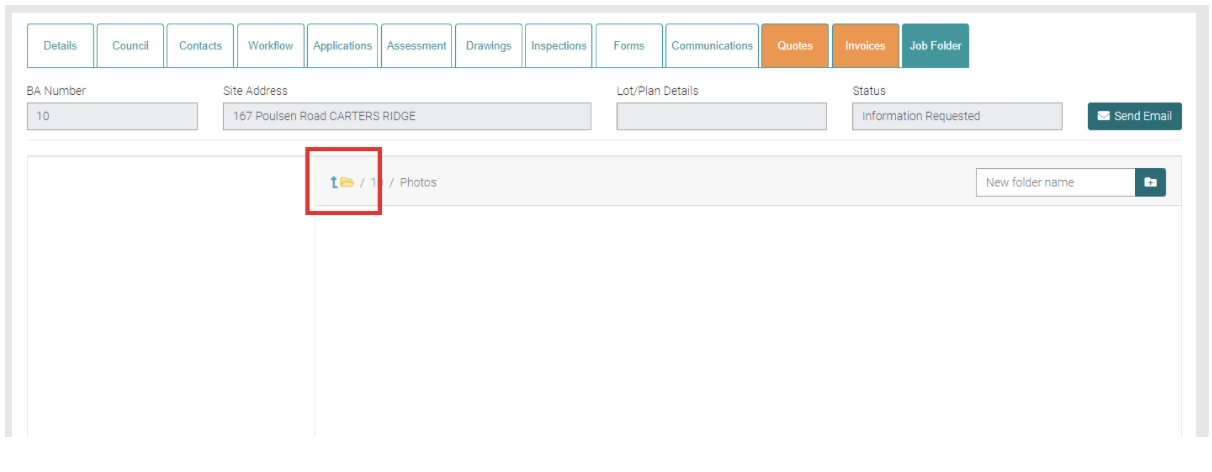
The backward folder symbol will take you back out of the folder you have selected.
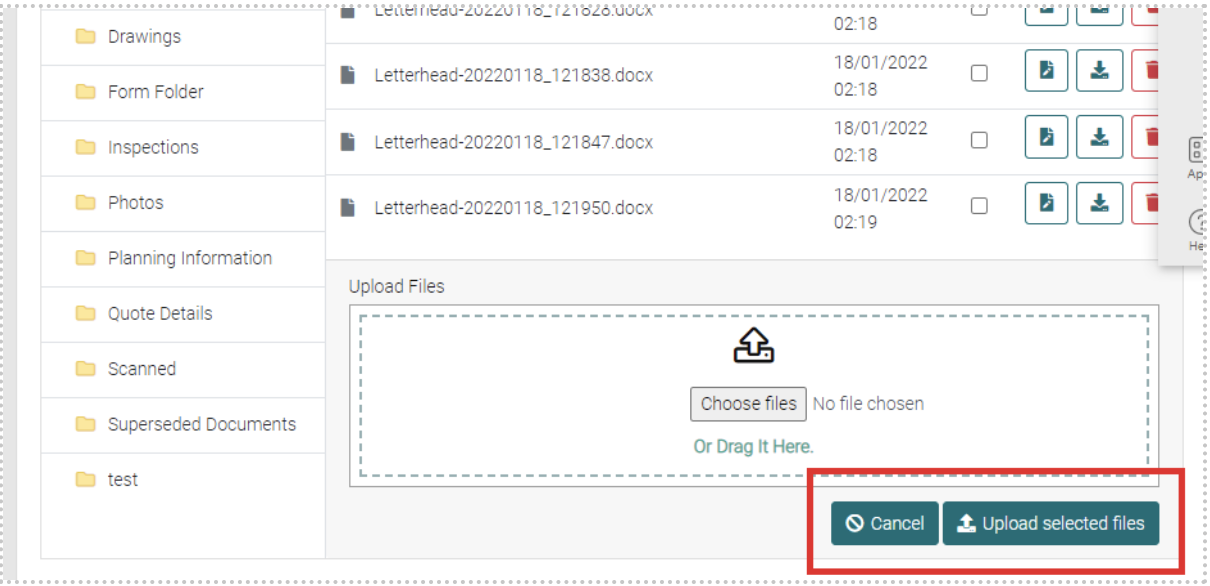
Uploading File
The user can either click on Choose Files or drag the files from Window Explorer onto the Upload Files.
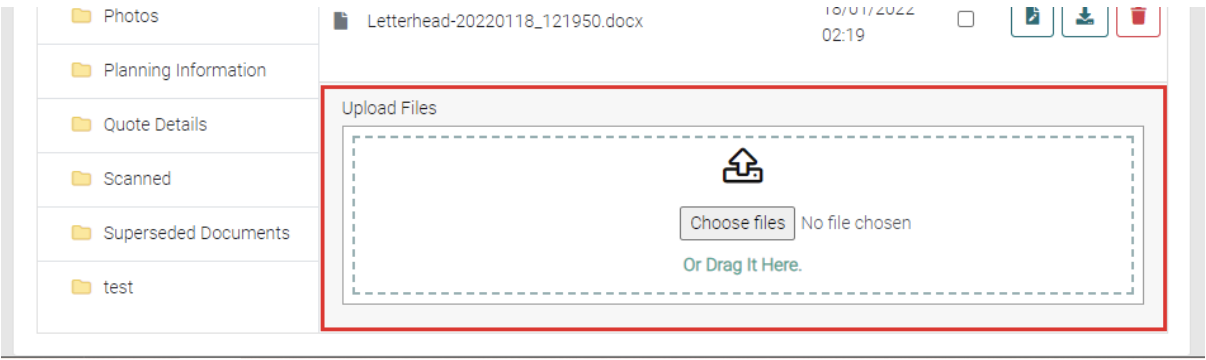
Once files have been chosen, click on the Upload Selected Files or Cancel if the files don’t need to be uploaded.
New Folder
To create a new folder to organise the files by entering the Name of the Folder into the text field and click on the Create New Folder button.
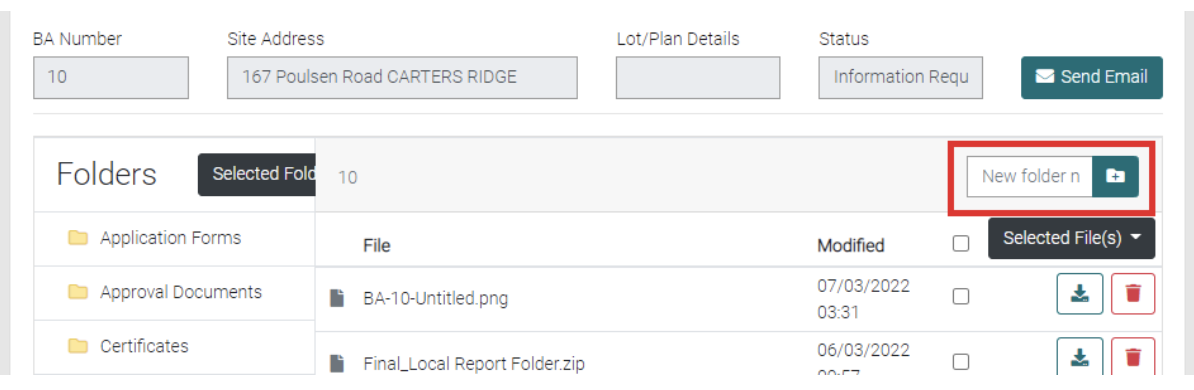
New folders appear on the left.
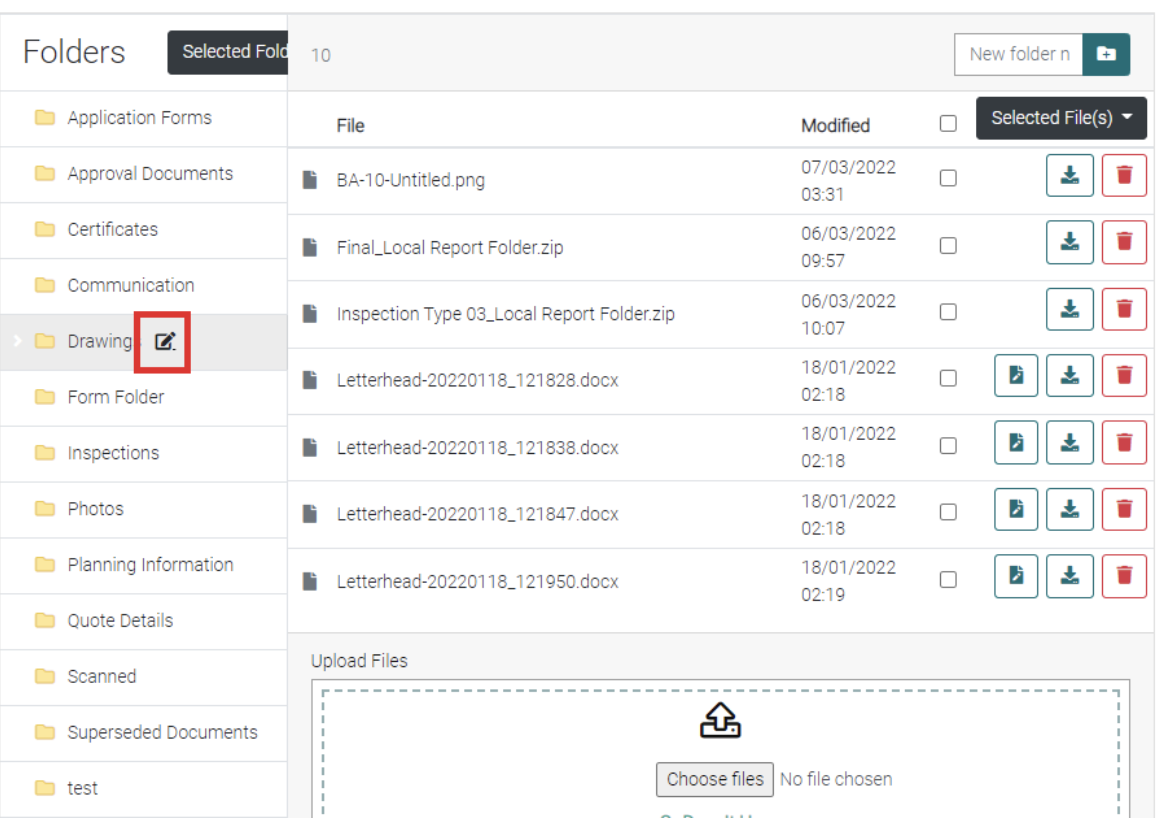
Rename Folder
When you hover your curser over the Folder a symbol will appear that, when clicked, will allow the Folder to be renamed.
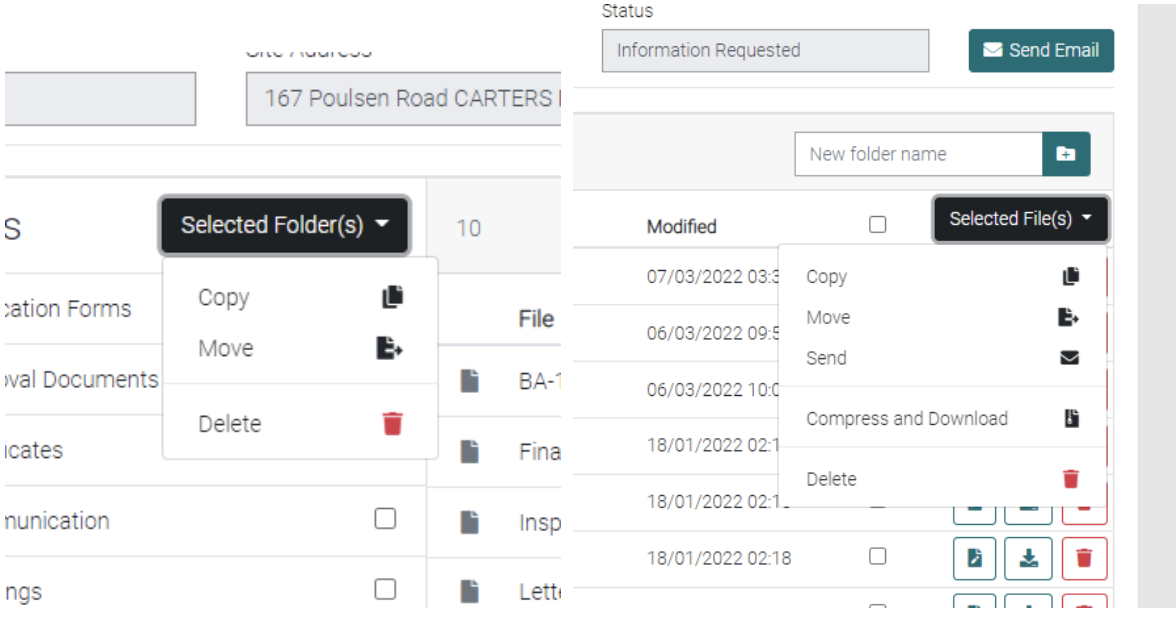
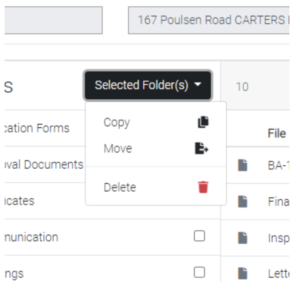
Selected Folder(s)
Use the checkboxes to select the Folders you want to copy, move or delete.
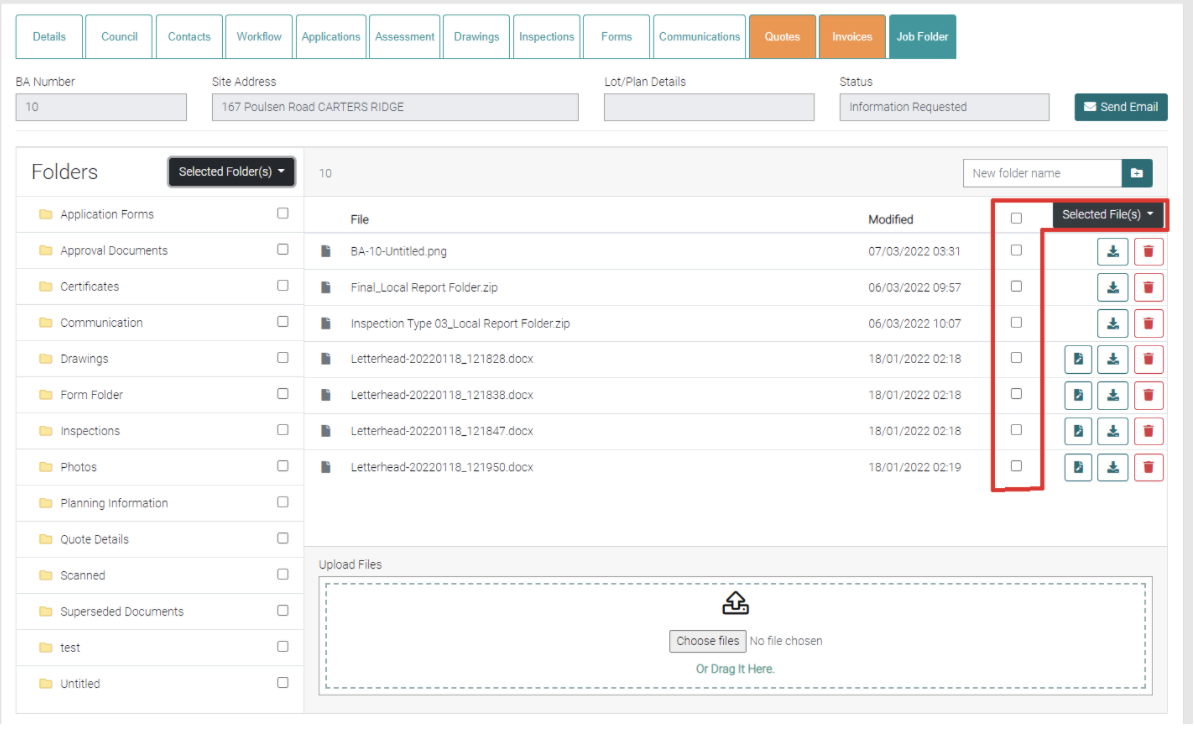
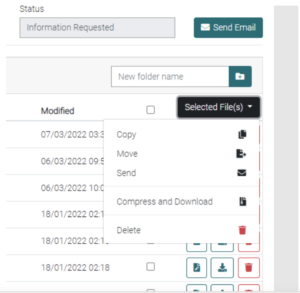
Selected File(s)
Use the check boxes to select specific files to be copied, moved, send, compressed/download or deleted. Use the check box beside the Selected Files to select all files.
Open
Use the Open button to open word documents, this will open the document on the website that one can edit the file.
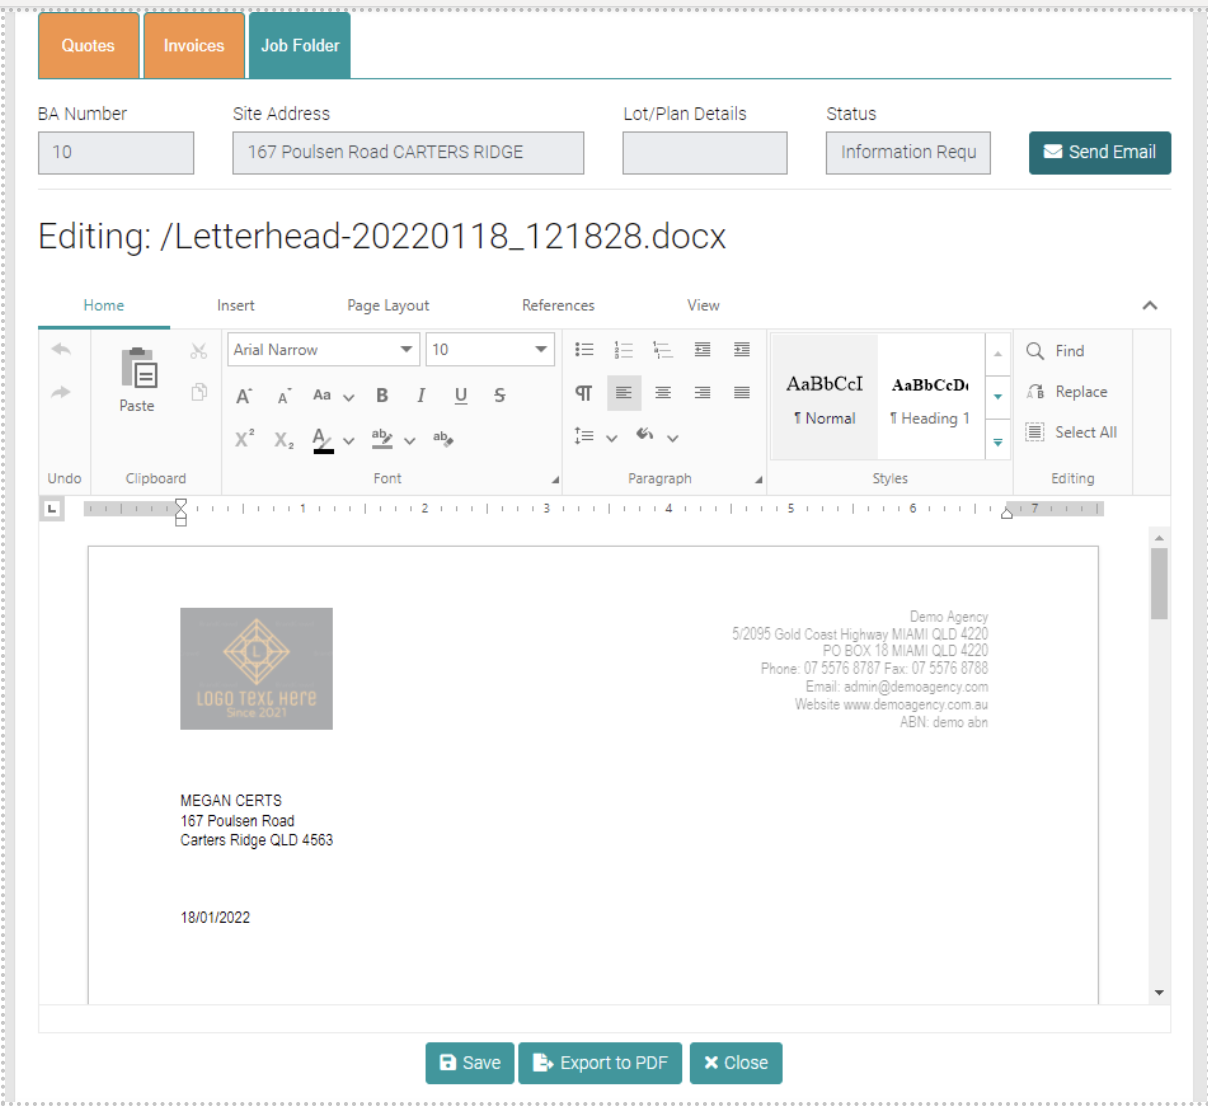
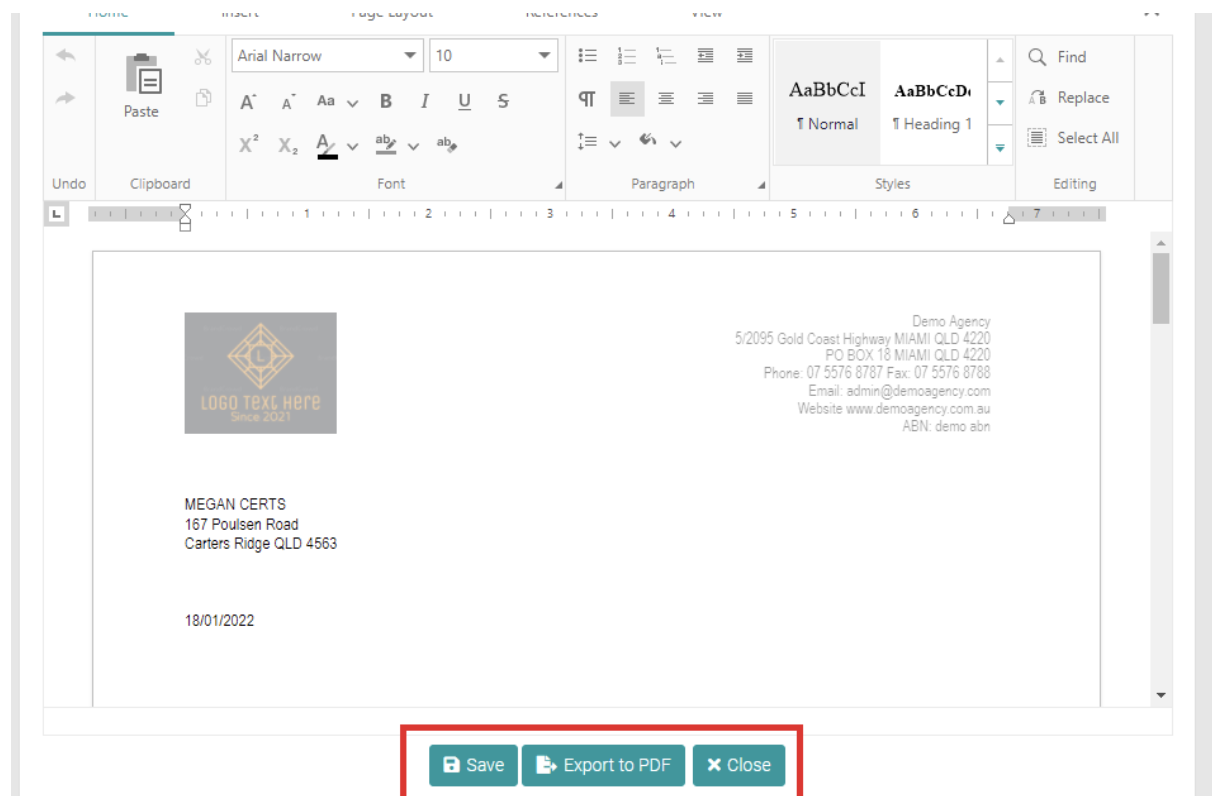
Use the Save button to save any changes, Export to PDF to export the file as a PDF to the PC or Close to leave the editing.
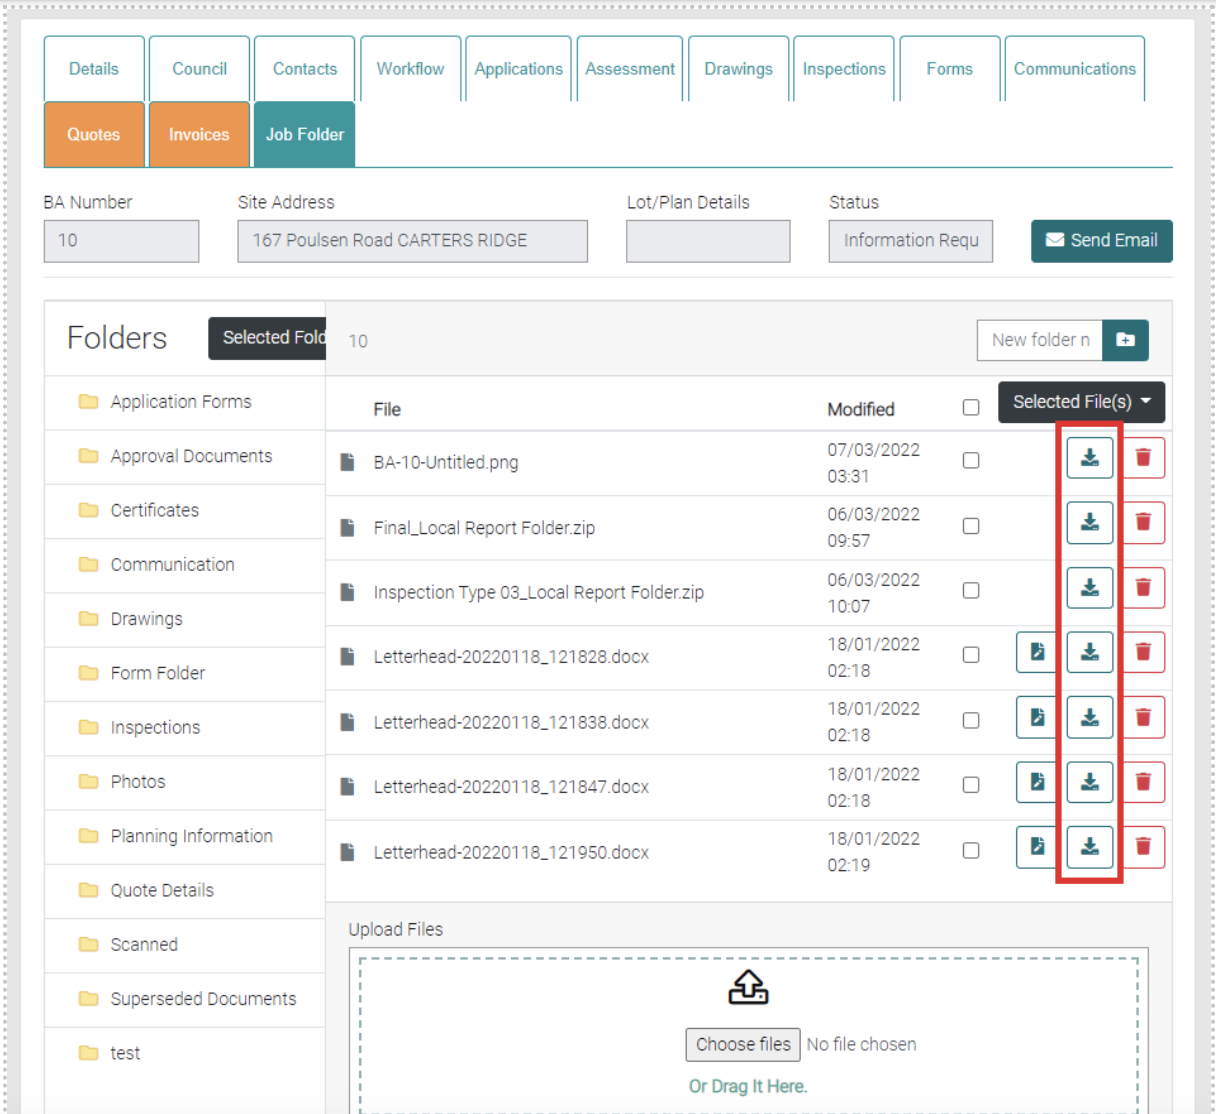
Download
Click on the Download button to download the file to your PC.
Delete
Click on the red trash-can beside the file to delete it.
Or use the selection tool to select multiple files/folder to delete and use the drop down menu to select Delete.