This is where the Notification Types are managed.
Search
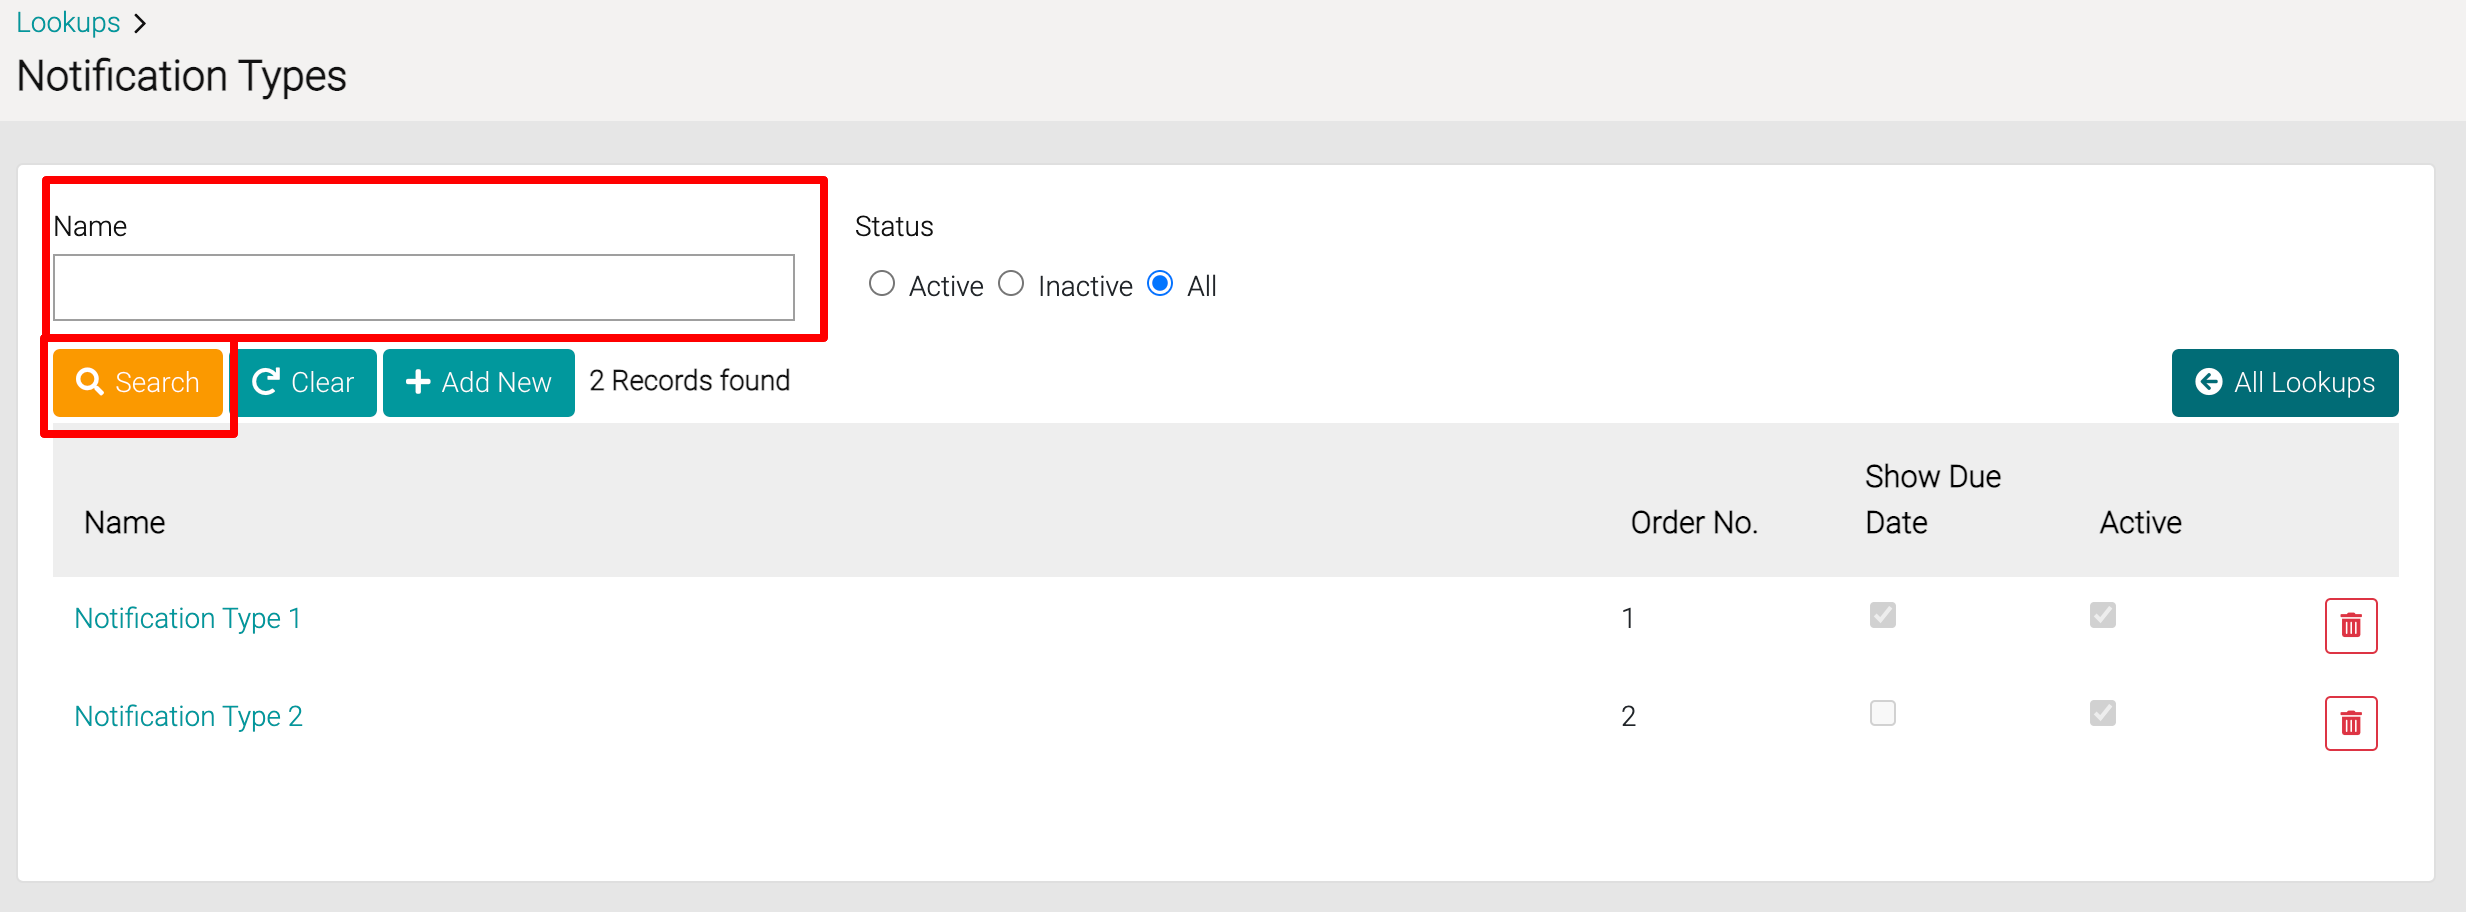
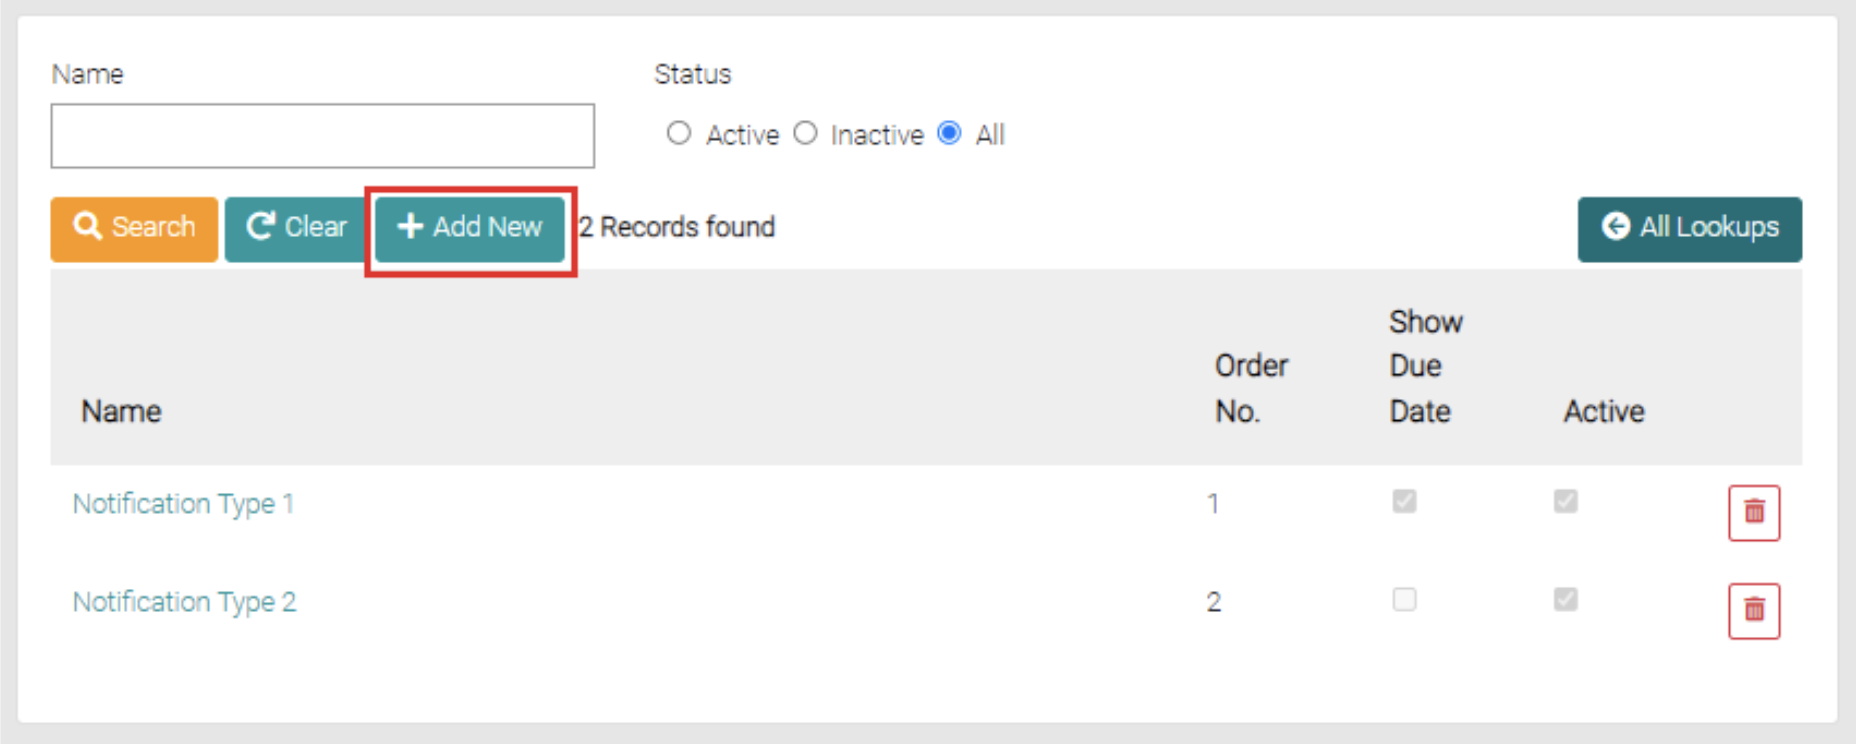
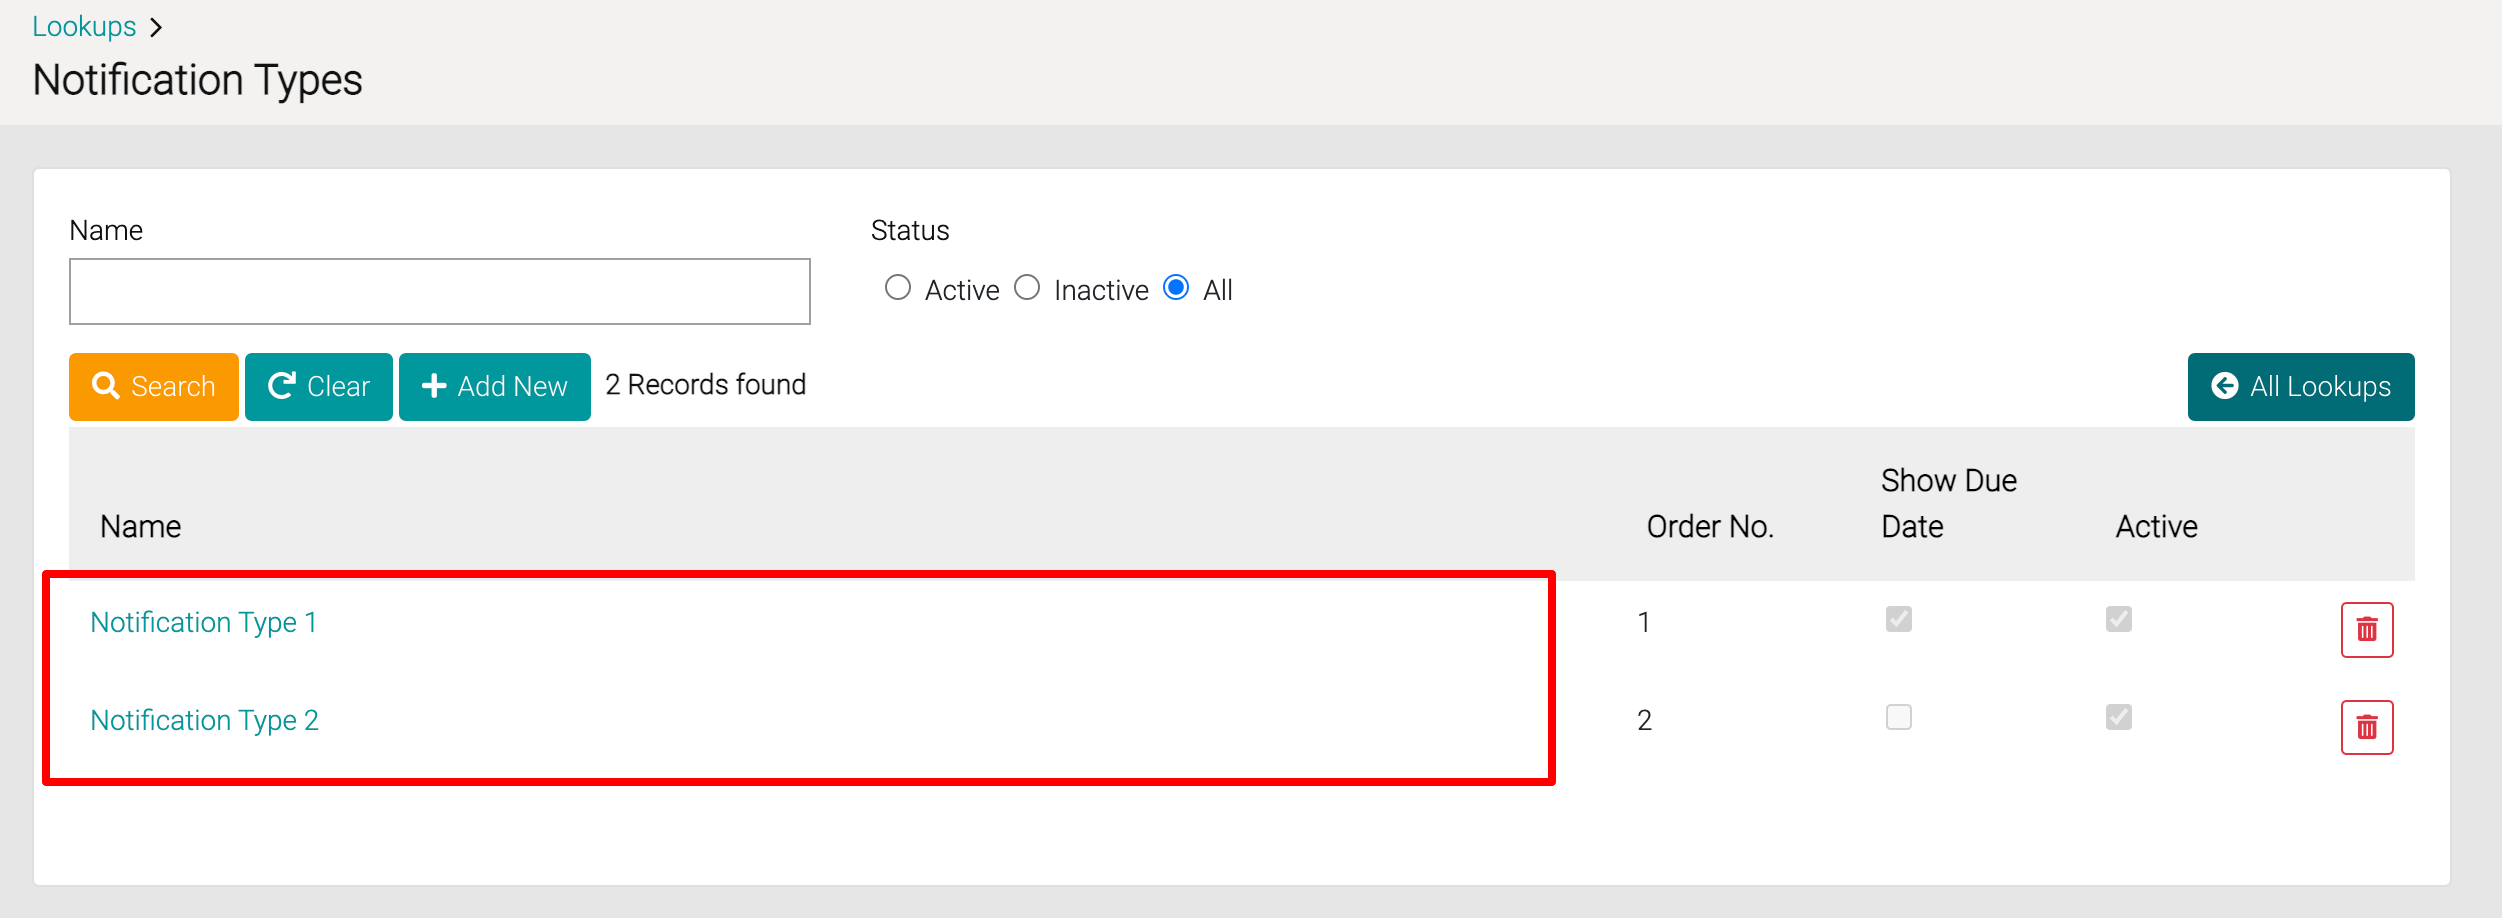
On the Notification Type page, you can search for different requirements in the name text field, you can use partial names in the text field or complete titles. You can further narrow this search through the status of the items by selecting Active, Inactive and All, by default the search is set to All.
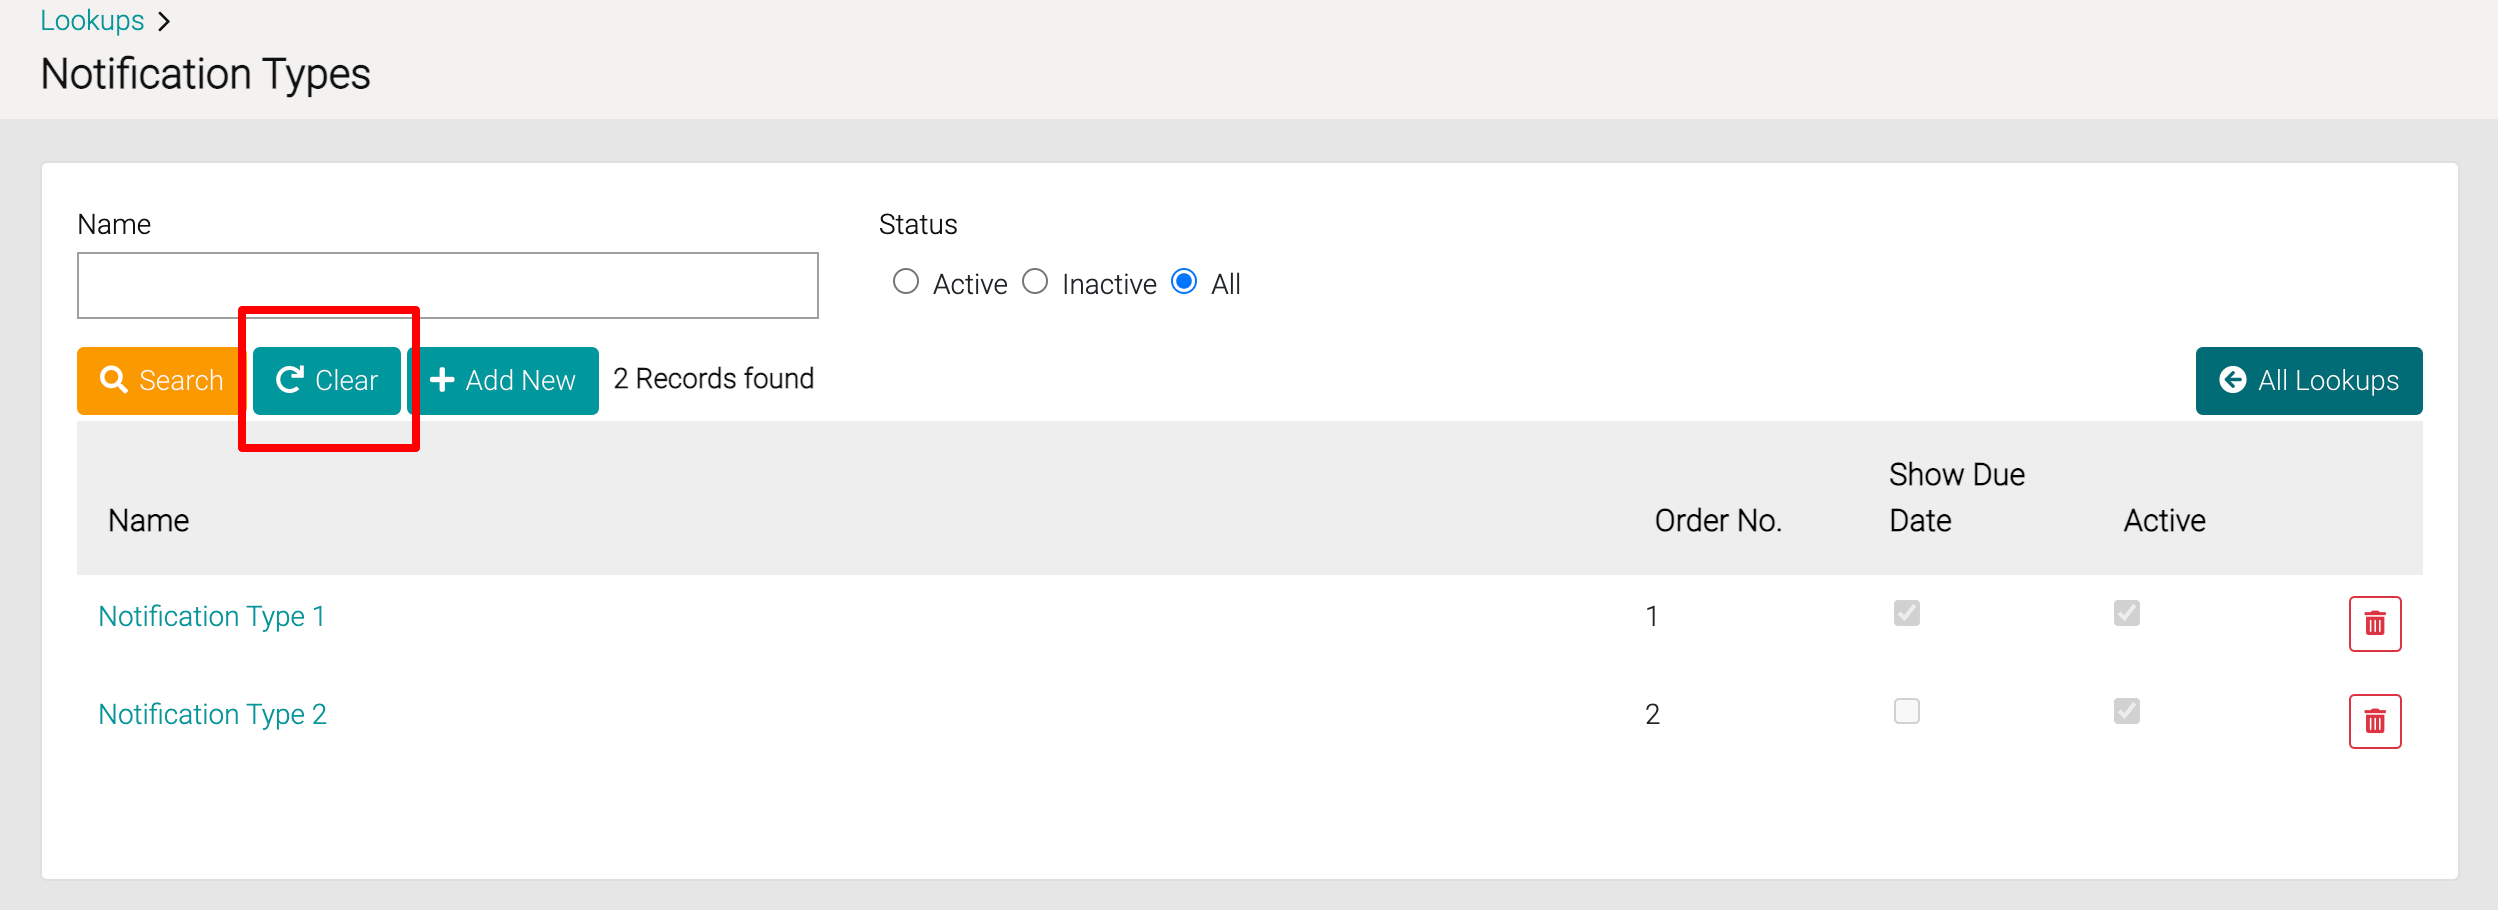
Besides the Search button, there is a Clear button that removes any filters on the search such as name or status.
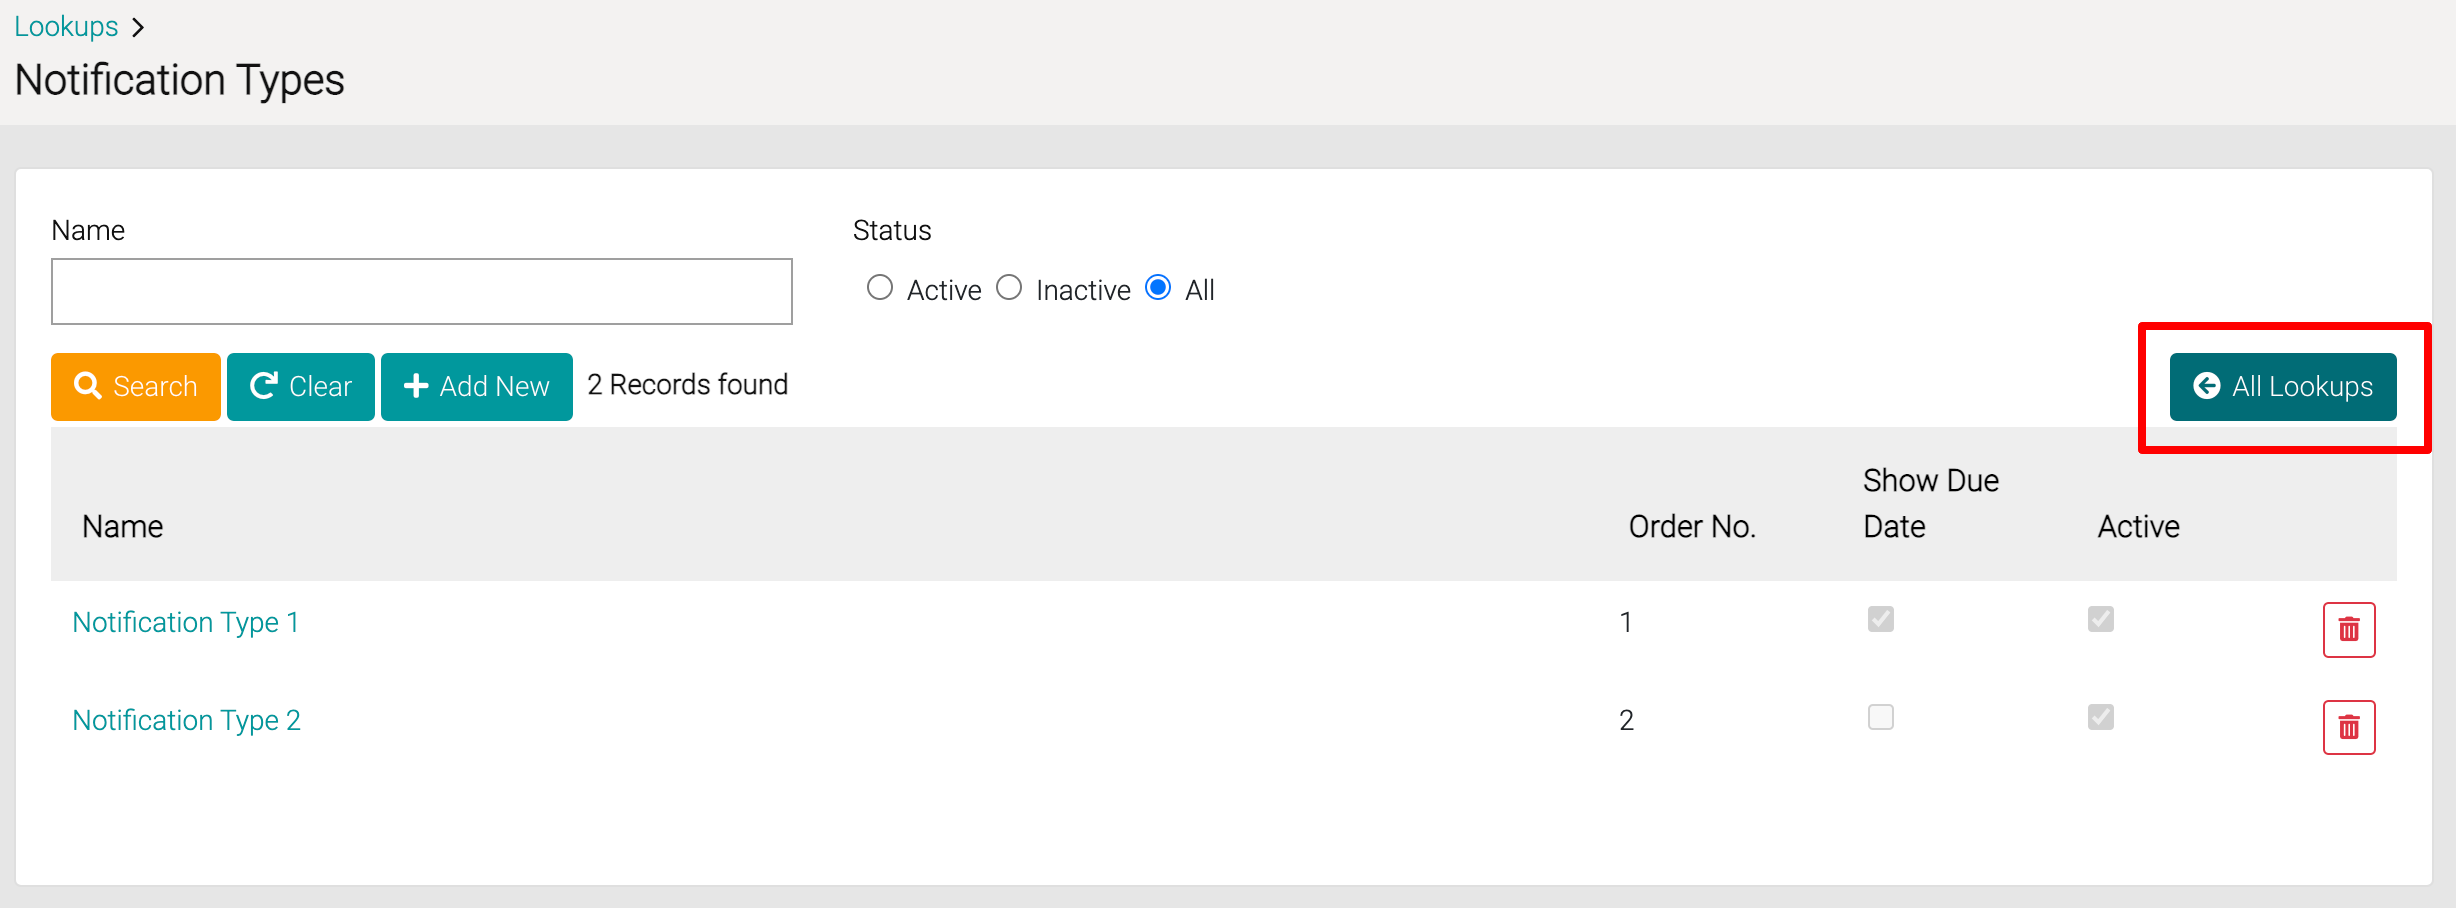
The All Lookups button will take you back to the Lookups.
Add
The Add New button is found on the search page beside the Clear and Search Button.
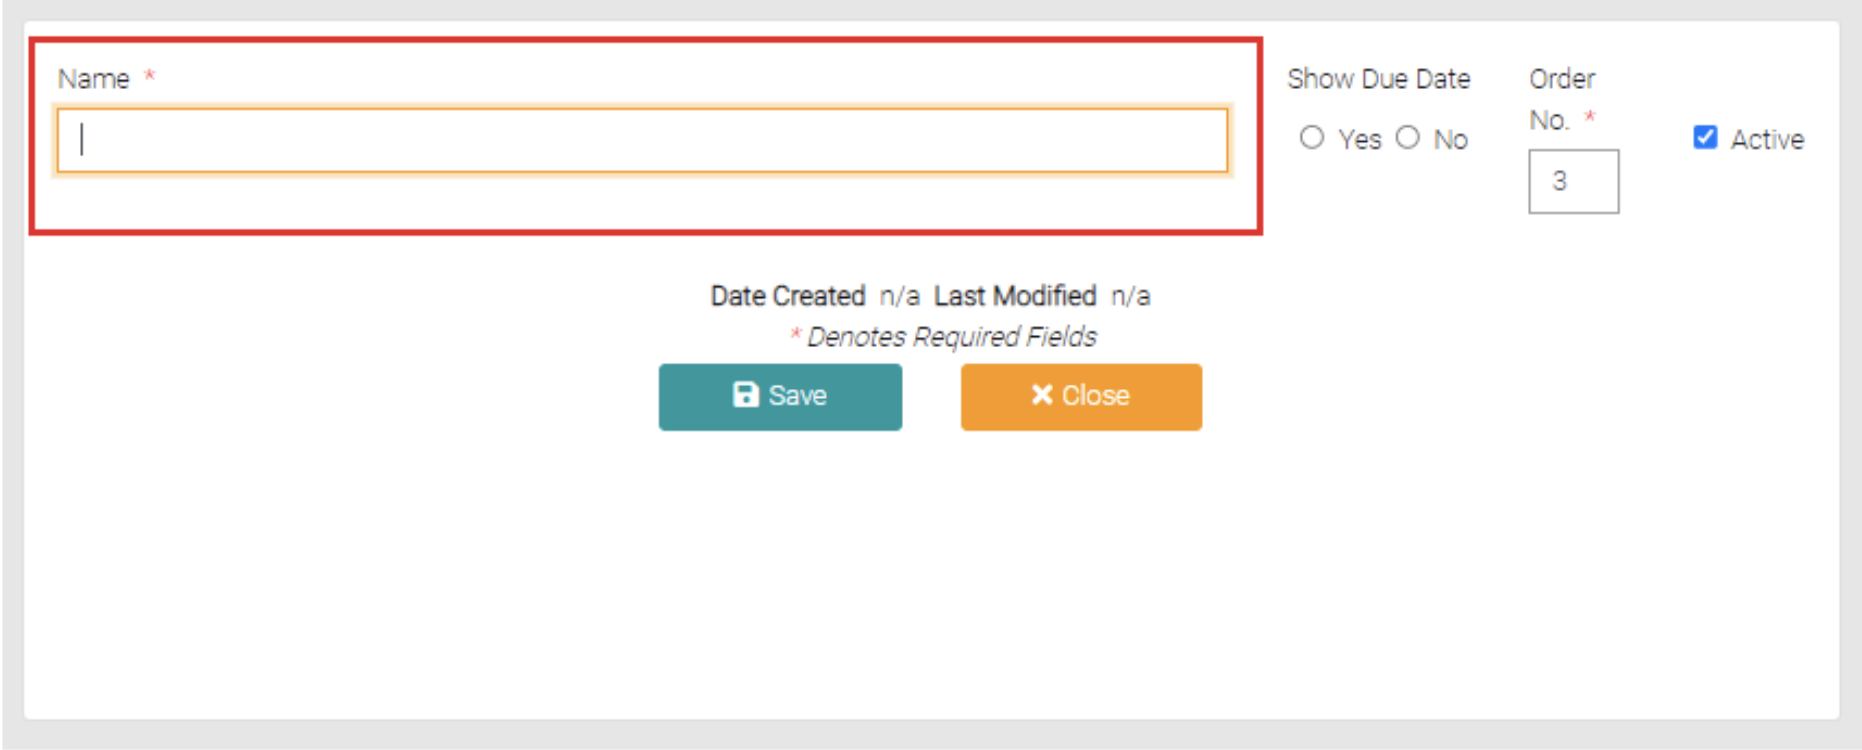
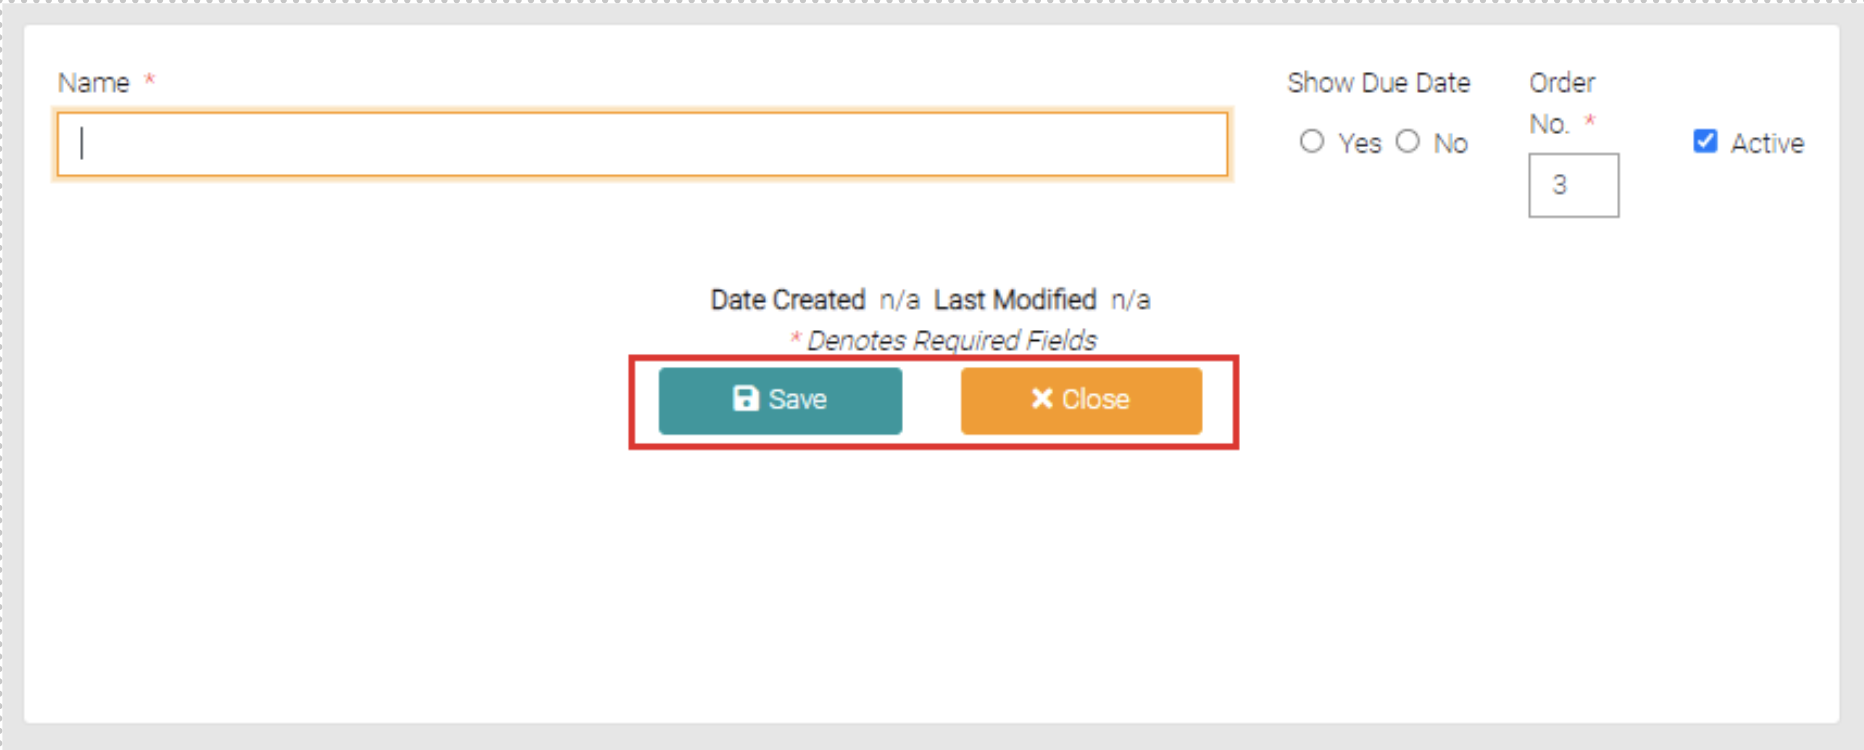
The Add New button opens a new page that allows the user to create a new Notification Type, required spaces to be filled are marked with *.
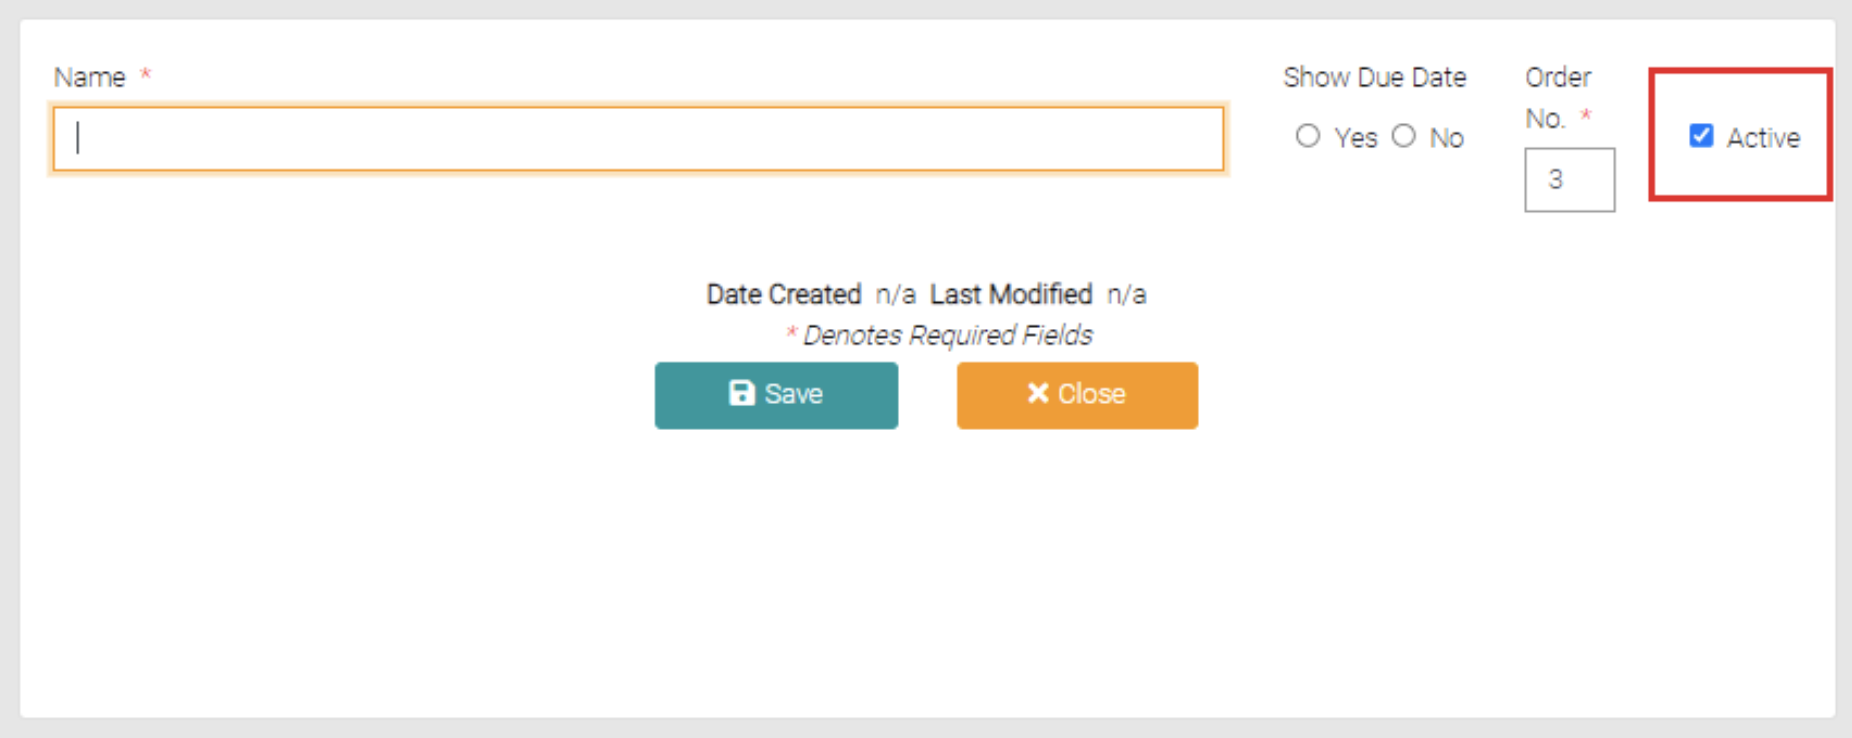
Besides the Name field, there is a checkbox that when checked makes the Notification Type to be Active or Inactive.
Add an Order No. to the new Notification Type. Can also add if the Notification Type shows the Due Date.
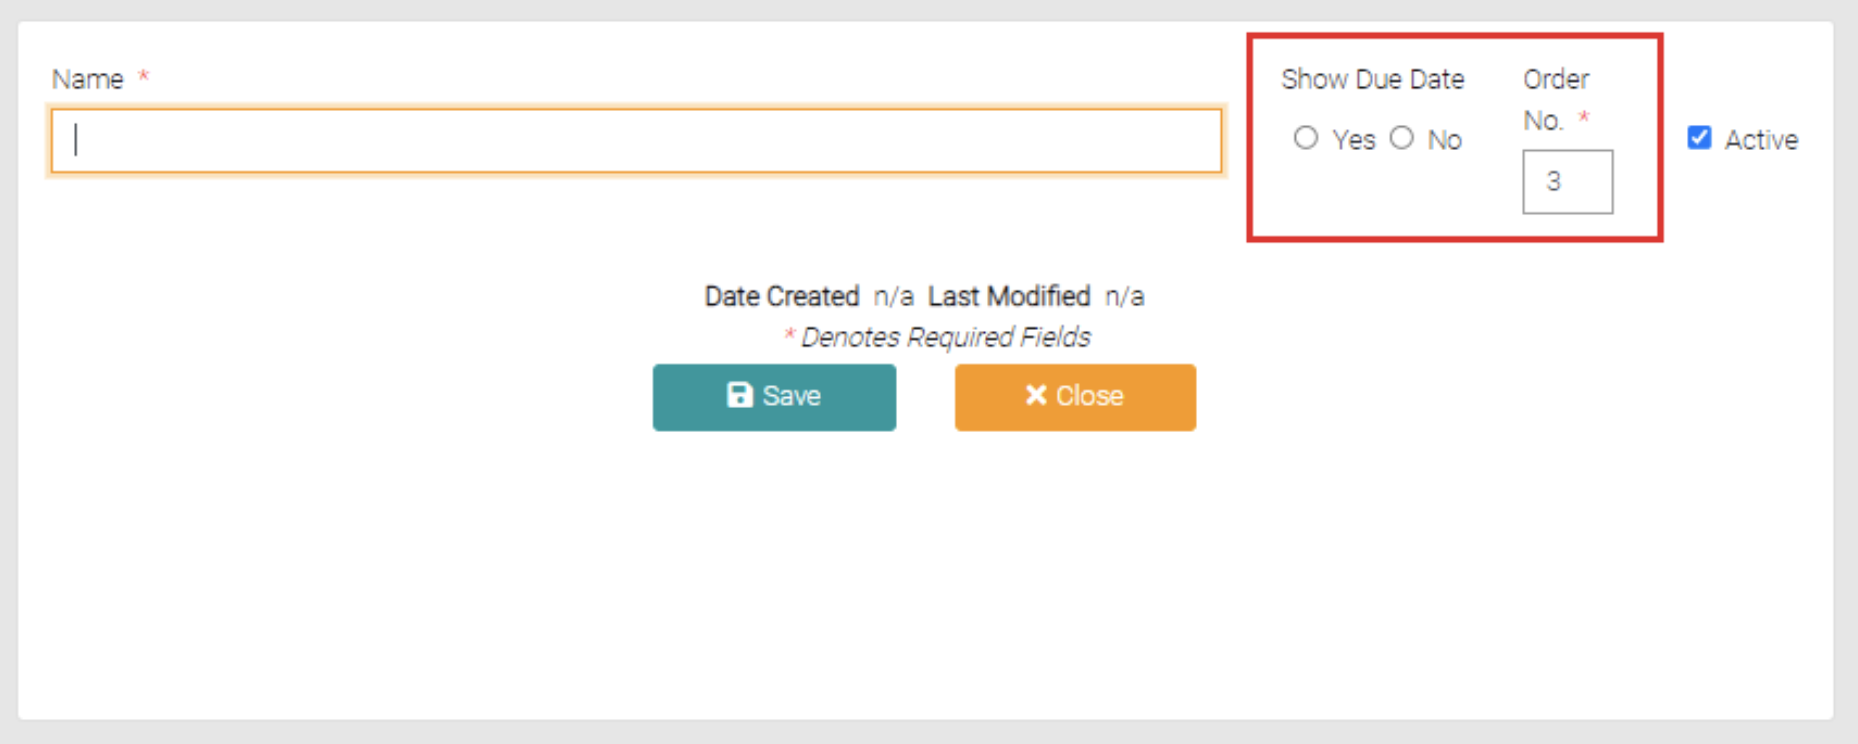
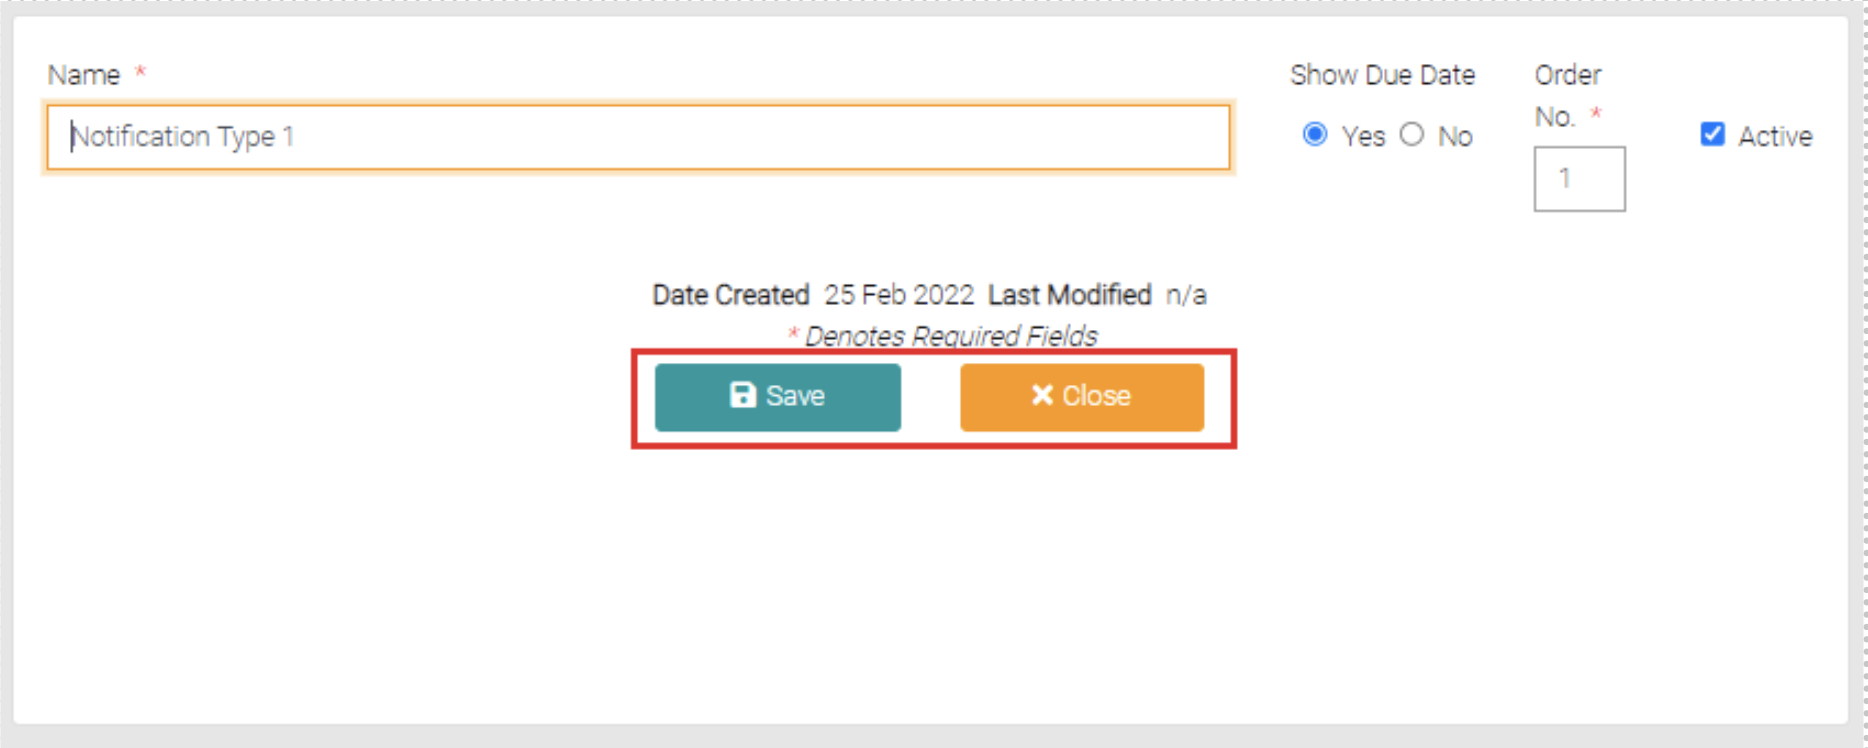
Once mandatory fields are complete you can click Save to complete the creation or Close which takes the user back to the Notification Type page.
Edit
To edit already created Notification Type click on the name of the Notification Type to be edited.
This will open a page similar to the Add New page, where the Name, Show Due Date, Order No and Status can be altered.
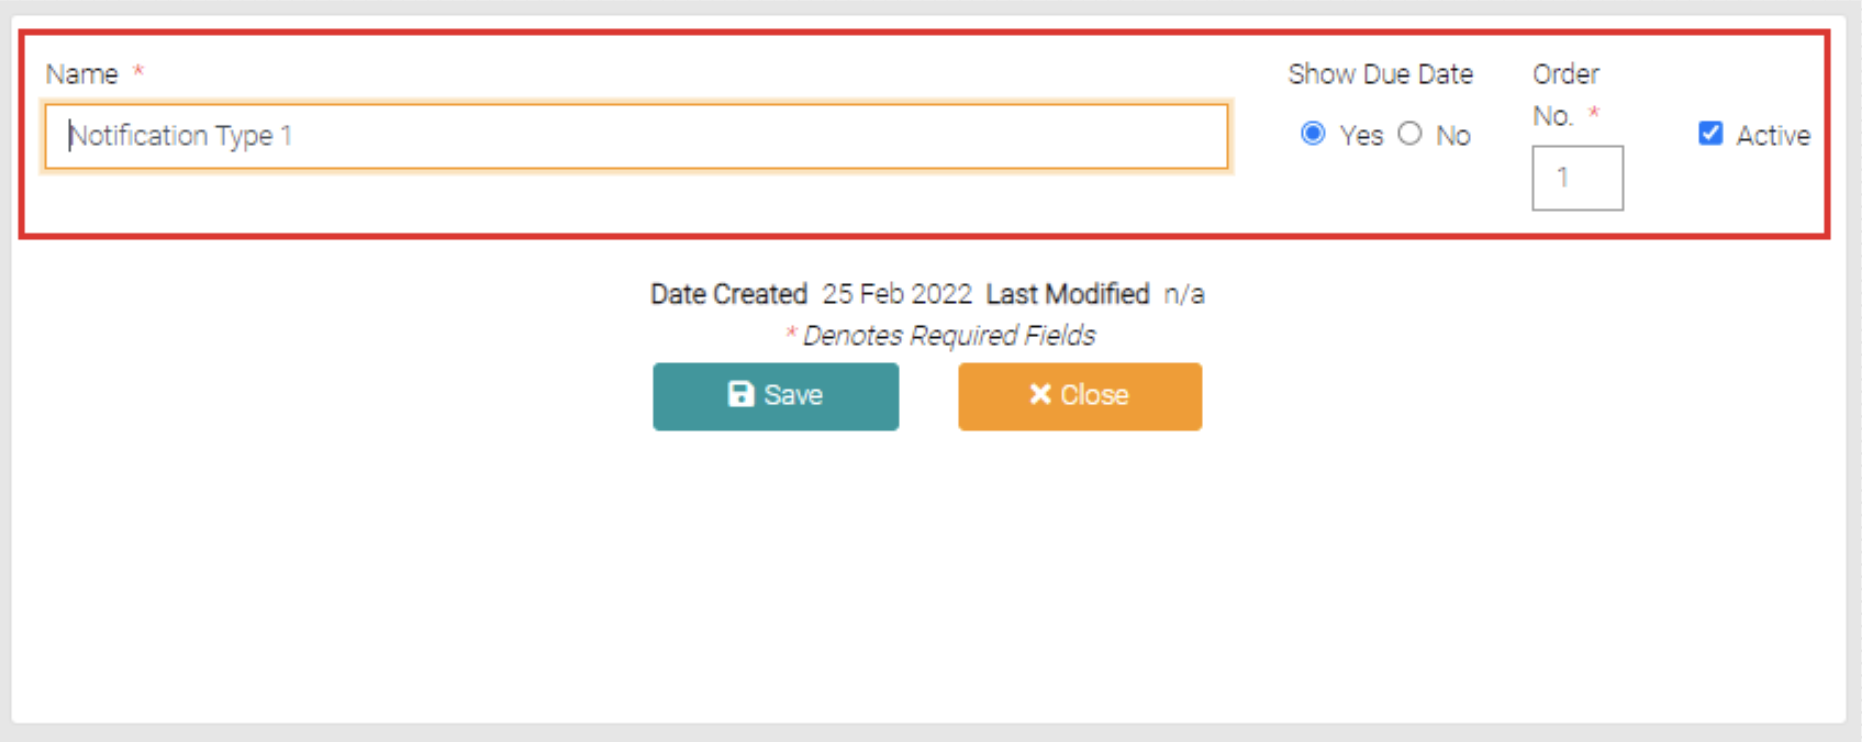
Once editing is complete click on Save to apply changes or Close to not apply changes and go back to the Notification Type page.
Delete
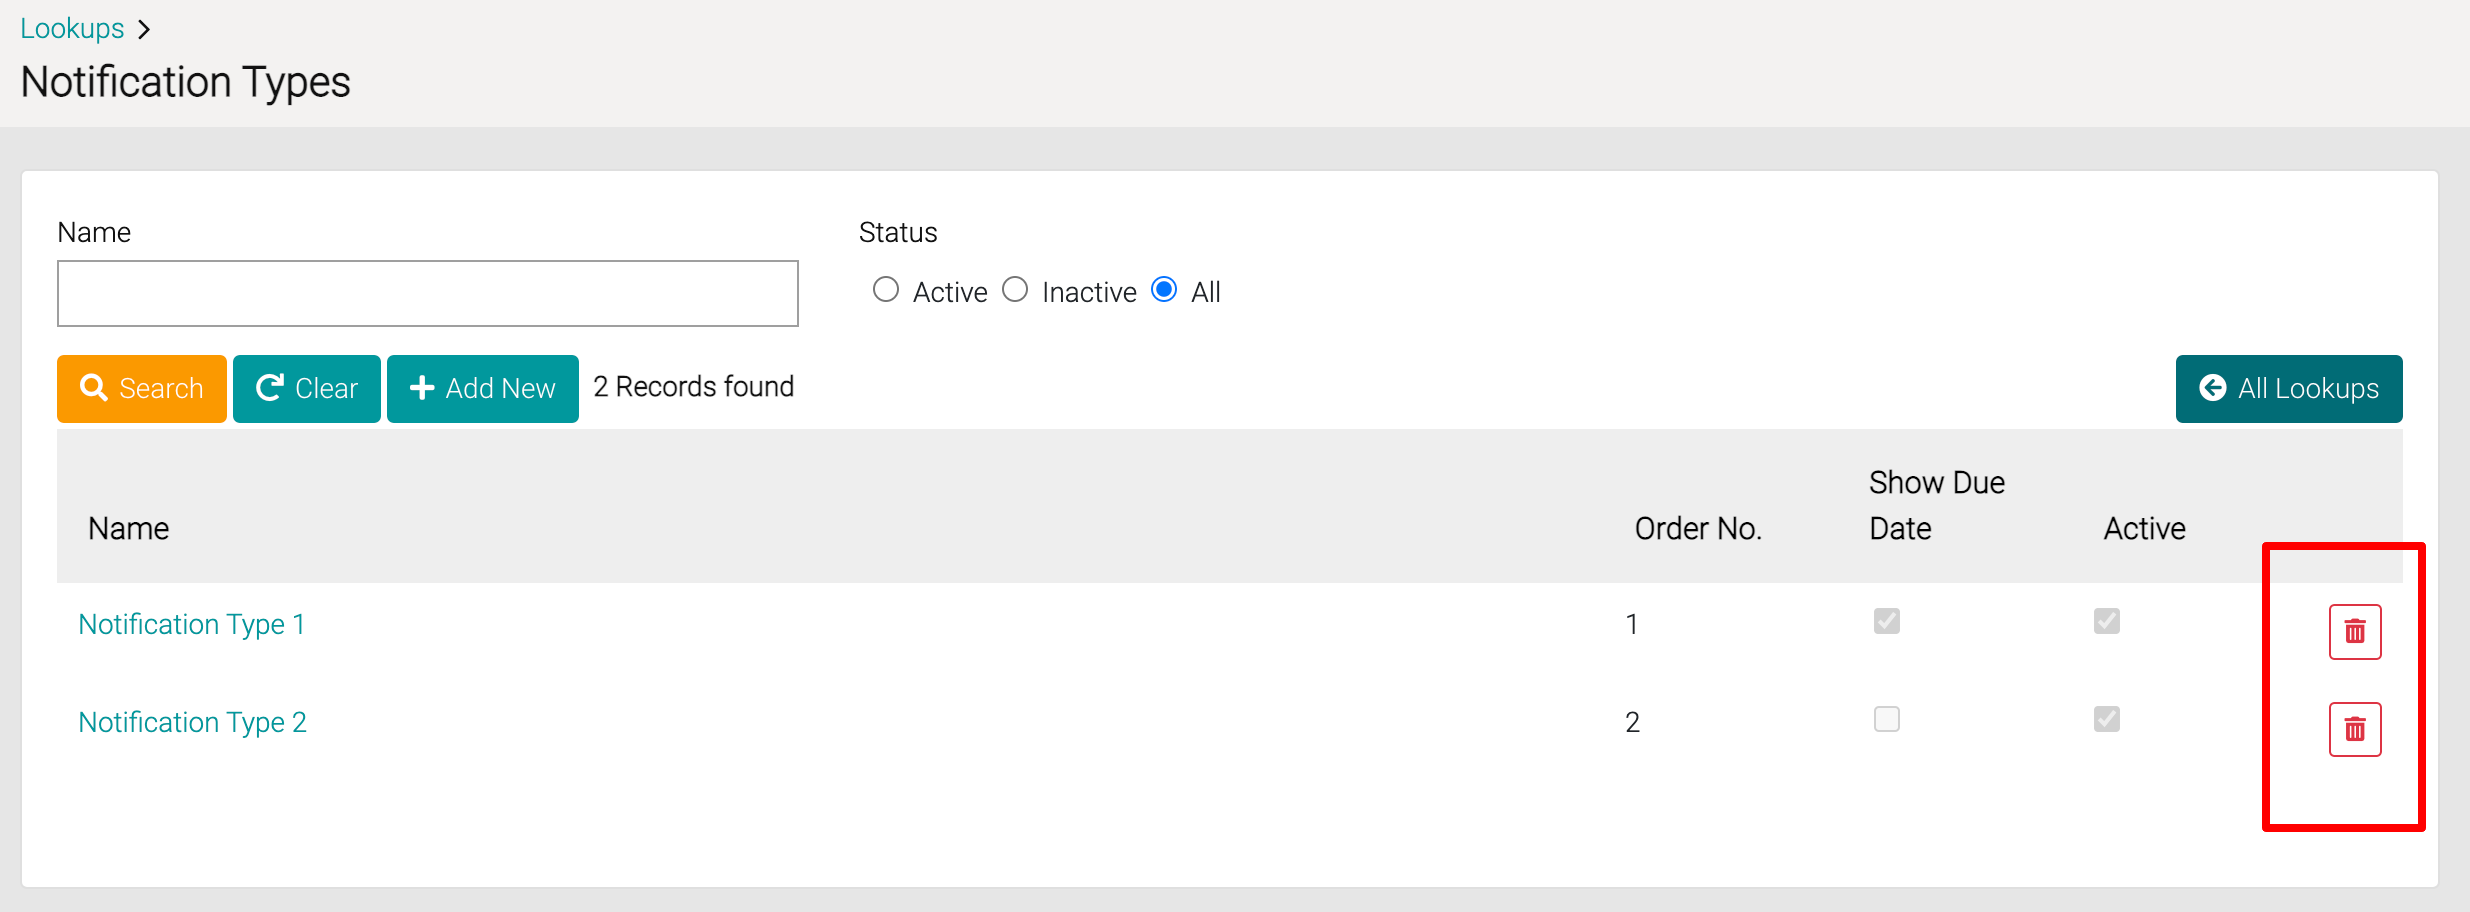
On the Notification Type page on each row, there is a red trash can button, clicking on it will delete the Notification Type on the same row.