In your browser, go to https://developer.xero.com and log in with your Xero account by clicking the “Log in” button in the top-right of the screen

Once logged in, click “My apps” from the top navigation. This will bring you to a list of any current apps you have configured (most likely, this will be blank)

Click the “New App” button in the top-right of the screen to begin setting up a new app connection
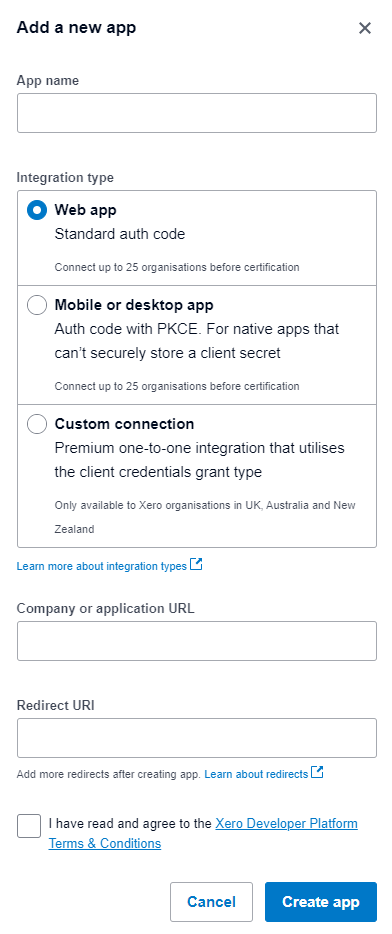
Fill out the “New App” fields with the following information, then click “Create App”
App Name: Any name you want to give this app for your own reference.
Integration Type: Web App – Standard Auth Code
Company or application URL: The URL of yours site that needs the Authentication
Redirect URL: https://app.certflow.com.au/XeroOAuth.aspx
Terms and Conditions: Tick the checkbox
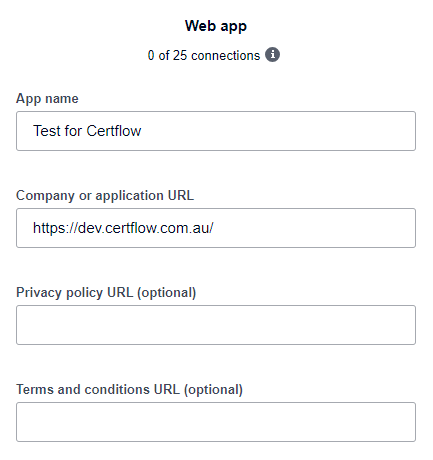
If the previous step was completed successfully, you will be directed to an “App Details” screen with a summary of some of the information you entered.
Click the configuration link to take you to the next screen, where we will copy the client ID, and generate a client Secret. On the configuration screen, there is some more of the information we entered earlier, as well as the Client ID that we need for your system, and fields to generate the Client Secret.
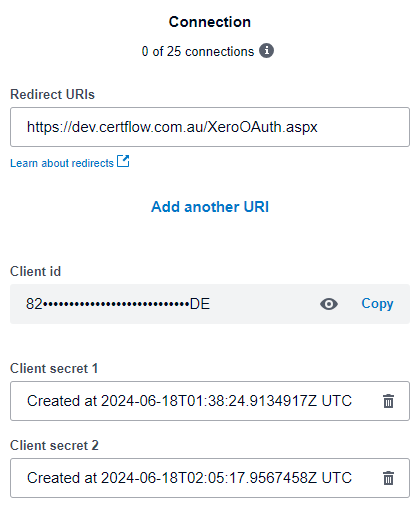
Use the “Copy” button on the client ID field and save this value to an external program
Click the “Generate secret” button to generate a new secret value. This value will only be shown and copyable once. After generating the secret, use the “Copy” button and save this field to an external program in the same way as we did for the Client ID
Once you have copied all the fields above, go to your site’s URL and sign in with your account
Open the Organisation Settings, and enter the previously saved values into the “Xero Connection Details” fields, the Tenant ID can have any text in there, then click the “Save Button”.

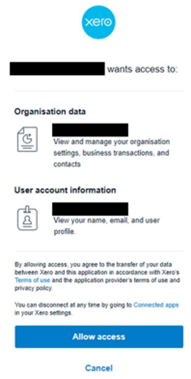
With the Xero details saved, click the “Authenticate” button within the Xero Connection Details section of the form. This redirects you to Xero and prompts you to sign in to confirm the app connection. Once you sign in (or if you are already signed in) a screen like the below will appear. Click the “Allow Access” button to finalise the authentication.
Once the authentication is complete you will be automatically redirected back to the CertFlow system, and if you open the organisation settings you will see that “Authenticated” has changed to “Yes” in the Xero Connection Details.